

My phone holds my entire life. It’s my wallet, office, photo album, and connection to everyone I care about. A friend lost their phone a few years ago, and the fallout was a nightmare.
The frantic calls to banks, the password resets, and the chilling realization of how much personal data was suddenly in the wrong hands. That close call was my wake-up call.
Since then, I’ve developed a monthly security ritual. Knowing I’ve done my due diligence to protect my digital life gives me peace of mind.
These security checks are quick and easy. Anyone can and should do them. Let’s walk through them.
7
Check for system and app updates to patch security holes
The first thing I do every month is check for updates.
Think of your phone’s software like the walls of your house. Over time, hackers find cracks and vulnerabilities they can exploit. Security updates come from the builders (Google and your phone’s manufacturer) to patch them for you.
Monthly security bulletins detail fixes for critical vulnerabilities, such as Remote Code Execution (RCE), which lets a hacker run malicious code on your phone remotely. Others prevent Elevation of Privilege (EoP), where a rogue app grants itself excessive access. That’s why this check is non-negotiable.
Go to Settings > System > System update. Your phone will check for the latest version of Android and the newest security patch. If an update is available, install it.
An outdated app can be just as dangerous as an obsolete OS. Go to the Google Play Store. Then, tap your Profile icon and select Manage apps & device. If you see Updates available, tap Update all.
6
Audit permissions to block spying or overreach
Next, I do a quick privacy audit. Every permission you grant expands an app’s potential to access your data. In the worst-case scenario, a malicious app with too many permissions can become spyware.
Does that new game need access to your Contacts? Does that calculator app need to know your location? Almost certainly not.
Here’s how to review your permissions:
- Navigate to Settings > Security & privacy > Privacy > Permission manager.
- You’ll see a list of permissions. Tap each one to see which apps have access.
- If you see an app with access it shouldn’t have, tap the app’s name and select Don’t allow.
Pay attention to the Big Three. Microphone, Camera, and Location are the most sensitive permissions. An app should have a reason for needing these.
5
Clean out old, unused, and sideloaded apps you no longer need
We all download an app for a one-time purpose and forget about it. But every app on your phone, especially an old and forgotten one, is a potential risk.
This is also the perfect time to remove any apps you may have sideloaded (installed from outside the Google Play Store). While sometimes necessary, they carry a higher risk of containing malware.
Cleaning them out is easy. Here’s how:
- Go to Settings > Apps.
- Scroll through the list and uninstall the apps you haven’t used in months.
You may only see a Disable option for some pre-installed apps. This is still worthwhile, as it prevents the app from running.
4
Use Play Protect to double-check your app safety
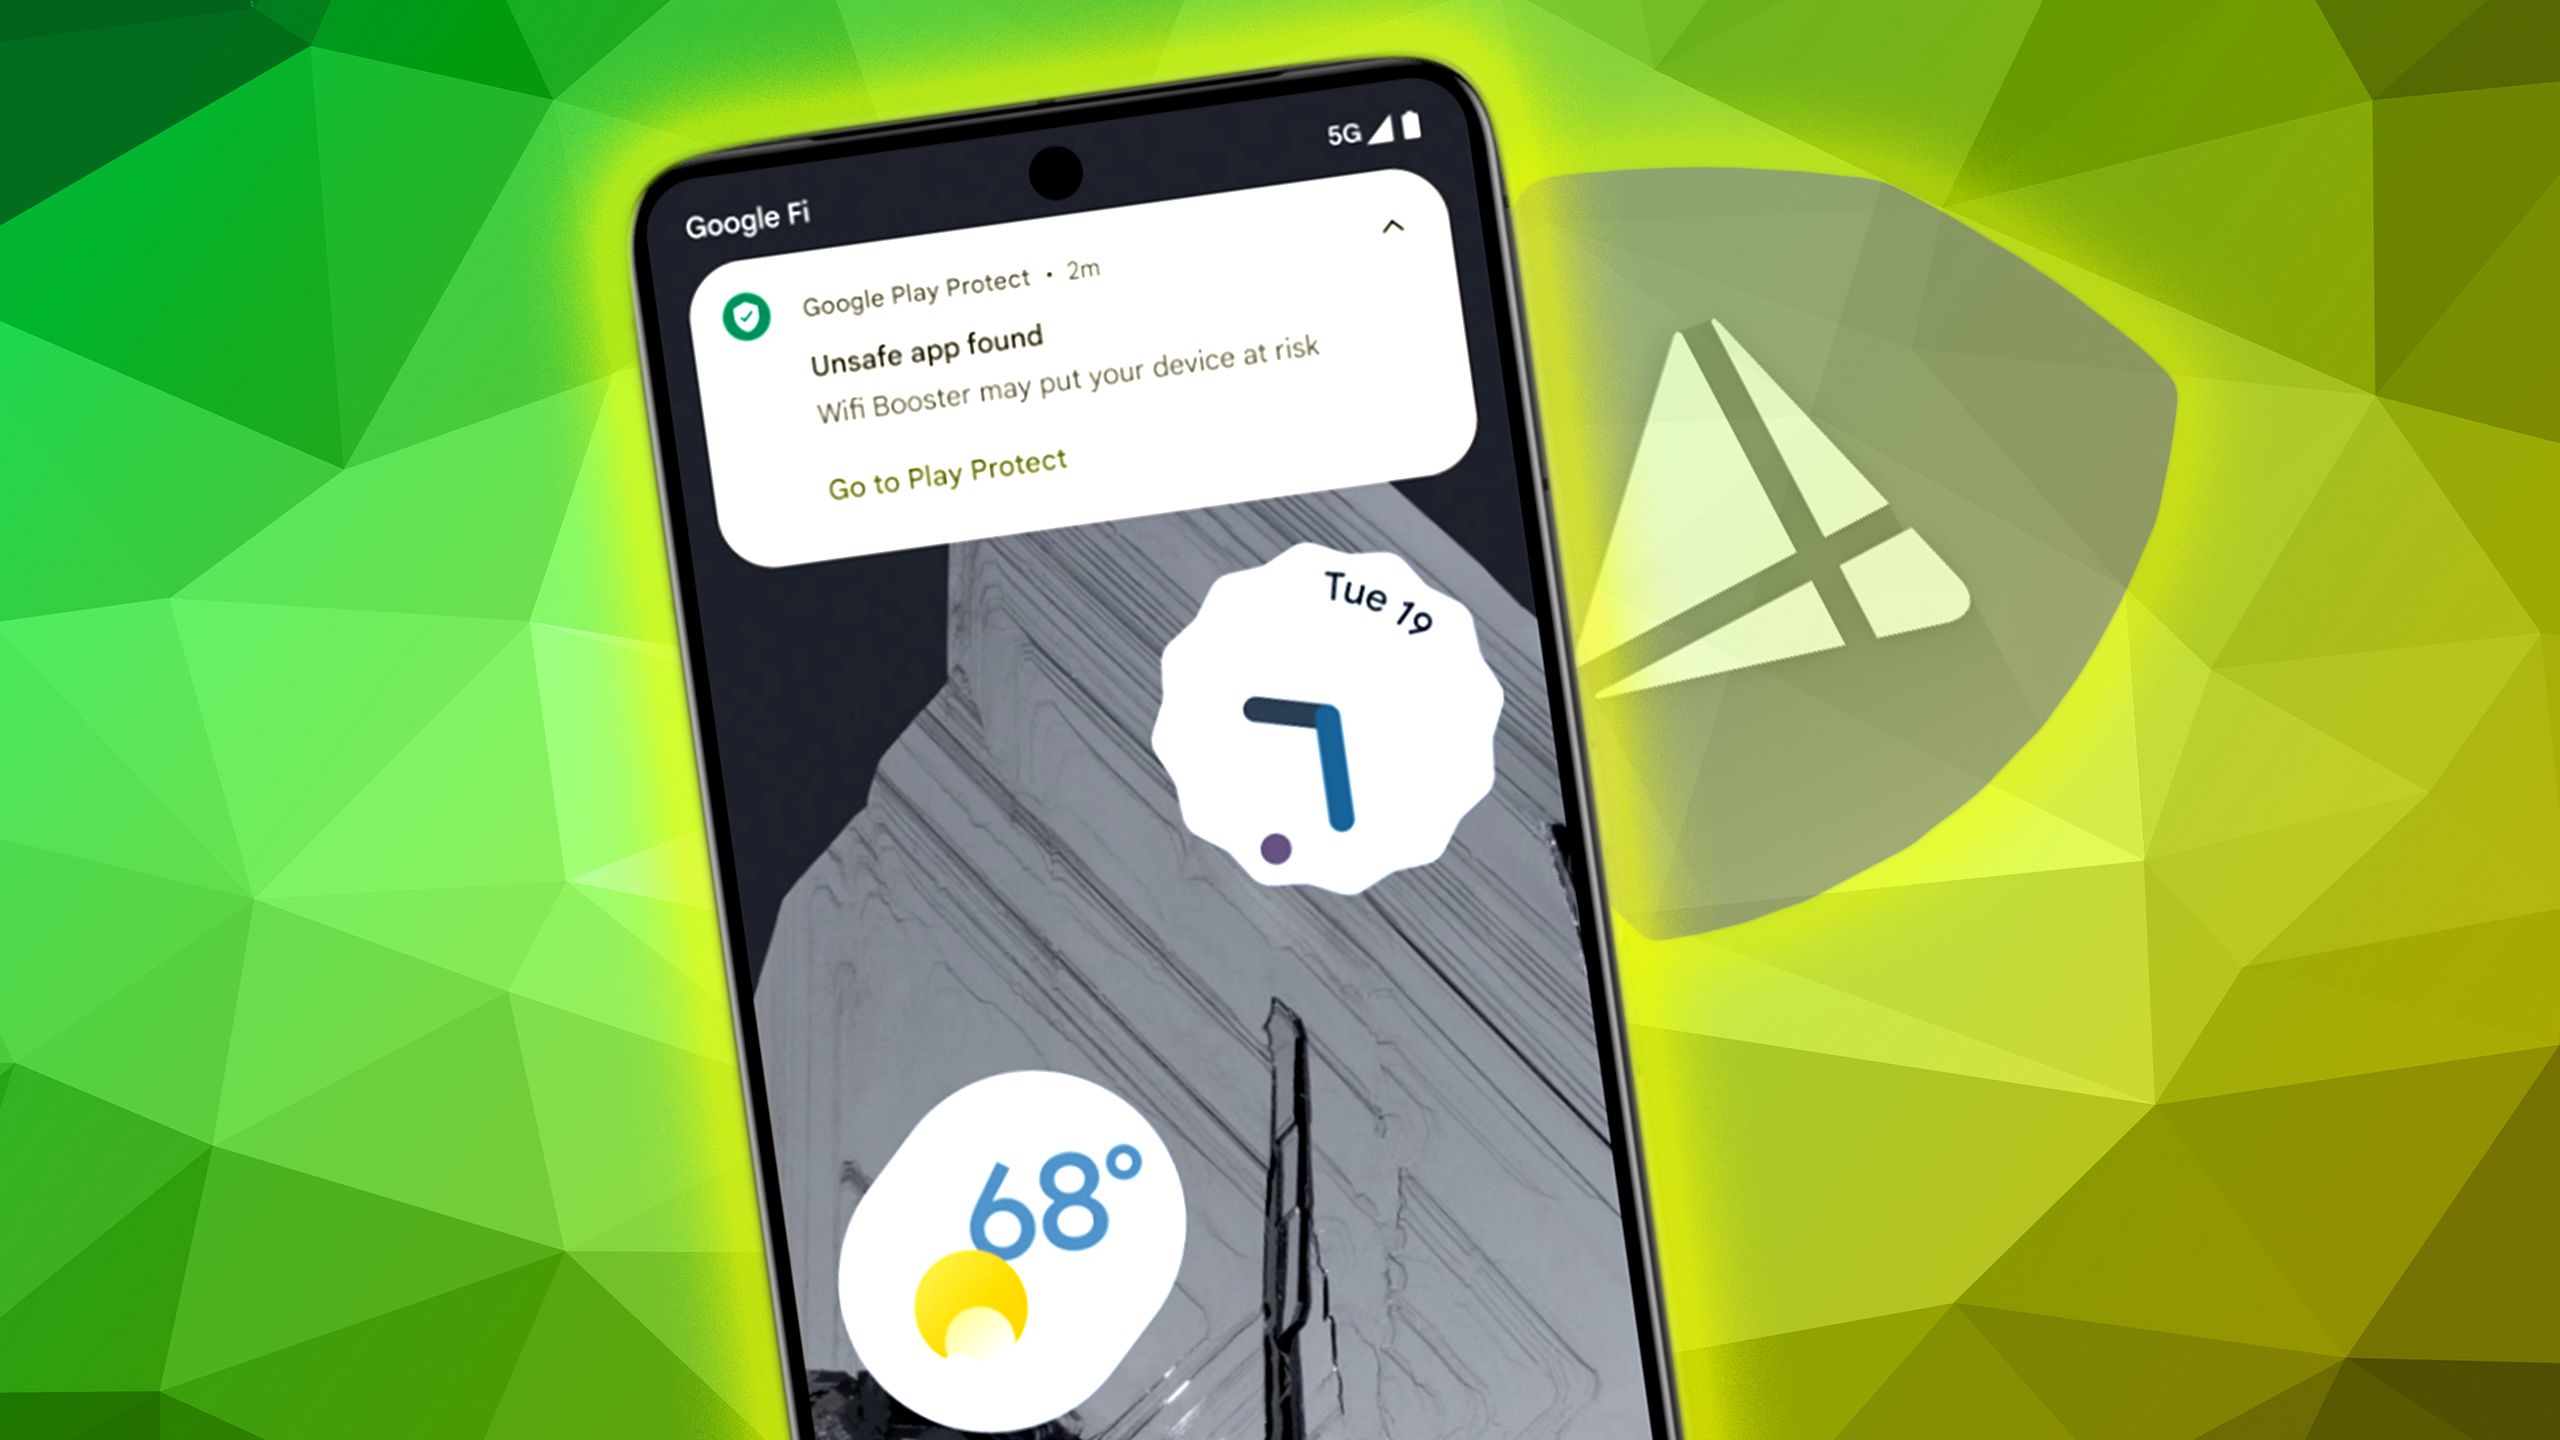
Your Android phone has a built-in security guard called Google Play Protect. It works automatically in the background, scanning your apps for harmful behavior and warning you about potential threats.
Live threat detection uses on-device AI to spot new, malicious apps in real-time. So if it’s automatic, why run a manual scan? Because it’s reassuring.
Here’s the simple path:
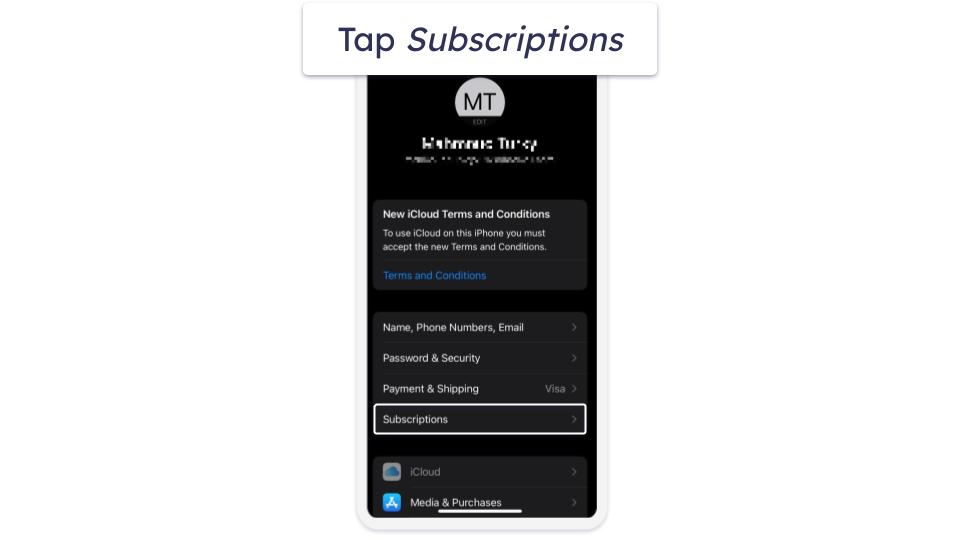
- Open the Google Play Store, tap your Profile icon, and select Play Protect.
- Tap the Scan button.
3
Choose a secure unlock method to protect your phone
If your phone is ever lost or stolen, your lock screen is the most important defense between a thief and your entire digital life.
I’m going to be blunt. Stop using pattern locks. I know they seem convenient, but they are insecure.
Studies have shown that an observer can guess a typical pattern with nearly 80% accuracy after seeing you unlock your phone just a few times. Instead, you need a strong PIN or password.
- Go to Settings > Security & privacy > Device unlock.
- Choose Screen lock and switch to a PIN (at least six digits) or a strong alphanumeric Password.
Biometrics like fingerprint or face unlock are great for convenience, but they are backed by your PIN or password, which will be required on restart. Make that backup strong.
2
Confirm Find My Device and backups are working
Losing your phone is awful, but it shouldn’t be a catastrophe. This check ensures you have a two-part safety net in place. If you can’t, you need a way to find your phone and recover your data.
Plan A is Find My Device, Google’s tool for locating, ringing, locking, or remotely wiping a lost phone. Plan B is your Backup. This is your insurance policy.
If your phone is gone for good, a recent backup to Google ensures your photos, contacts, app data, and settings aren’t lost forever. With a solid backup, you can confidently wipe your lost device.
Here’s how to check them:
- Go to Settings > Security & privacy > Find My Device and ensure the toggle is on.
- Go to Settings > Google > Backup, ensure Backup by Google One is on, and check the Last backup date to confirm it’s recent.
Take a few minutes right now to test Find My Device. Open a web browser on your computer, go to google.com/android/find, and make your phone ring.
1
Review devices with access to your Google account
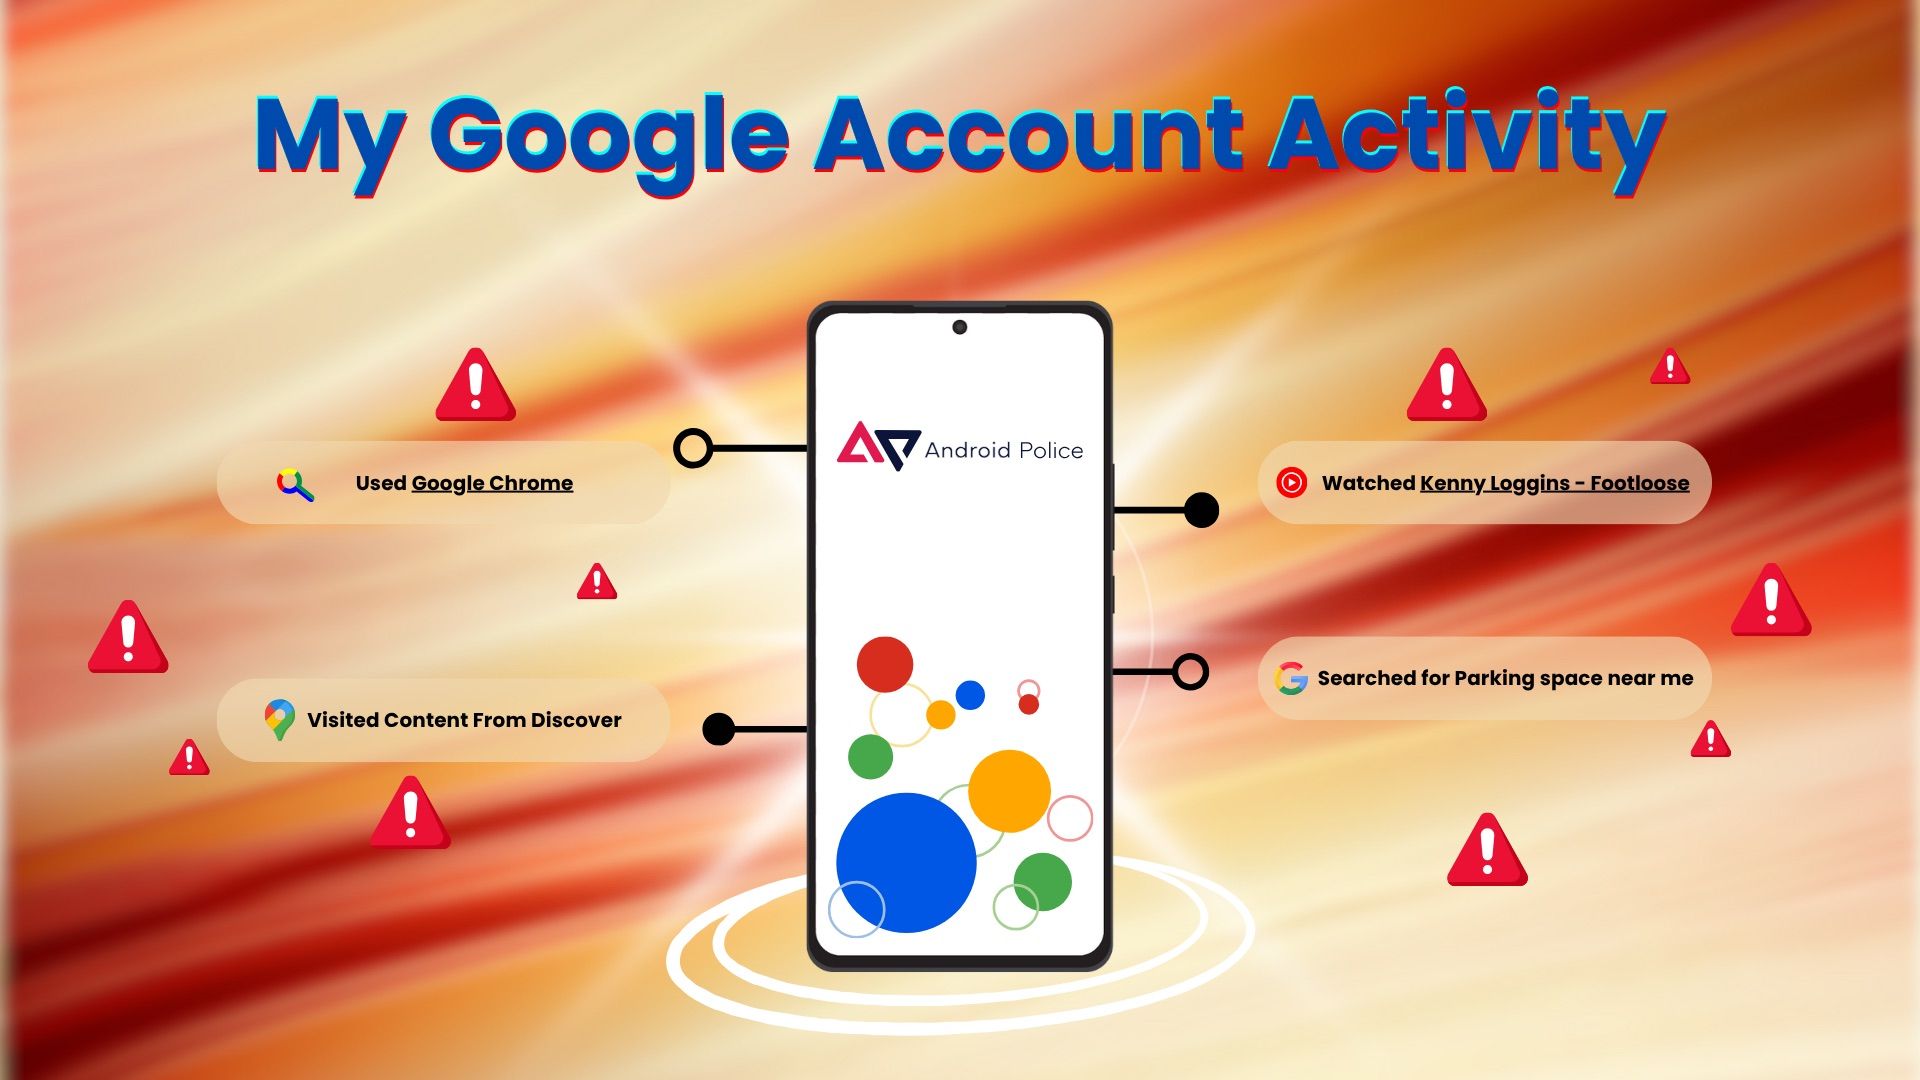
Your Google Account is the skeleton key to your digital life. It unlocks your Gmail, Google Photos, Google Drive, saved passwords, and more. This final check ensures that no one else has a copy of that key.
The easiest way to do this is with Google’s Security Checkup tool. We will focus on the list of devices logged in to your account.
- Go to Settings > Google > Manage your Google Account.
- Tap the Security tab at the top.
- From the Your devices panel, tap Manage all devices.
Carefully review this list. Do you see a computer, tablet, or phone you don’t own or have long since gotten rid of? If so, click it and select Sign out.
Don’t be concerned if you see your phone listed multiple times. This can happen if you use different web browsers.
The key is to look for device types you don’t own (like a Windows PC if you only use Macs) or unfamiliar locations.
Keep your data safe with a simple recurring check
That’s it. These seven checks take about 15 minutes. It builds digital hygiene habits that give you control over privacy and security.
Open your calendar and set a recurring 15-minute slot on the first of every month. Label it Security Check. It is the best security decision you will make all year.
… [Trackback]
[…] Read More Information here to that Topic: geeksforgeeks.org/7-simple-android-security-checks-i-run-monthly-and-that-you-should-too/ […]
… [Trackback]
[…] Read More here to that Topic: geeksforgeeks.org/7-simple-android-security-checks-i-run-monthly-and-that-you-should-too/ […]
… [Trackback]
[…] Read More here to that Topic: geeksforgeeks.org/7-simple-android-security-checks-i-run-monthly-and-that-you-should-too/ […]