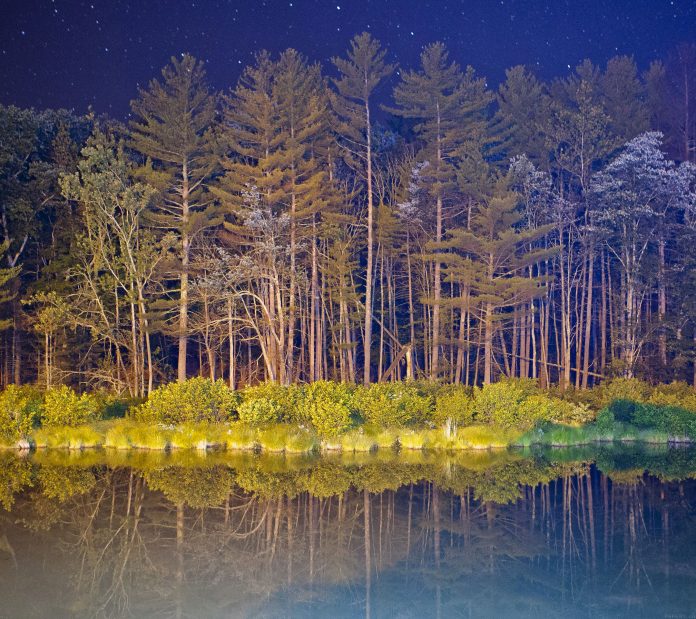
Seam carving is an effective image processing technique with the help of which an image can be resized without removing important elements from the image. The basic approach is to find all the continuous pixels with low energy from left to right or from top to bottom. After the region is selected, it is removed from the original image, leaving only the relevant part of the image. An energy map is derived from the original image which represents apposite details of the image. With the help of the energy map, we can identify the seams that are spread from right to left or top to bottom.
How is Seam carving different from the traditional resizing approach?
Seam carving is different from resizing in the sense that in Seam carving all the valuable aspects and elements are still present in the image but resizing the image is simply copied to a newer size which may be responsible for losing important details.
Below is the Implementation of Seam carving technique:
Python3
# import the necessary libraries from skimage import transform from skimage import filters import cv2 # read the input image img = cv2.imread('Seam.jpg') # convert image from BGR # to GRAY scale gray = cv2.cvtColor(img, cv2.COLOR_BGR2GRAY) # filter out the gradient representation # image to further process for # seam carving algorithm # filters.sobel() is used to # find edges in an image filtered = filters.sobel(gray.astype("float")) for i in range(20, 180, 20): # apply seam carve to the image, # iterating over the image for # multiple frames # transform.seam_carve() can transform # the seam of image vertically as # well as horizontally carved_image = transform.seam_carve(img, filtered, 'vertical', i) # show the original image cv2.imshow("original", img) # show the carved image cv2.imshow("carved", carved_image) # print shape of both images print("Shape of original image ", img.shape) print("Shape of Carved image ", carved_image.shape) # wait cv2.waitKey(0) |
Output
Shape of original Image (667, 1000, 3)
Shape of Carved image (667, 840, 3)

Original Image

Carved Image
Note: This code uses scikit-image version 0.15.0.


