

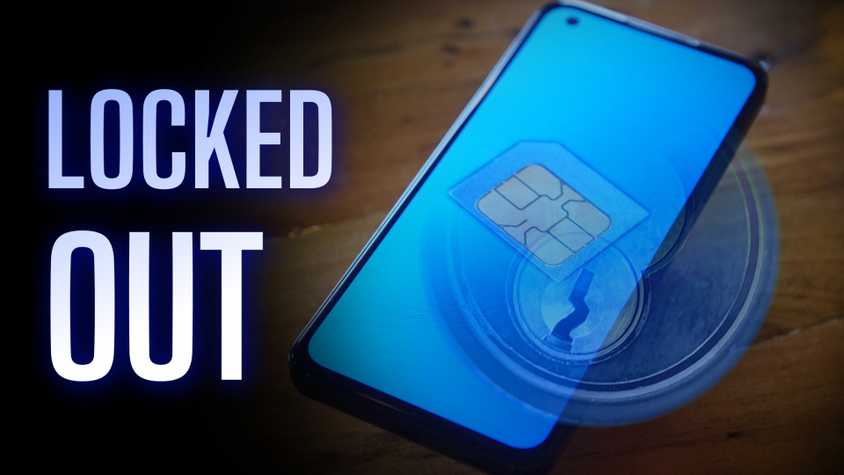
eSIMs are a digital replacement for SIM cards. Despite their advantages over physical SIMs, the technology can be challenging to use.
While transferring a physical SIM card between phones is a straightforward matter. Transferring an eSIM is not.
This guide shows you how to transfer an eSIM from one Android device to another without needing to contact your carrier. We also outline alternative methods for moving an eSIM to a new phone if a direct transfer is not possible.
Our guide only discusses methods that work for eSIM-compatible Android phones (transferring your eSIM from an Android device to an iOS device may require contacting your carrier).
How to prepare for transferring an eSIM
Before you get started, check that you have everything ready to transfer your eSIM.
- Check with your carrier to see if it supports eSIM transfer. Some carriers will not let you transfer eSIMs. You must contact them to transfer the eSIM.
- Check if the phone you’re transferring to is eSIM-compatible. Look in your phone’s Settings app for a button called Download a new eSIM or similar.
- Check if both phones are connected to the internet.
How to directly transfer your eSIM to a new phone
Transferring an eSIM is done during the setup of a new phone. Have both phones close together during the setup.
Steps may vary depending on your phone’s model and carrier app (if required).
- Follow the setup steps for your new phone until you reach the Connect to a Mobile Network screen.
- Tap Transfer SIM From Another Device.
- When the confirmation window appears on your old phone, tap Next to confirm the transfer.
- Scan the QR code on your new phone with your old phone.
- Tap Connect & transfer on your new phone to finish the eSIM transfer.
Your eSIM transfers to your new phone, and you can continue the setup from there. However, you may need to contact your carrier to complete the transfer.
Transfer your SIM using the steps below if you’ve set up your new phone.
Other ways to transfer an eSIM
You may not be able to transfer your eSIM during setup. If you face this situation, remove the eSIM from your old phone before reactivating it on your new phone.
How to delete an eSIM
Our steps reference Google Pixel phones running Android 14 and Android 15. Steps should be similar if your device is on an older OS version.
If you’re not running a near-stock version of Android, you’ll find that other Android phones store their SIM details under different settings (but steps should still be similar).
For example, you may need to tap Mobile network under the Network and Internet menu to find your SIM details, or go directly into Connections to access the SIM manager on your Samsung device.
- Open the Settings app.
- Tap Network and Internet.
- Tap SIMs.
- Tap the eSIM that you want to delete.
- Scroll down and tap Delete SIM.
Some devices allow you to have multiple active eSIMs or store several eSIMs but only use one at a time.
How to activate an eSIM
You should have a QR code from when you activated your eSIM. Your carrier may have sent a pamphlet with the code, or you may be asked to log in to the app or online portal.
Every carrier has a different method for activating eSIMs. If your carrier’s instructions are unclear, contact their customer support for assistance.
![]()
Transfer your eSIM without hassle
Android and iOS devices have supported eSIMs alongside SIM cards for years. But it took some adjusting for the eSIM transfer process to become straightforward. It can also lead to downsides.
Also, not every brand and carrier has eSIM support.
While you may want to keep your eSIM, consider exploring the best value data plans to complement your new phone. Many prepaid carriers offer better details than the Big Three (T-Mobile, Verizon, AT&T), so compare unfamiliar names to get the best deal.
Additionally, if you’re planning to switch carriers, it’s essential to conduct thorough research before taking any action.