

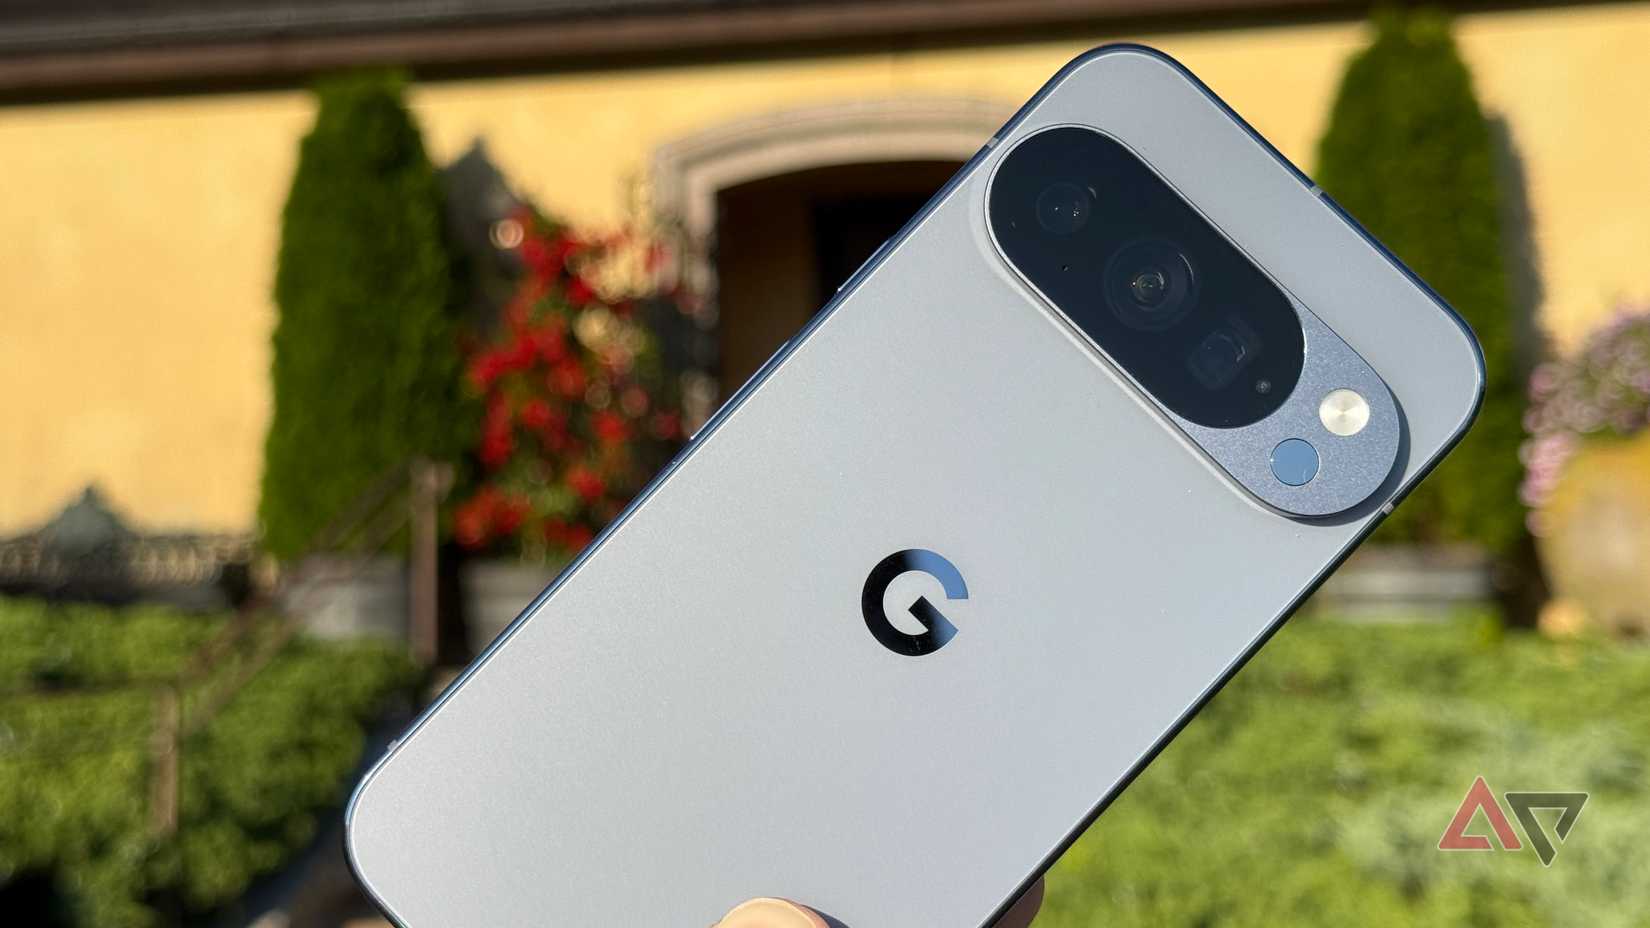
When I reintroduced myself to Google Pixel phones with the Pixel 6, it seemed that what everyone was talking about was the brilliance of a Pixel’s camera.
The stylish new camera bar and outstanding image quality marked the Pixel 6 as a landmark phone for Google, but even before then, we’ve considered Pixel phones leaders in mobile photography.
That’s not the case anymore.
What makes Pixel phones unique for photography isn’t the hardware; it’s the software that makes the magic happen.
Google runs all your photos through post-processing that lets casual photographers produce images without excessive noise from low-light conditions and sharp details.
However, in 2025, it’s clear that Google has gone too far. Photos are washed out, oversharpened, and show incorrect colors.
So, before I left on holiday, I took the time to learn how to fix my Pixel 8’s camera’s shortcomings to avoid ruining my vacation snaps.
The problem with Google Pixel photos
Out of control post-processing
The post-processing on Pixel phones is their Achilles’ heel.
Google is trying to help casual photographers take good photos, but this involves sacrificing the very features that make a photo great. Here’s how this works.
The answer to what makes a good photo depends on who you ask, but some technical traits are universal.
We’ll ignore more subjective aspects like timing and relationships, and focus on two technical aspects of a good photo. These are:
- Light / Exposure
- Color / Tone
Google knows that it’s easy to take a photo of a subject that is poorly lit, causing colors to be misrepresented. A Pixel phone tries to compensate by balancing light and shadows across the image.
The problem here is that a great photo is marked by the careful use of light by the photographer.
Deep shadows and bright highlights accentuate the subject, but too many shadows or too much light ruin the color and tone of a photo.
Google knows that most Pixel users aren’t professional photographers, so it guesses that every photo you take will have the wrong balance of shadow and light.
To “fix” this problem, it increases the exposure. While this makes a bad photo look better, it also makes the colors in a carefully composed photo appear washed out and overexposed.
In the worst scenarios, Google completely misrepresents the colors in a photo. Take a look at this photo from Reddit user u/abcde_edcba, who noticed that their Pixel 9 Pro turned their orange Ford Mustang red.
![]()
Credit: u/abcde__edcba
A problem this severe is difficult to fix, but there are steps you can take to reduce Google’s interference without having to take a professional photography course.
Here’s how I fixed my Pixel 8’s photos.
How to fix your Pixel’s washed-out photos
A little bit of preparation and editing goes a long way
It’s important to note that it’s impossible to fully eliminate all these problems. However, these tips should help your photos from appearing washed and undersaturated.
Enable Quick access controls in the camera settings. This setting lets you adjust white balance, brightness, and shadows by tapping the viewfinder. However, these sliders aren’t as granular as those in the filters tab.
Lower the Brightness and Shadow sliders before taking a photograph
Your Pixel will always try to increase the exposure of your photos in post-processing, so compensate by lowering the brightness and shadows sliders in the camera app. Here’s what that looks like in my Pixel 8’s viewfinder:
It’s important to employ a subtle touch with these sliders. When in doubt, move them less than you think.
Shoot in RAW + JPEG
RAW files are uncompressed images that have undergone less post-processing and preserve more sensor data.
They are designed to be edited, and can look strange without adjustments. However, editing a RAW image file is the best way to bring contrast and color back to your photos.
Your Pixel phone will also save a JPEG copy with this setting enabled.
Increase contrast and saturation after taking a photo
Increasing the contrast deepens blacks and brightens whites, and increasing the saturation makes colors more vibrant and intense.
While it may seem like increasing the saturation is the most important step, adjusting the contrast will have the biggest impact on your photos.
Adjust the contrast between +10 and +20, and adjust the saturation by around +15.
Increase the UltraHDR effect
If you’re struggling to find the right balance between the various editing filters, adjust the UltraHDR slider.
This brightens the lightest parts of the image and shows more vibrant colors, but overuse can cause the subject to appear unrealistic.
It doesn’t take long to improve your photos on your Pixel phone
Diving into the world of photo editing can feel intimidating, but it doesn’t take long to familiarize yourself with the most important tools at your disposal. You can touch up a photo in less than a minute after you’ve spent some time using these tools.
While not all your photos will need an extra touch, using these tips will help you prevent your Pixel phone from ruining your holiday photos. And if you own a Pixel 10, don’t bother with Camera Coach.