By default, the checkra1n jailbreak installs Cydia as the defacto package manager, and Cydia Substrate or Substitute can be used for tweak injection. But if you’re accustomed to the Chimera or Odyssey jailbreaks, then you might prefer to use Sileo for package management and libhooker for tweak injection instead, yet checkra1n’s jailbreak method offers many benefits over relying on certificates or signed apps.
If you’re wondering whether it’s possible to install Sileo and libhooker on your checkra1n device, then the astounding answer would be yes! A script called Odysseyra1n installs the entire bootstrap on your checkra1n device, allowing you to have an Odyssey-like experience on your checkra1n jailbreak.
The Odyssey Team touts that Sileo and libhooker are more performant than Cydia and alternate tweak injection methods. While there are arguments to be made on both sides of the aisle, we’ll chalk it up to user preference as we don’t endorse one over the other. That aside, if you’re interested in trying Odysseyra1n out for yourself, then you’ve come to the right place because this macOS-based tutorial will show you how.
What you need to know
Installing the Odysseyra1n bootstrap will remove the Cydia package manager installed by the checkra1n jailbreak and replace many of checkra1n’s default dependencies with those necessitated by Odysseyra1n.
Nearly the entire process of installing Odysseyra1n will happen in macOS’ Terminal app. This means you need to be comfortable with a command line interface (CLI) before moving forward.
Lastly, we should note that you can revert to a stock checkra1n bootstrap with Cydia, however doing so will require you to use the Restore System feature in the checkra1n Loader app. Perhaps unsurprisingly, this will erase all your jailbreak data and compel you to start over from scratch.
Installing Odysseyra1n on a checkra1n device
Assuming you’re already jailbroken and have Cydia installed, you’ll start with Step 1 in the tutorial below. On the other hand, if you’re jailbreaking with checkra1n for the first time, or you haven’t yet installed Cydia after jailbreaking with checkra1n, then you can start at Step 3.
To install Odysseyra1n on your checkra1n device with a Mac, simply follow the steps below:
1) If you’re already jailbroken via checkra1n and have Cydia installed, then you’ll need to use the checkra1n Loader app’s Restore System feature to start from scratch:
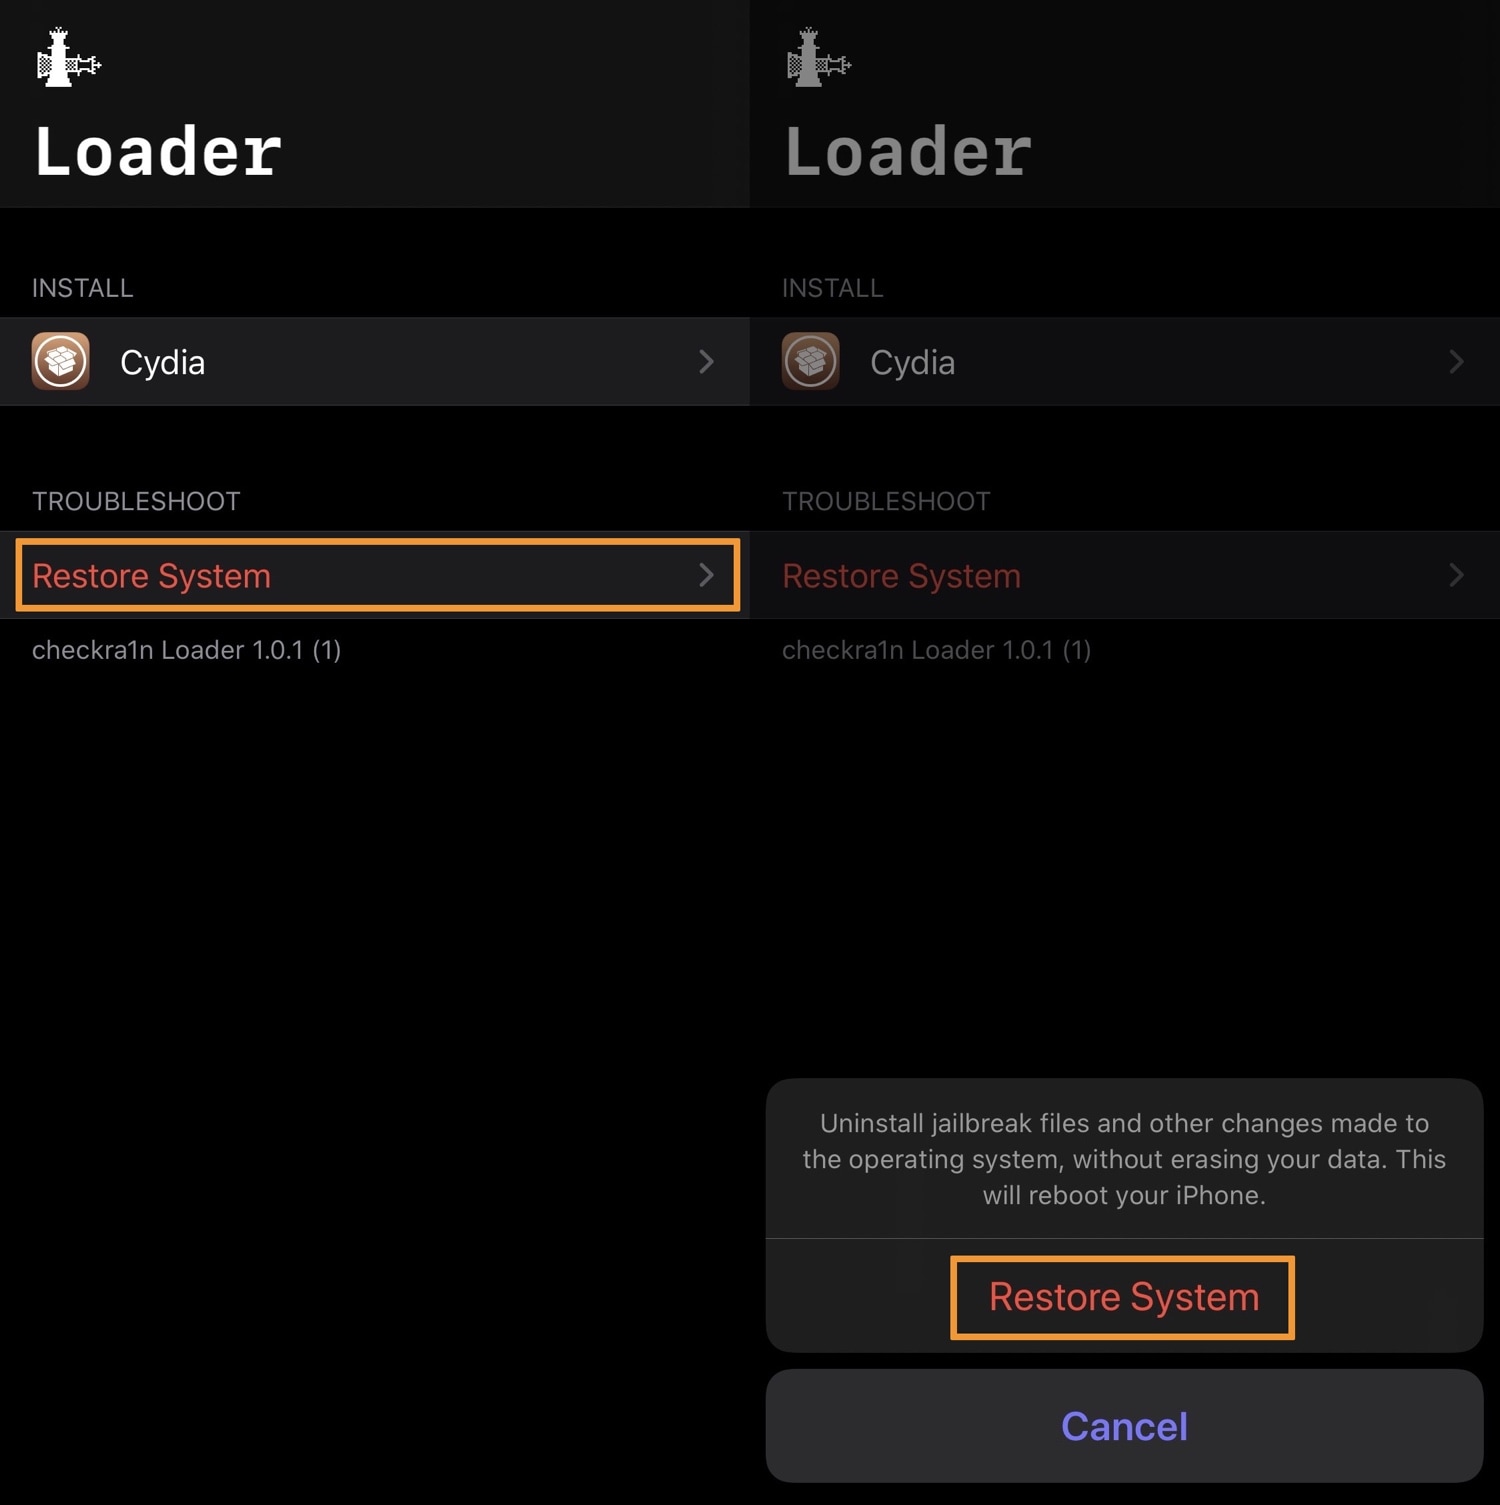
Note: The device will reboot after restoring the system. When it does, Cydia and checkra1n’s Loader app will disappear from the Home Screen, and you’ll need to re-jailbreak with checkra1n.
2) After restoring your system, go ahead and re-jailbreak with checkra1n again via the steps in this tutorial. IMPORTANT: Do not install Cydia when finished jailbreaking; instead, come back here and move on to Step 3 below.
3) With your handset still connected to your Mac via USB to Lightning, open the Terminal app and copy and paste the following command, then press Return on your keyboard:
/bin/bash -c "$(curl -fsSL https://raw.githubusercontent.com/Homebrew/install/HEAD/install.sh)"
Note: The command above installs Homebrew on your Mac. This utility will be required to complete this tutorial.
4) When prompted for your password, enter the same password you use to log into your Mac:

5) After doing so, the text below appears to let you know what will be installed. Press the Return key to continue:
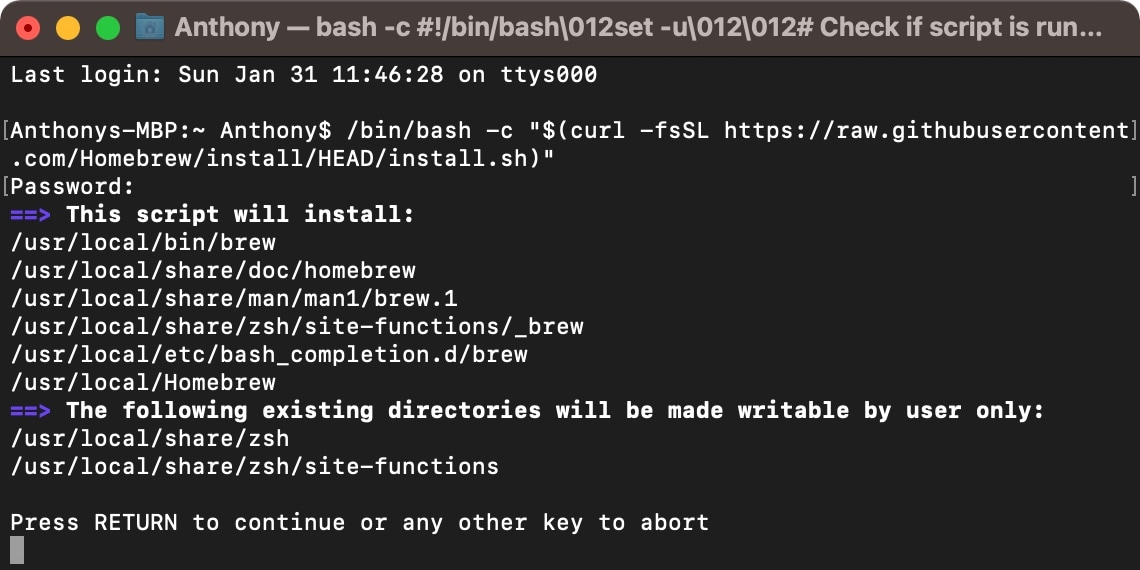
Note: The Homebrew install will take a few minutes. The Terminal window keeps you apprised with the progress via percentages. When it finishes, move on to the next step.
6) Next, you will copy and paste the following command, then press Return on your keyboard:
brew install usbmuxd

Note: The command above installs iproxy. This will be required to complete this tutorial.
7) Once the step above finishes, ensure that your checkra1n device is still connected via USB and copy and paste one final command into Terminal and press the Return key to launch the Odysseyra1n installation:
/bin/bash -c "$(curl -fsSL https://raw.githubusercontent.com/coolstar/Odyssey-bootstrap/master/procursus-deploy-linux-macos.sh)"

Note: The command above installs the Odysseyra1n bootstrap on your checkra1n device. It will take a few minutes, so sit tight.
8) When prompted to press enter, press the Return key on your keyboard to continue:
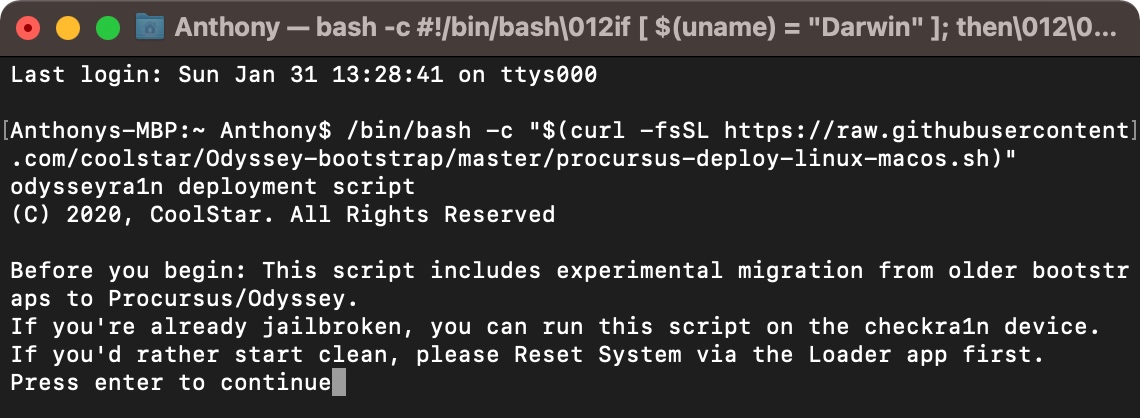
9) Shortly after the installation process begins, you will be asked to enter your handset’s root password. The default password is alpine, and we strongly recommend you change it afterward:

10) You will be asked to enter the root password a second time. Go ahead and do so; again, the password is alpine:

After this finishes, Sileo will appear on your Home Screen alongside the checkra1n Loader app:
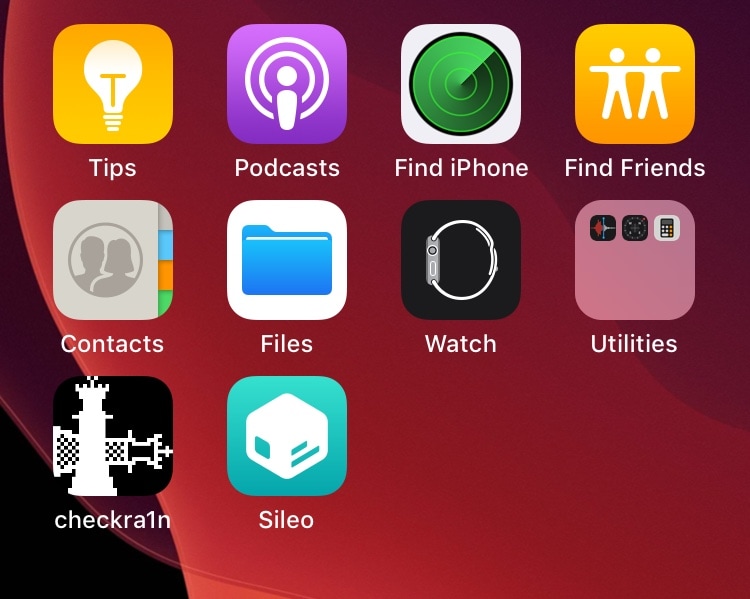
Congratulations, you are now running Odysseyra1n!
Helpful hints
Now that you are using Odysseyra1n and its official bootstrap, you will not need to install Cydia. In fact, you shouldn’t try to install it from the checkra1n Loader app, as this would result in dependency issues down the road.
It is highly recommended that you download and install all the recommended updates via Sileo after installing it; they will populate after your sources refresh for the first time. You will also want to manually install RocketBootstrap and PreferenceLoader from the Odyssey and BigBoss repositories to ensure that you don’t receive unwanted errors when trying to install your favorite jailbreak tweaks.
We’d also like to give a huge shout-out to u/Cimmerian_Iter for providing the aforementioned steps in a /r/jailbreak post.
Conclusion
Now that you are using Odysseyra1n, you won’t need to worry about certificate revocations or app signing statuses as you would with the Odyssey jailbreak on iOS or iPadOS 13 or the Chimera jailbreak on iOS 12. This is because the checkra1n jailbreak is easily rebooted with a USB-to-Lightning cable and a Mac.
Furthermore, Odysseyra1n is the only official way to get Sileo and libhooker on iOS and iPadOS 14 at the time of this writing.
Have you installed Odysseyra1n on your checkra1n device, or are you keeping things vanilla? Let us know in the comments section down below.


