1. Using Command Prompt Method
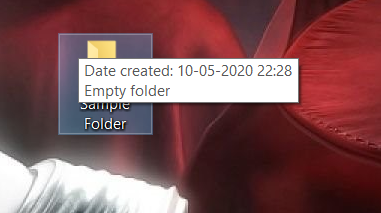
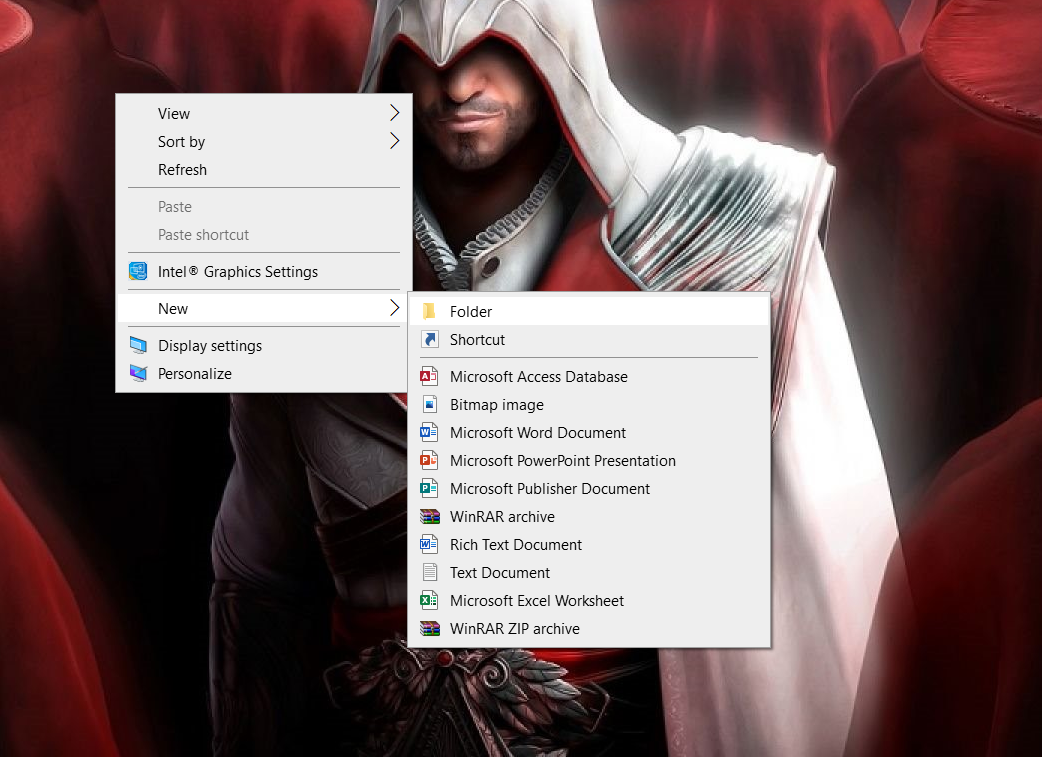
Step 1: Select the folder that you want to hide. (For the purpose of the tutorial, we have created a new folder by right-clicking on the desktop and selecting “Sample Folder”)
Step 2: Copy the file directory of the folder by double-clicking on the same.
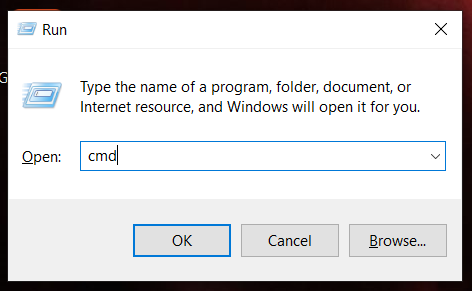
Step 3: Now press the windows key plus r and type “cmd” in the Run Box.
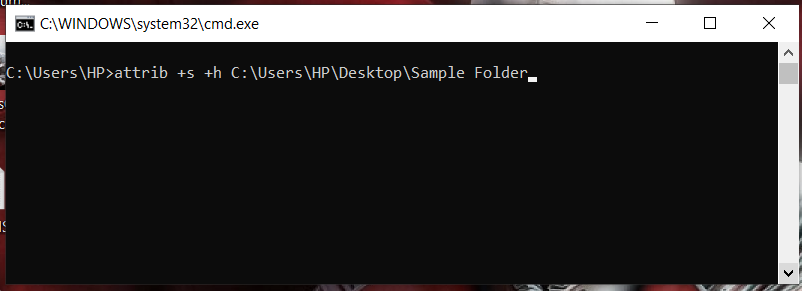
Step 4: Once Command Prompt opens, type in the following code.
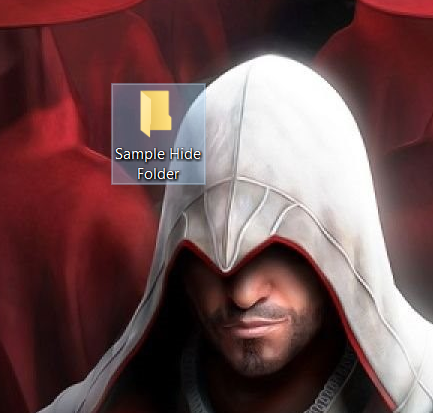
Step 5: As soon as you press enter, the folder will be hidden.
To view the hidden folders, you can use the following:
- Press the Windows key + R and type “cmd” in the Run Box
- Now type the following on the cmd
2. Using Windows GUI Method
Step 1: Select the folder that you want to hide. (For the purposes of this tutorial, we have created a new folder by right-clicking on the desktop and selecting “New Folder”)
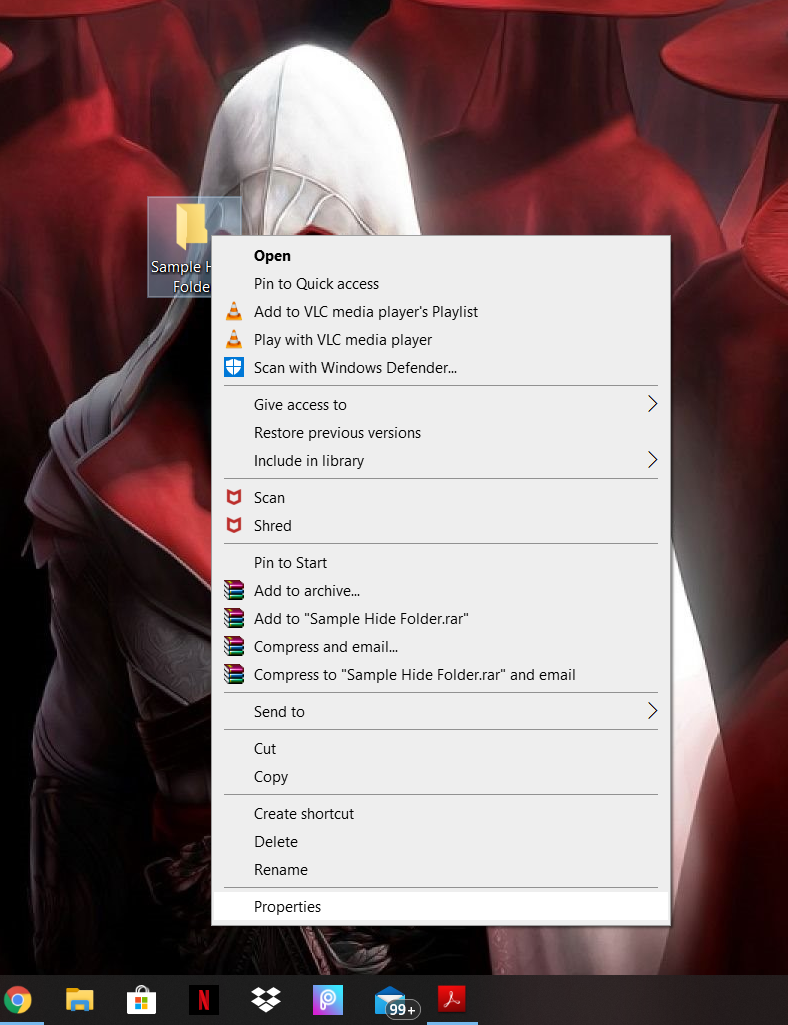
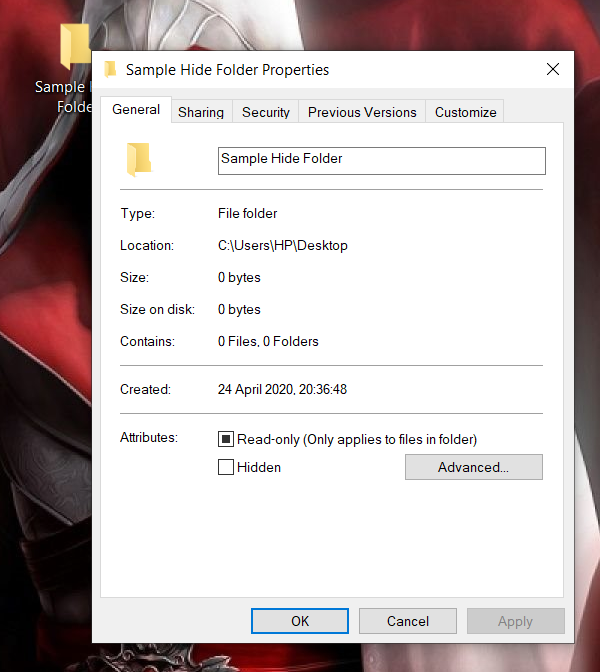
Step 2: Right click on the folder you want to hide and then click on “Properties”
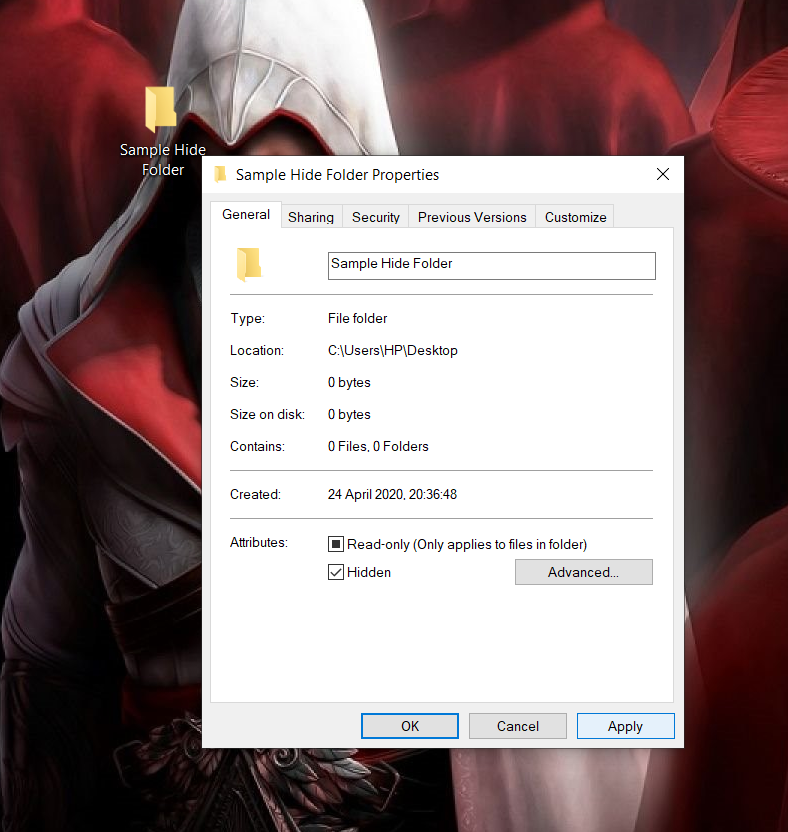
Step 3: Once the Properties window opens, select the box that says “Hidden”
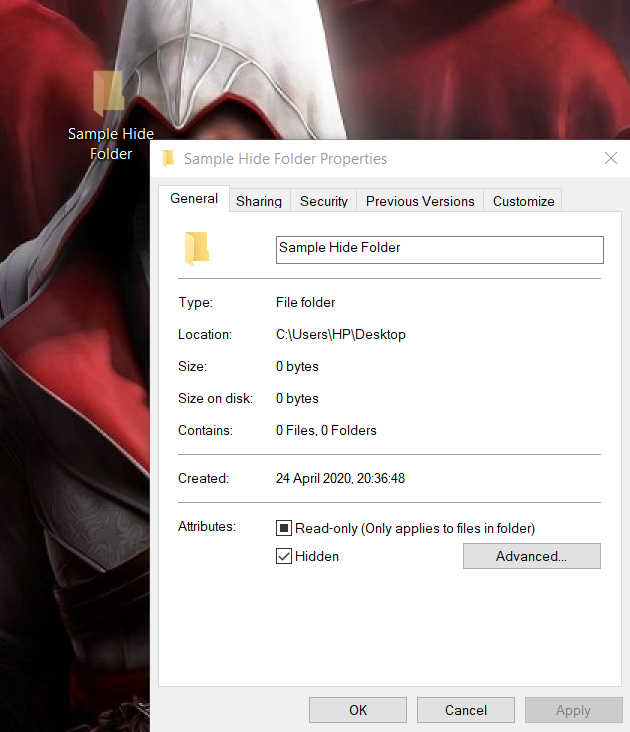
Step 4: Then click on “Apply”
Once you click “Apply”, you can clearly see that the folder is Hidden.
To view the hidden folders, you can use the following:
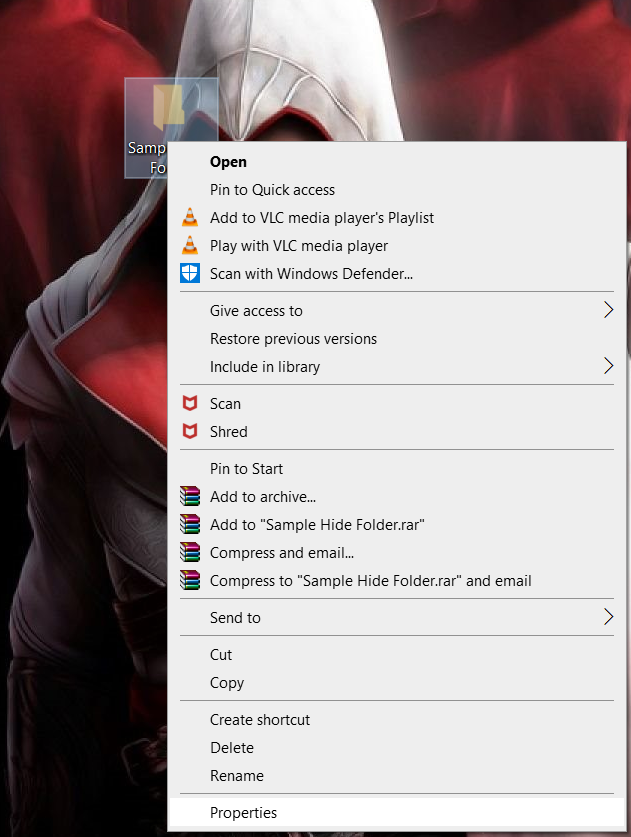
- If you want to bring the folder back, then right-click on the Hidden folder again and go to “Properties”
- Deselect the box that says “Hidden”
- Once you have clicked “Apply”, the folder reverts back again.


