The Dev Team has updated the popular jailbreak tool, PwnageTool, with an untethered jailbreak for iOS 4.3.2. PwnageTool now joins RedSn0w and Sn0wbreeze as the third tool that can jailbreak iOS 4.3.2.
In this tutorial, we will show you how to use PwnageTool to jailbreak your iPhone 4.3.2 while also preserving your baseband. PwnageTool is for Mac OS X only and is the only way to preserve your baseband to make sure you can unlock later…
Step 1: Download PwnageTool from our downloads section. Download the iOS firmware for your device. (Try using ipswDownloader or check our downloads section.) Save your IPSW to your desktop.
Step 2: Open PwnageTool and agree to the warning.
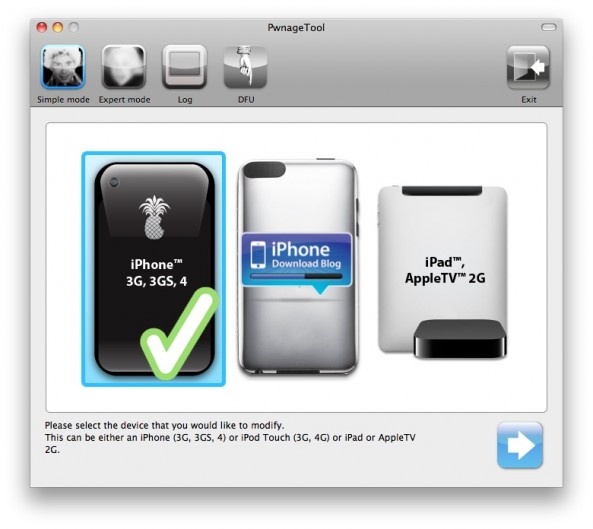
Step 3: Select your device model and click the arrow to continue.

Step 4: Select “Expert Mode.” PwnageTool will ask you to either use the firmware you downloaded in step 1, or to browse for firmware on your computer. If you downloaded your IPSW to your desktop, PwnageTool should find it automatically. Select the firmware and click the arrow to continue.
Step 5: Select “General” and click the arrow to continue.

Step 6: If you are on an official carrier (such as AT&T, etc.), do not select “Activate the phone” and make the root partition to about 1,000 MB. Click the arrow to continue.

Step 7: You will now be taken to the customize Cydia settings. You can now select packages to be pre-installed on your jailbroken iPhone. This is a great method to install jailbreak apps directly and save you time later on. For the purpose of this tutorial, we will not install any packages. Click the arrow to continue.

Step 8: You will now be taken to the “Custom Packages Settings”. Make sure “Cydia Installer” in selected. Click the blue arrow to continue.

Step 9: Select “Build” and click the arrow to continue.

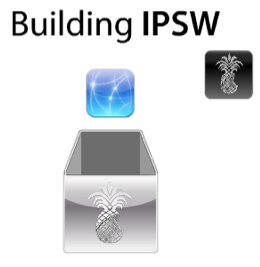
Step 10: Select a location (like the desktop) on your computer to save your custom IPSW. PwnageTool will now build your custom firmware. This could take a few minutes.

Step 11: When done, PwnageTool will ask you to connect your iPhone to your computer and enter DFU mode. Plug your iPhone into your computer to start jailbreaking.

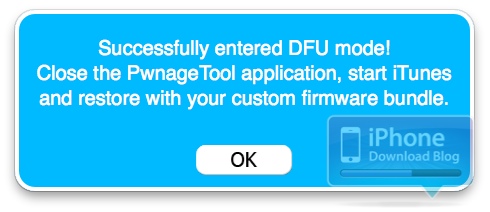
Step 12: PwnageTool will now guide you into DFU mode. Simply follow the instructions on the screen. Hold the Power and Home button together for 10 seconds. Release the Power button while still holding the Home button for 10 seconds. Your iPhone should then enter DFU mode and PwnageTool will let you know you once you’ve entered DFU mode.

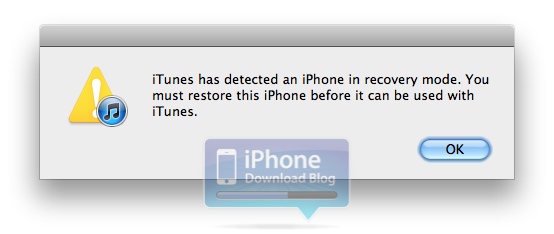
Step 13: Launch iTunes. iTunes should tell you it has detected an iPhone in recovery mode. Click OK to confirm.

Step 14: Still in iTunes, hold the Option/Alt key on your Mac while clicking on Restore. Make sure you are holding the Option key, not the Command key. iTunes will give you the option to select a firmware from your hardrive to restore. Select the custom ISPW firmware you created and saved in step 10.
Step 15: iTunes will now restore your iPhone using the custom IPSW. It should take a few minutes. Once the restore is complete, your iPhone will be jailbroken and running iOS 4.3.1. You should now have Cydia on your iPhone.
Congrats, you just jailbroke your iPhone!
Let us know how PwnageTool works with iOS 4.3.2. Did you have a successful jailbreak? Share your stories in the comments!


