Wireshark is one of the most used tools by Cyber Security Experts around the Globe. It is so popular and so convenient to use, only if you know what exactly you want to perform. Wireshark is used in Information Technology Industries for a while now, it is a free software tool that can perform actions beyond the level. Wireshark is the Network analyzer tool that analyzes the traffic that is being captured. Now, this traffic would be any, if it is flowing from the internet to your system Or system to the internet. Wireshark comes up with so many options that you can explore, it helps you to analyze which of the SNI (Server Name Indication) is having the largest traffic so that you can filter the TCP session of that captured file.
Server Name Indication is one of the important things that every server has. Let us take an example, if you wanted to browse YouTube.com then the SNI would be ” .YouTube.com”. Represent that whatever is before the dot would be classified under YouTube.com. Now, this can also be seen on the Wireshark in the Client Hello Packet. Basically, this is the 3-way TCP Handshake process, where the system sends the SYN Packet flag set to 1 then, the SYN + ACK flag set to 1, Followed by the ACK flag set to 1.
To check the TCP way handshake in Wireshark, you need to first start the capture with the ‘Blue Shark icon’ on the left. Once it is started you have to filter out the session. In Wireshark, there are two types of filters DISPLAY and CAPTURE filter. The display filter uses mainly when you finished capturing the data and the Capture filter uses while the packet capture is going on your put down some filters so that you would be able to see only those filter-related packets. We basically used the DISPLAY filter because it gives you all the packet-related information.

This ensures that the TCP way handshake is established successfully for further communication. Now It uses TCP protocol which guarantees packet delivery and error-free data. Once established It starts sending the CLIENT HELLO packet and this packet contains a lot of information such as Certificates, cipher, and algorithms that the system is using. Once that is accepted by the server, the server will send the SERVER packet, which consists of their certificates, algorithms, and ciphers.
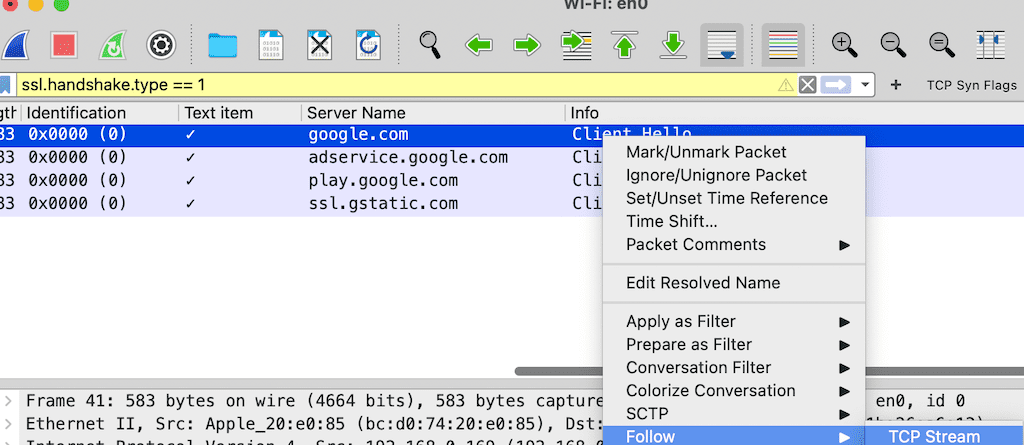
Now that we have seen the 3-way TCP handshake process and the SSL handshake (sending of the CLIENT and SERVER packets in the Wireshark). There would be lots of packets that must have been collected as of now. If you are working professionally, or you wanted to submit the PCAP for the analysis to your seniors, managers, or any others, you cannot simply give the PCAPs and ask them to filter on their own, that doesn’t sound professional. So, it is always a good practice to filter out the session and forward what’s important because after all, that is all it matters. Now to filter, you would require a Display filter to put on in the Wireshark filter bar. Let us consider we have Started the Wireshark PCAP and visited google.com. Once the google page is completely up and running you can STOP the PCAP. Now there would be a Junk packet that you do not want to see it. So, we will filter out the session.
There are various commands in the Wireshark for the display filter, but you do not need to remember everything command. As you can see in the below screenshot, if you click on any packet and click on the below packet details section you would be able to see the command at the bottom left whichever field is selected in the Packet detail section.
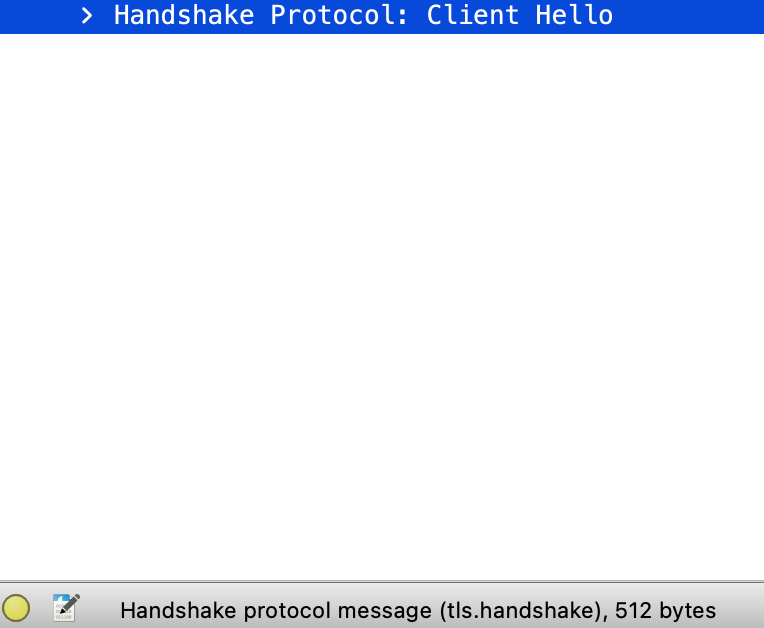
So for now, we have applied the display filter (tls.handshake.type==1). This will filter out all the SNI in your PCAP. Once you see google.com, right-click and click on the TCP to follow the stream. It will display all the packets related to the SNI i.e., google.com.
At this time you would be able to see the TCP handshake and all the required information that is being shared between your system and the Google server. But everything would be encrypted due to the SSL certificate. Now if you wanted to see all the encrypted content then you might have to buy your SSL certificate which is approved by Certificate Authority, and then you installed that on your system so that whatever data is being passed that you can see and analyze further.
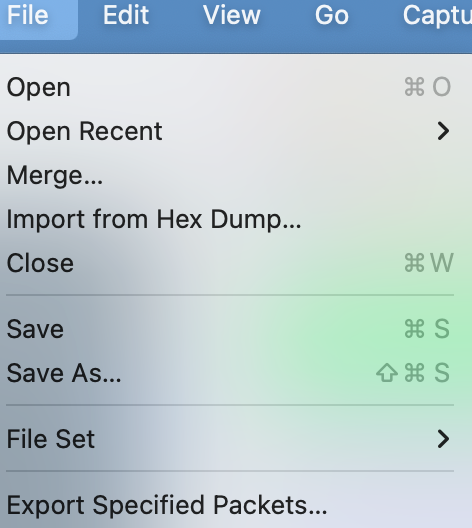
There is also a feature in the Wireshark that gives you an option to Export the specified packets which you have just filtered out. Well, that simplifies it even more. Refer to the below screenshot to see that option. (Wireshark→ File→ Export specified packets)
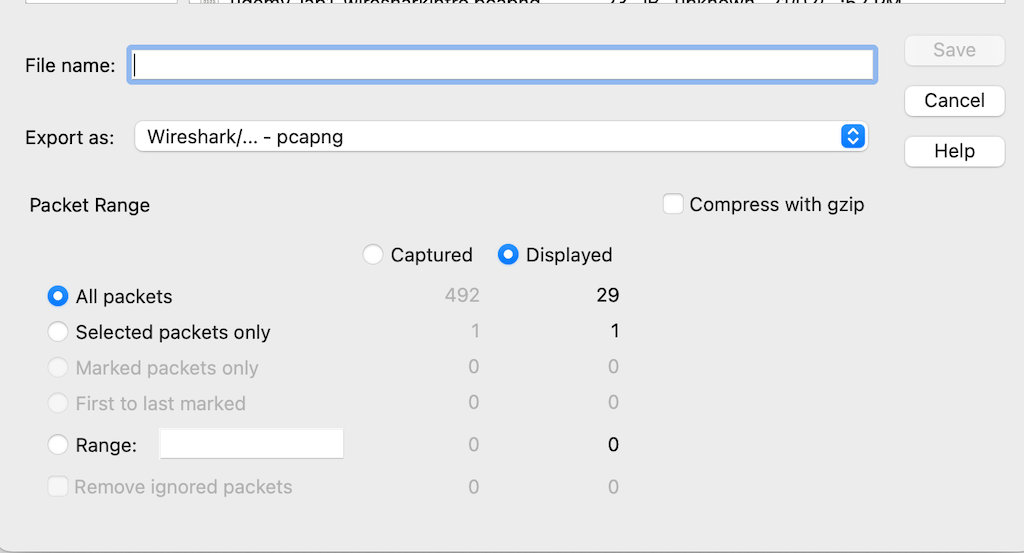
You can save what is required, and it gives you multiple options such as Displayed Captured or Range or Selected packets only. To export the data into the Wireshark, there are multiple options such as Exports specified packets, Exporting packet Dissection, Export Packet Bytes, exporting PDU to File, exporting TLS session, and Export Objects.
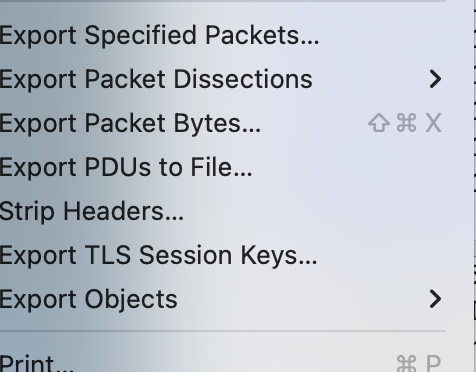
1. Export Specified Packet: In the above figures we can see how can we export the specified packet and filter the session as per the needs, and you should be aware of what exactly you are looking for because you cannot aim for anything in the packet which makes no use of the Wireshark. So, you have to be very clear about what exactly matches your expectation and what are our requirements and that varies from person to person OR organization to organization.
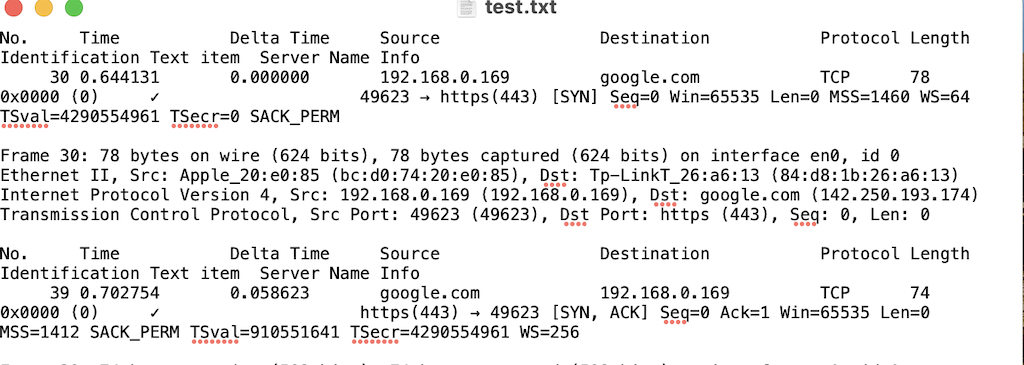
2. Export Packet Dissection: Now, Wireshark works on dissecting the packet with the help of the NCAP driver which is installed when you install the Wireshark software. The packet dissection you can share in the form of plain text. Basically, it gives you the TXT representation of the PCAP.
Below is the screenshot of how it looks.
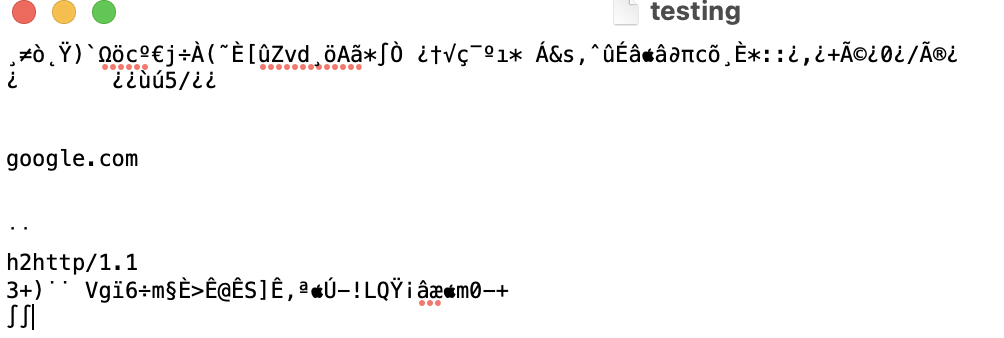
3. Export Packet Bytes: Exporting the packet bytes in the Wireshark could be useful if you are analyzing the byte levels. Sometimes the data is being tampered and at that moment it changes the bytes sometimes it is not and this thing varies from file to file and is also dependent on the extensions of the files. The data is saved would be the raw format of the pcap. The file can be downloaded in the form of .bin so once you open it, you would be to see the gibberish because that is to be considered as the ASCII values of those packets. Now, Wireshark already inbuilt the ASCII values of every dissecting packet, so you are able to see all those bytes levels. Below is the screenshot of the gibberish data packets, because my text editor (macOS) doesn’t have ASCII, you could open it in Notepad++ to see further, and that too if you have the SSL certificate because encryption is also the other reason the gibberish content.
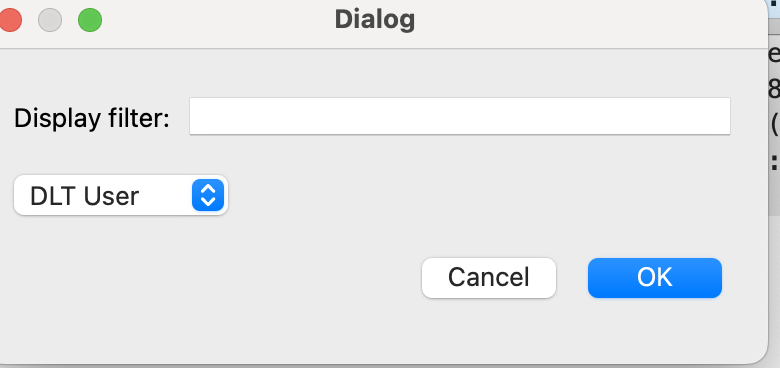
4. Export PDU to file: The Wireshark will ask you what protocol data unit you want it when you click on the File→ Export PDU → you can select the protocol as per the OSI layers protocols.
5. Export TLS session: This varies from session to session, if you have any TLS session then you would be able to export it, or else you won’t be able to export. TLS encrypts the communication between the client and the server. This option contains so much sensitive information such as the decrypted keys when you store any TLS session, and basically, it is the RSA private key that holds the session.
6. Export Objects: Export objects contains information such as HTTP, FTP data, and SMB. HTTP objects contain the server name, hostname, content type, and file name. Yet again, this also varies from session to session and there is no common pattern in every cap that you will capture. They would be completely independent of each other. So, you should know what exactly you are up to.

So, it is completely customizable and as per the needs of every IT engineer. This method eases the process of session filtering and is more useful to study every packet individually so that we can all those tiny details and share them with the IT Teams for analysis. In this article we have looked at TCP 3-way handshake and also how can we check the Wireshark commands so that we don’t have to remember every command. Further, we have also looked at how can we export the packet data from the captured pcap file.


