Introduction
Virtual reality refers to a simulation generated by a computer which allows user interaction with the use of special headsets. In simple words, it is an alternative reality created by a computer and the headset allows a person to be immersed in that reality. According to Allied Market Research, the VR content creation market would reach more than $45 billion by 2026.
VR is widely used in the gaming and the entertainment industry. It also finds wide applications in the medical domain(for instance helping in the rehabilitation of Alzheimer’s patients, treating PTSD disorders). VR simulations can be easily used for training purposes, teaching, and providing learners immersive spaces for skill development. Architectural simulations, astronaut training, teaching anatomy, or chemistry are just a few areas that widely use VR.
Developing VR applications is quite easy these days with a variety of frameworks available. In this article, we would focus on webVR, an open specification to experience virtual reality in your browser. Your developed application can be easily viewed using popular headsets like Google Cardboard. For our purpose, we would be using an open-source web framework called A-frame. A-frame is a really nice and easy to use web framework for creating VR and AR experiences.
We would use Python and A-frame to create a 3D model from a 2D image. The input would be an image like this:
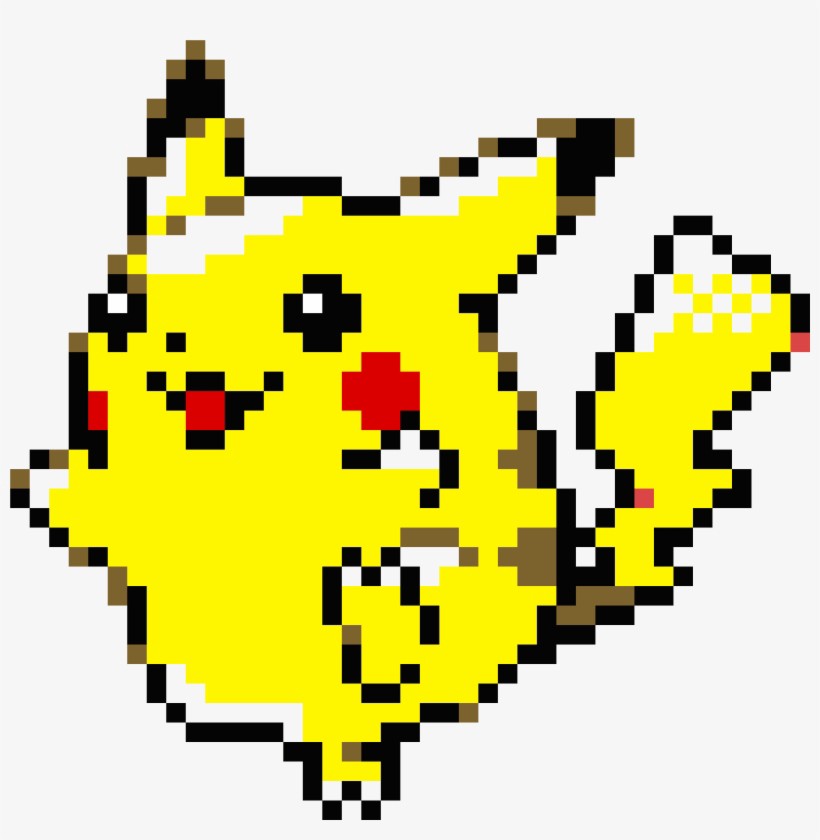
Using this image, we will create a 3D model that can be viewed in webVR.
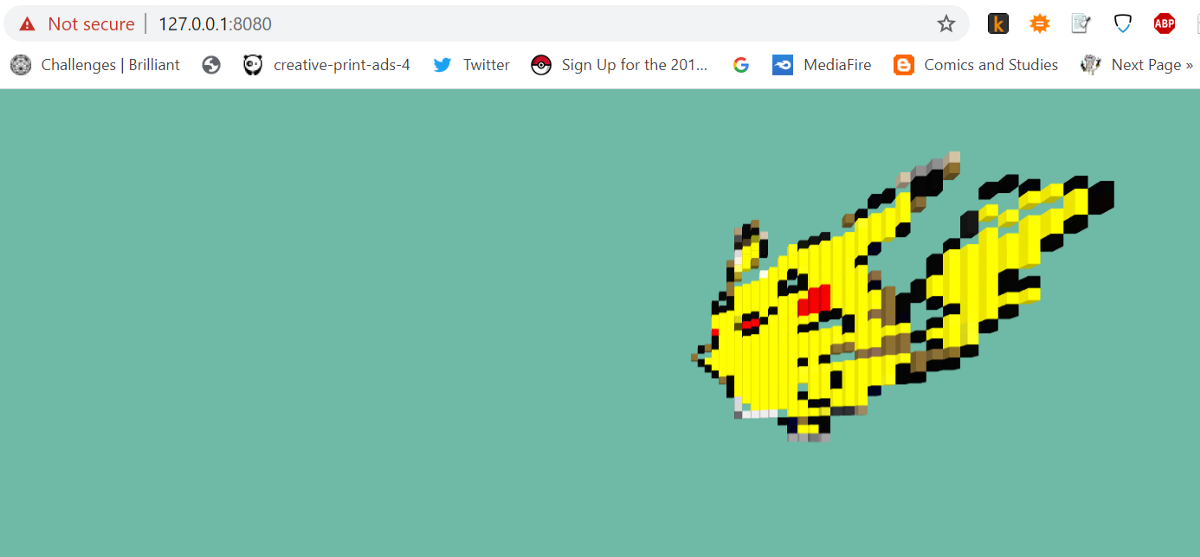
We can also animate this:
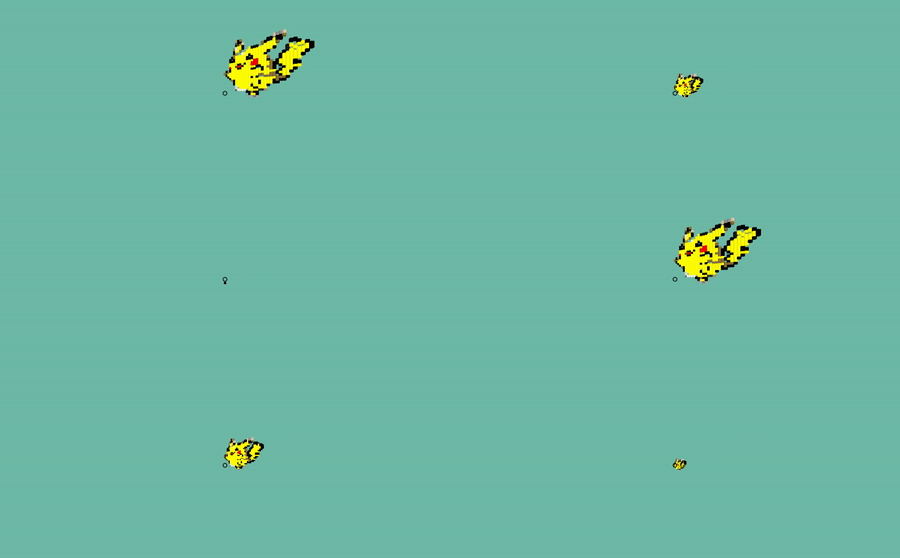
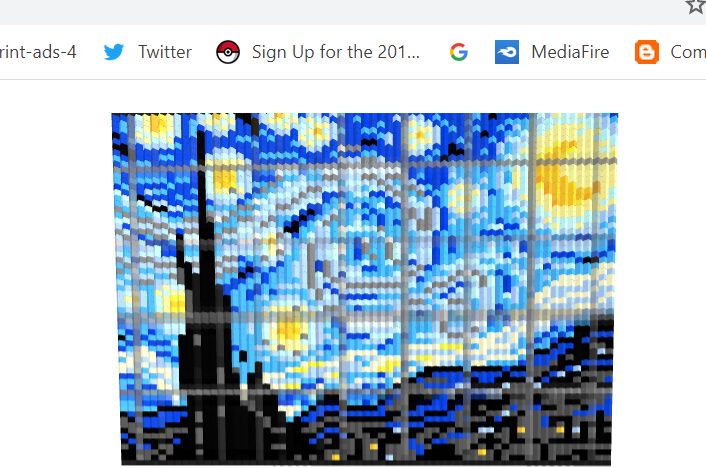
Also, I tried the same with ‘Starry Night’. In VR, we have the output like this:
Python magic
Now, we do have a fair idea of the output. Let’s kill some time with Python.
Step1(Load Image)
import cv2 as cv
import matplotlib.pyplot as plt
aa = cv.imread(r’C:UsersJojoDesktopprojectsminecraftpik.png’)
#you can change the image path as required
aa = cv.resize(aa, (32, 32), interpolation = cv.INTER_CUBIC)
aa = cv.rotate(aa, cv.ROTATE_90_CLOCKWISE)
The image here is resized as it is very hard to render a 3D model with millions of pixels.
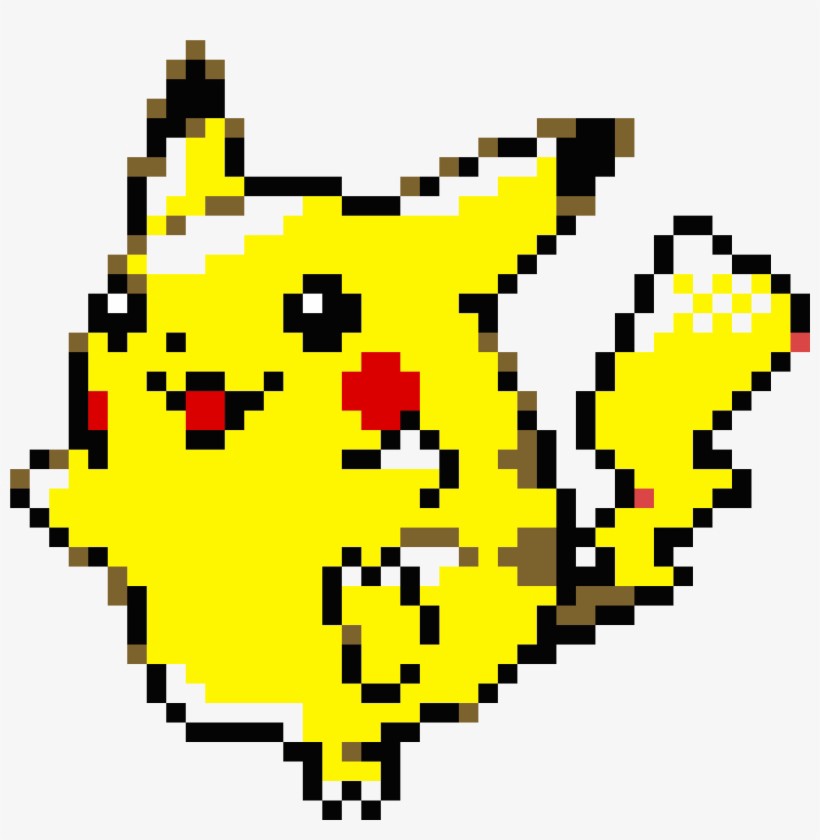
If you see the image here, apart from the Pikachu pixels, there are a lot of pixels that are grayish to whitish and we do not need them. We would convert them to gray(128,128,128) and while converting to a 3D model, we would discard these (128,128,128) pixels.
Step2(Image Processing)
for i in range(aa.shape[0]):
 for j in range(aa.shape[1]):
    if aa[i,j,0]>225 and aa[i,j,1]>225 and aa[i,j,2]>225:
       aa[i,j,0] = 128
       aa[i,j,1] = 128
       aa[i,j,2] = 128
#we are converting pixels with R,G,B component value>225 to grey
Step3(Virtual Reality)
The A-frame documentation is a very good place to start with A-frame and Virtual reality(https://aframe.io/). The idea here is to iterate through the whole image and select pixels that are not gray(128,128,128). For every selected pixel, we create an a-box with the same color.
The basic syntax for an a-box is: <a-box color=”blue” position=”2 2 2″ ></a-box>
ind = 1
strlis = []
for i in range(aa.shape[0]):
    for j in range(aa.shape[1]):
        if aa[i,j,0]!=128 and aa[i,j,1]!=128 and aa[i,j,2]!=128:
            str1 = '<a-box id="new" color="'
            colo = '#%02x%02x%02x' % (aa[i,j,2], aa[i,j,1], aa[i,j,0])#getting hex val from RGB
            str2 = colo+'"'+' position='
            str3 = '"'+str(i)+' '+str(j)+' '+str(ind)+'"'+'></a-box>'
            strlis.append(str1+str2+str3)
    ind = ind + 1
The list named strlis contains a-frame code for ‘a-box’es. We will write them to a new file.
myfile = open(r”C:UsersJojoDesktopprojectsminecraftpik2.txt”, “w”)
for line in strlis:
   myfile.write(“%sn” % line)
myfile.close()
The text file contains all the syntax for required ‘a-box’es. We should put them inside the a-scene tag.
A-Frame Visualization
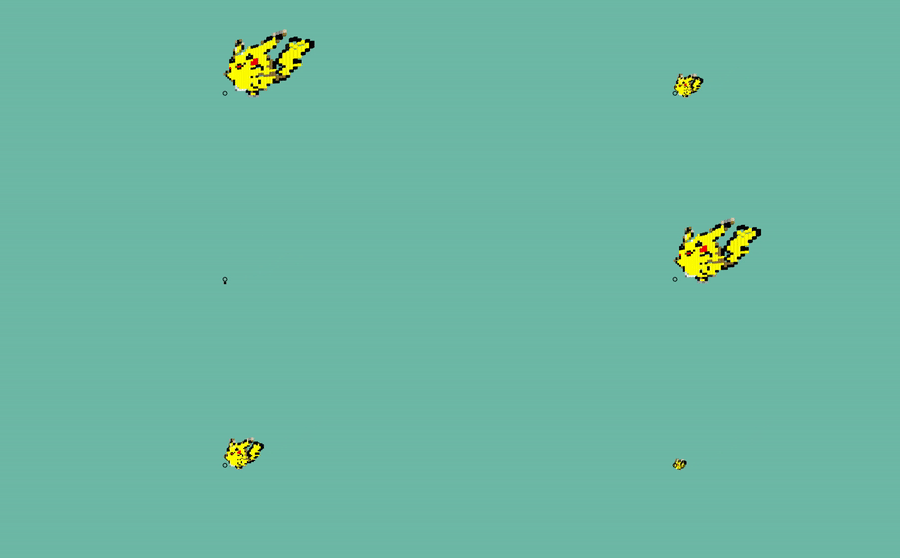
For instance, the A-frame code for this animated GIF looks like this:
<html>
  <head>
    <script src="https://aframe.io/releases/1.0.4/aframe.min.js"></script>
 <script src="https://unpkg.com/[email protected]/dist/aframe-event-set-component.min.js"></script>
 <script src="https://unpkg.com/aframe-environment-component"></script>

  </head>
  <body>
<a-scene>
<a-box id="new" color="#7e6228" position="0 13 1" animation="property: position; to: 0 0 0; dur: 7000; easing: linear; loop: true"></a-box>
<a-box id="new" color="#040404" position="1 12 2" animation="property: position; to: 0 0 0; dur: 7000; easing: linear; loop: true"></a-box>
<a-box id="new" color="#040404" position="1 14 2" animation="property: position; to: 0 0 0; dur: 7000; easing: linear; loop: true"></a-box>
<a-box id="new" color="#050500" position="2 11 3" animation="property: position; to: 0 0 0; dur: 7000; easing: linear; loop: true"></a-box>
<a-box id="new" color="#fef600" position="2 12 3" animation="property: position; to: 0 0 0; dur: 7000; easing: linear; loop: true"></a-box>
<a-box id="new" color="#7d6426" position="2 14 3" animation="property: position; to: 0 0 0; dur: 7000; easing: linear; loop: true"></a-box>
<a-box id="new" color="#010404" position="3 10 4" animation="property: position; to: 0 0 0; dur: 7000; easing: linear; loop: true"></a-box>
......................
<a-box id="new" color="#080301" position="31 19 32" animation="property: position; to: 0 0 0; dur: 7000; easing: linear; loop: true"></a-box>
<a-box id="new" color="#040404" position="31 20 32" animation="property: position; to: 0 0 0; dur: 7000; easing: linear; loop: true"></a-box>
<a-sky color="#6EBAA7"></a-sky>
    <a-camera><a-cursor></a-cursor></a-camera>
</a-scene>
</body>
I have not included the whole code here though. But you can find it in my Github repo:
(https://github.com/jojo96/AFrame3D).
The same method can be used to create pixel art in A-Frame. An example:
To run WebVR in your favorite browser, you need to save your A-Frame code and save it in an HTML document. Then you need to run the file using a local webserver.
A-Frame Code
How to get the A-Frame code?
The skeleton code is:
<html>
  <head>
    <script src="https://aframe.io/releases/1.0.4/aframe.min.js"></script>
	<script src="https://unpkg.com/[email protected]/dist/aframe-event-set-component.min.js"></script>
	<script src="https://unpkg.com/aframe-environment-component"></script>

  </head>
  <body>
 <a-scene>

    <a-camera><a-cursor></a-cursor></a-camera>
</a-scene>

</body>

</html>
Run any one of the files in the notebook folder from my Github repo and copy the text from the resulting text file. Paste the text after opening <a scene> tag. The Github repo is here.
Say, you want to make the “Pikachu 3D model”. You can run the pikamodel.ipynb notebook and get the pik2.txt as output. Copy the text inside the pik2.txt and paste the text after opening the <a-scene> tag. The complete example is in the A-Frame Examples folder.
Thank you. Now you can make your own 3D models in VR.


