

Congratulations on your new Google Pixel 10. It’s a powerful Android phone that works right out of the box. However, if you enjoy fine-tuning, there’s plenty more you can do.
Buried inside Android is a developer menu originally meant for programmers to test and debug their apps.
While the name sounds intimidating, conjuring images of complex code and arcane commands, it’s a collection of powerful customization tools.
Here are the six toggles I changed in the developer settings.
6
Speed up your phone by adjusting animations
![]()
When you open an app, switch screens, or trigger a pop-up menu, you see a short Material 3 Expressive animation that smooths the interface. You might not notice it because the effect feels seamless, but it adds a tiny delay.
In the Developer Options menu, under the Drawing section, you’ll find three settings that control these animations:
- The window animation scale controls the speed of windows and the pop-up dialogs on screen.
- Transition animation scale sets the speed of switching between screens, like moving between home screens or navigating within an app.
- Animator duration scale affects nearly all other general interface animations, such as opening and closing the notification shade or apps.
By default, each setting is 1x. Tap each one and set it to 0.5x. Now, the transitions finish half the time, making the phone more responsive.
This doesn’t speed up the processor or app loading. It shortens animation, which improves perceived speed.
Default 1x animations often mask the brief time an app needs to get ready. At 0.5x, animations end sooner and reveal the UI earlier.
On a Pixel 10, the hardware is fast enough that content is usually prepared before the shorter animation ends, so it’s a net benefit.
On older or slower devices, you may see a brief blank screen after the animation ends but before the app is ready.
It’s worth experimenting here. Try different speeds and see what feels right to you. Some people find faster animations jarring.
5
Use Stay Awake to monitor the setup easily
![]()
This toggle is simple and useful. Find it in the Debugging section. Turn on Stay Awake to keep the screen on while the phone is plugged in and charging.
This is perfect for several day one scenarios. During setup, such as downloading apps or restoring a large backup, you can monitor progress without the screen constantly dimming.
Use this feature wisely. Keeping the screen on for long periods uses more power and, on OLED, can contribute to uneven pixel wear or even burn-in if a static image stays on for hours. Use it for specific tasks, then turn it off when you’re done.
4
Fine-tune Bluetooth codecs for better sound and battery
![]()
If you’ve paired wireless headphones with your Pixel 10, ensure you get the best sound quality.
A Bluetooth codec translates your audio. It compresses music on your phone, sends it wirelessly, and your headphones decompress it for playback. Quality varies between codecs, and some preserve more detail.
Common codecs include SBC (basic), AAC (Apple-favored and Android-supported), aptX/aptX HD (higher quality), and LDAC (higher bitrate for near-wired, high-resolution sound).
Higher-end codecs like LDAC deliver better fidelity. Simpler codecs such as SBC or AAC use less bandwidth and can extend the battery life of phones and headphones.
To take control, connect your headphones, start audio, then open Developer Options and scroll to Networking. Tap Bluetooth audio codec to see the active codec and all supported options.
If your headphones support a higher-quality codec, select it. For example, choose LDAC with compatible Sony models. Unsupported options appear grayed out.
![]()
Your comment has not been saved
- Wired/wireless
-
Wireless
- Battery Life
-
8 hours with ANC (30 hours with case)
- Noise Cancellation
-
Yes, active
- Bluetooth
-
Bluetooth 5.4
3
Change the default USB mode for convenience
It’s a common frustration when you plug your phone into your computer to transfer photos, and nothing happens. The phone charges, but the computer doesn’t detect its storage.
To fix this, you must wake the phone, open the notification shade, tap the USB alert, and select File Transfer.
You can avoid this extra step by opening the Default USB configuration under Networking in Developer Options and changing the default to File Transfer.
After that, when you connect your Pixel 10 to a computer, it mounts as a storage device for drag-and-drop with no extra taps.
The default charge-only mode helps protect against juice jacking. In this attack, malicious public charging ports attempt to access your files.
If you allow File Transfer by default, use it only with trusted computers at home or work. Avoid plugging into untrusted sources such as public charging stations.
2
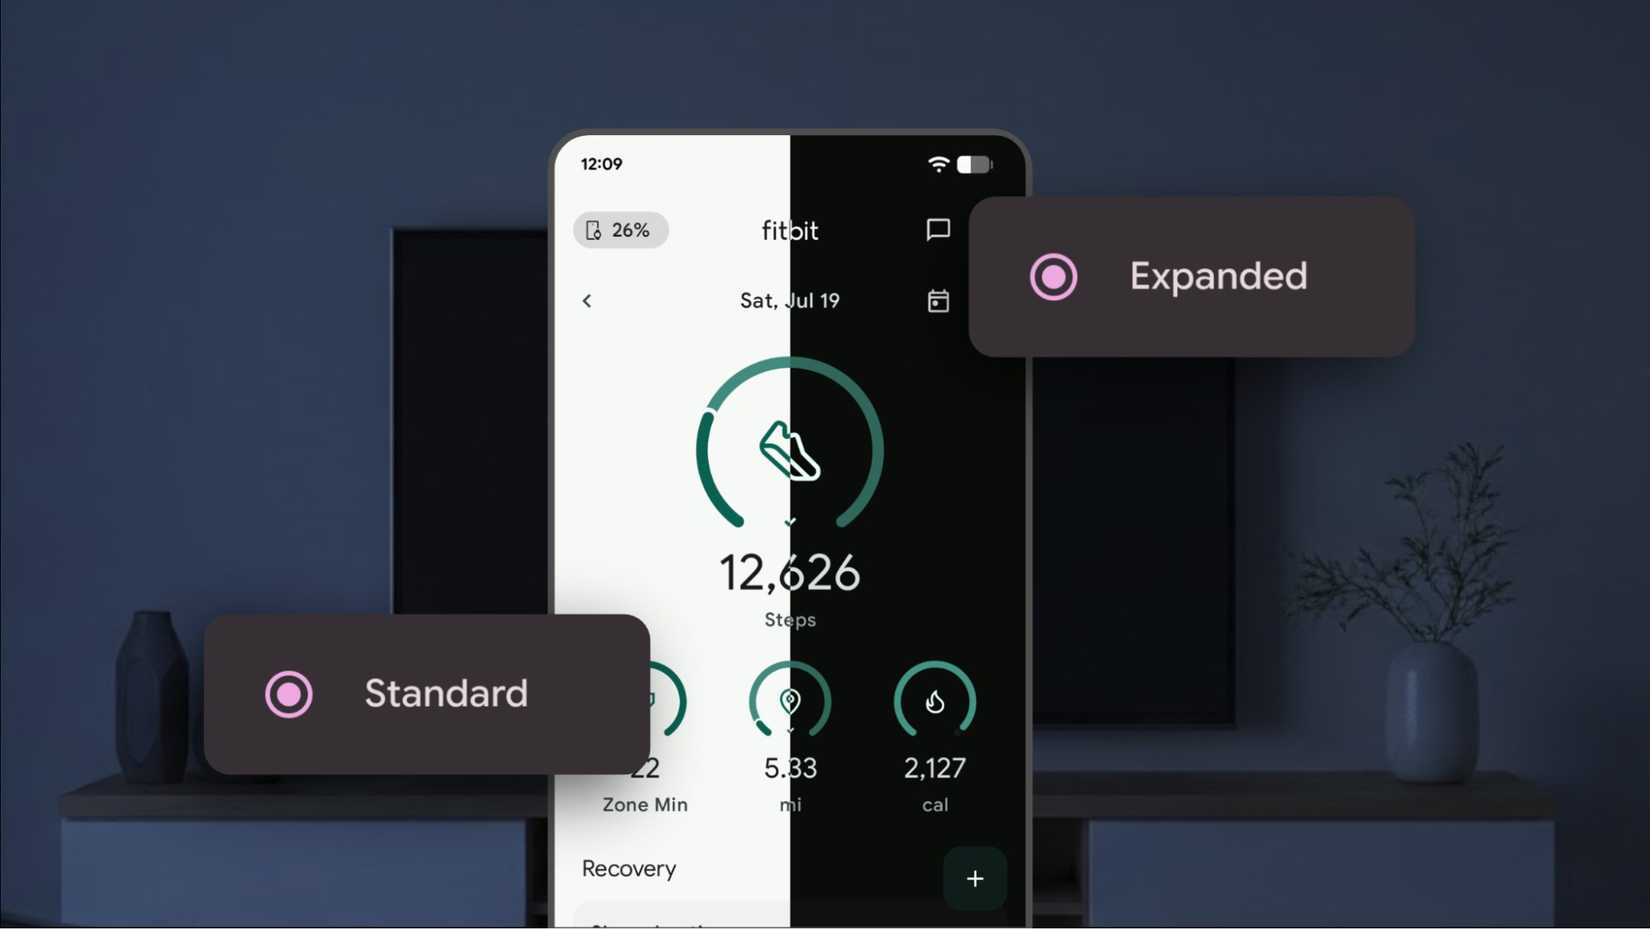
Apply dark mode even to unsupported apps
Source: Android Developers Blog
Dark mode is useful. It reduces eye strain in low light and can save battery on OLED screens like your Pixel 10.
However, not every app has a native dark theme, and that mismatch can be jarring when you switch from a dark system app to a bright third-party screen.
The Override force dark setting can fix this. Find it under Hardware accelerated rendering. The toggle tries to apply a dark theme to apps.
It is a brute-force tool, but not perfect. Because the app was not designed for it, you may see visual glitches such as icons changing color or elements not rendering. But for most apps, it works well.
1
Fit more content on screen with careful tweaks
![]()
In the Drawing section, a setting called Smallest width gives precise control over every on-screen element, including text, icons, and menus.
It works by adjusting density-independent pixels (dp). A larger number makes everything smaller, so more content fits on screen. A smaller number makes items larger, improving readability.
Don’t change this value too much. Very large values (for example, above 700 dp) can shrink the interface until it’s unusable, making it hard to change back.
If you experiment, stick to minor, sensible adjustments (10 dp) until it suits you. Before changing anything, open the Smallest width and note the default value.
A little caution unlocks a lot of control
Developer Options can look intimidating, but they aren’t something to fear if you carefully approach them.
Most toggles are reversible and will not damage your hardware. At worst, they will cause a temporary quirk in how your phone looks or behaves.
Always note the default value before you change anything. If you go too far, reset Developer Options or perform a factory reset to return to a clean slate.
After you’ve explored the basics, return to this menu when you want to perfect your Android experience.
![]()
Google Pixel 10
- SoC
-
Google Tensor G5
- Display type
-
Actua display
- Display dimensions
-
6.3 inches
- Display resolution
-
20:9