Proton Drive is gaining traction in a crowded cloud storage market thanks to its flexible pricing, end-to-end encryption, security options, and integration with existing Proton products. Although Proton provides a comprehensive web version, its true capabilities are best realized through its desktop applications. They support syncing with local folders and files on-demand and give you more flexibility on a desktop.
In this post, we go over step-by-step instructions showing you how to set up Proton Drive on Windows and Mac. If you have a Linux computer or a Chromebook, use the Proton Drive web app to access and manage your digital vault.
Related
4 reasons to switch from Google Drive to Proton Drive
My quest for secure cloud storage finally ended with Proton Drive
Sign up for a Proton Drive plan
Like other cloud storage services, Proton Drive offers a free plan to get started. However, it has only encrypted 5GB of space and an online document editor. Other features are locked behind paid plans. Let’s go over them quickly.
- Drive Plus ($5.29 per month): Unlocks 200GB of space on your account and lets you recover previous file versions.
- Proton Unlimited ($16.47 per month): Offers 500GB of cloud space, a private VPN, up to 15 custom email addresses, an encrypted password manager, and advanced account protection.
- Proton Duo ($25.34 per month): Dials the overall storage to 1TB and offers the same features to up to two users.
You can upgrade to Proton Family and Drive Professional plans if you want more storage. Go to the Proton pricing page to learn more. After creating a Proton account and signing up for a relevant plan, go over the steps below to set up Proton Drive on your desktop. We start with the Windows version.
Download and set up Proton Drive on Windows
Proton Drive isn’t available via the Microsoft Store on Windows. You’ll download it from the official website and go through the usual installation process to complete the job.
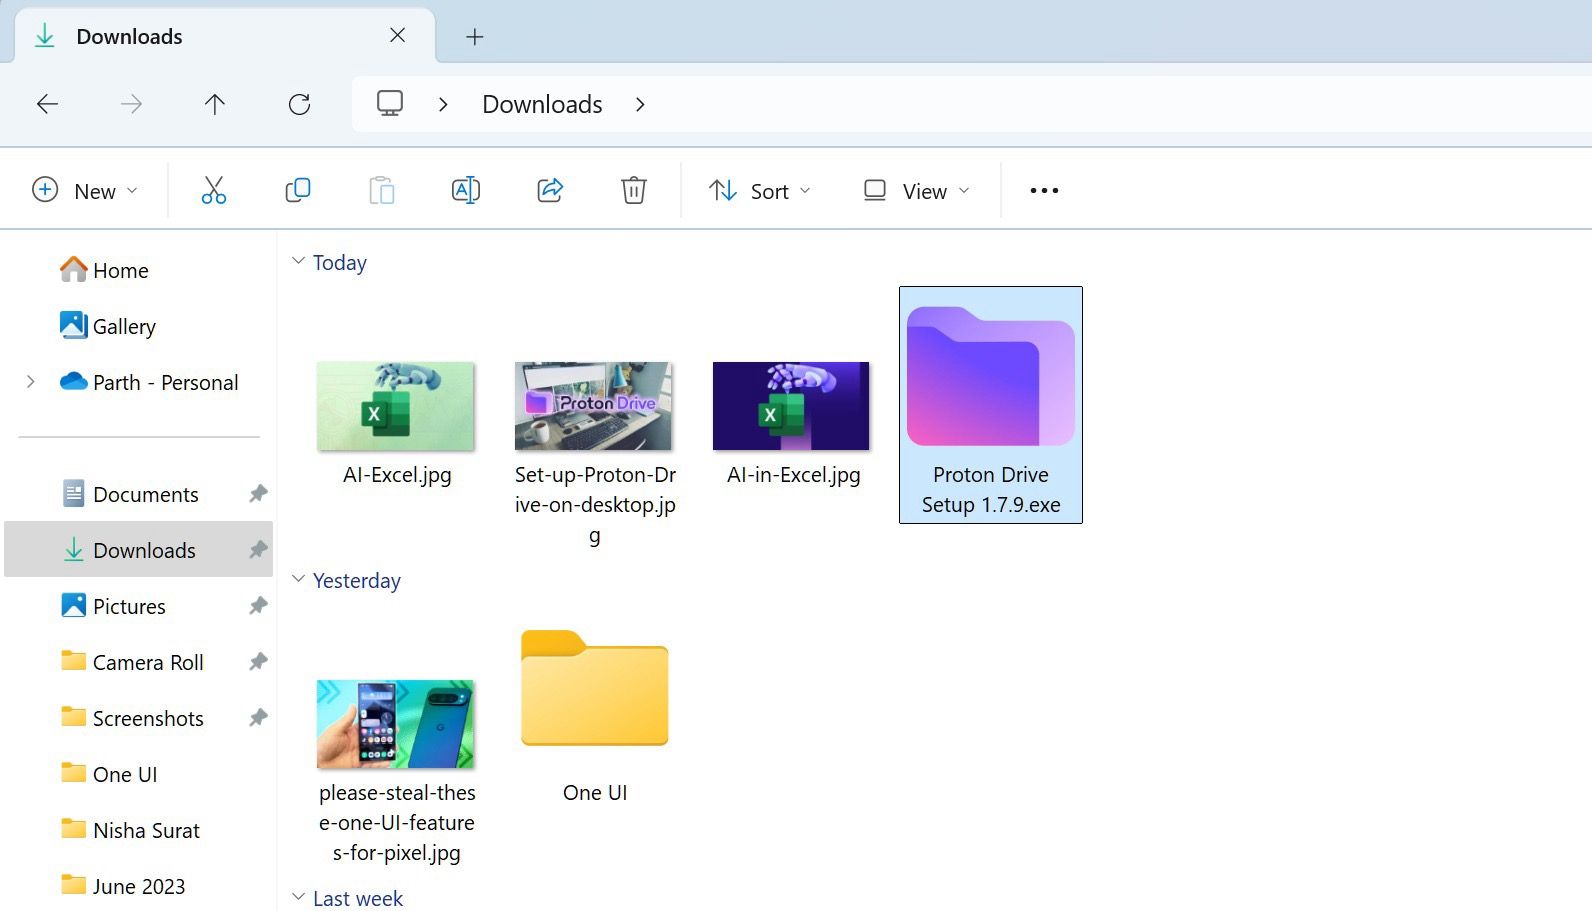
- Go to Proton Drive on the web and download the Windows version.
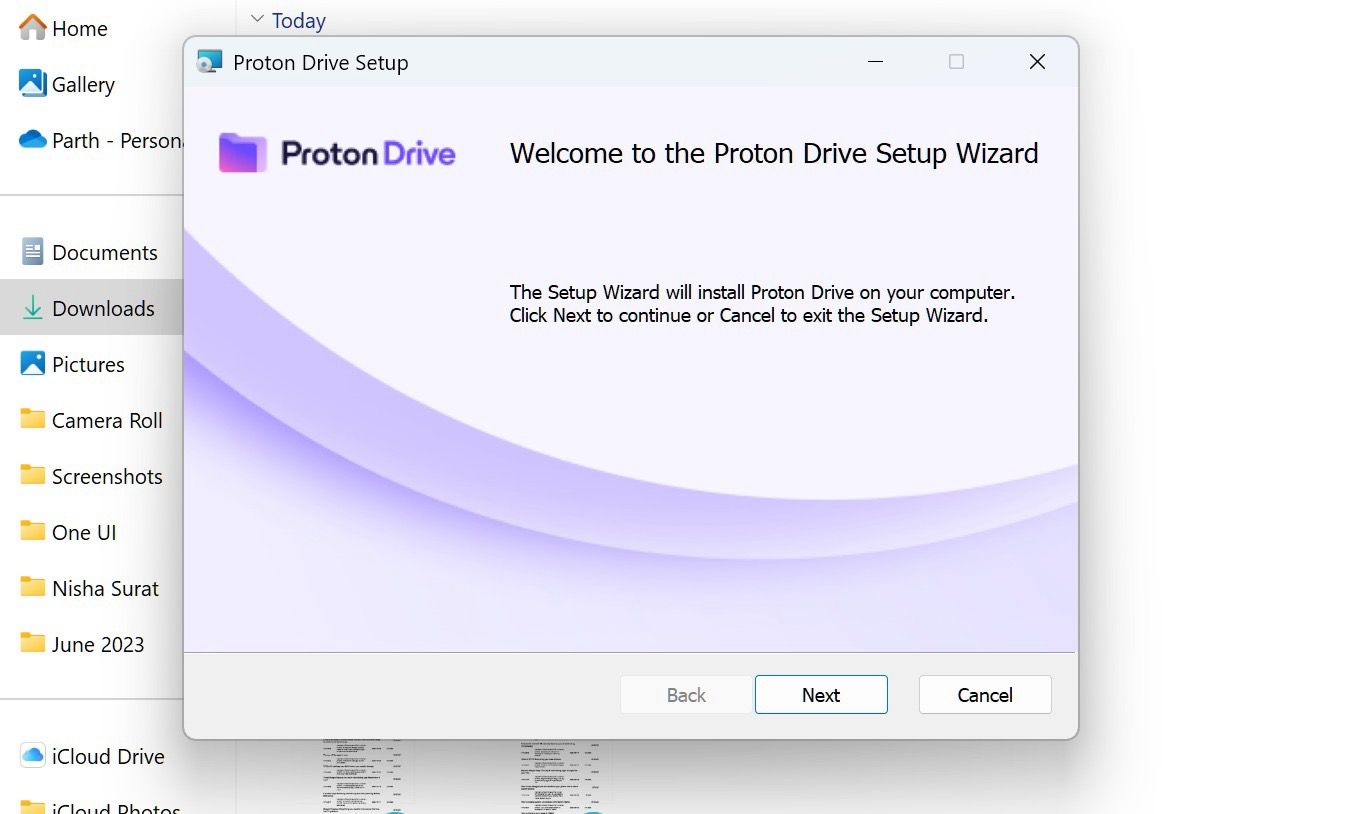
- Open File Explorer and double-click the installation file. It launches the Proton Drive setup wizard.
- Click Next.
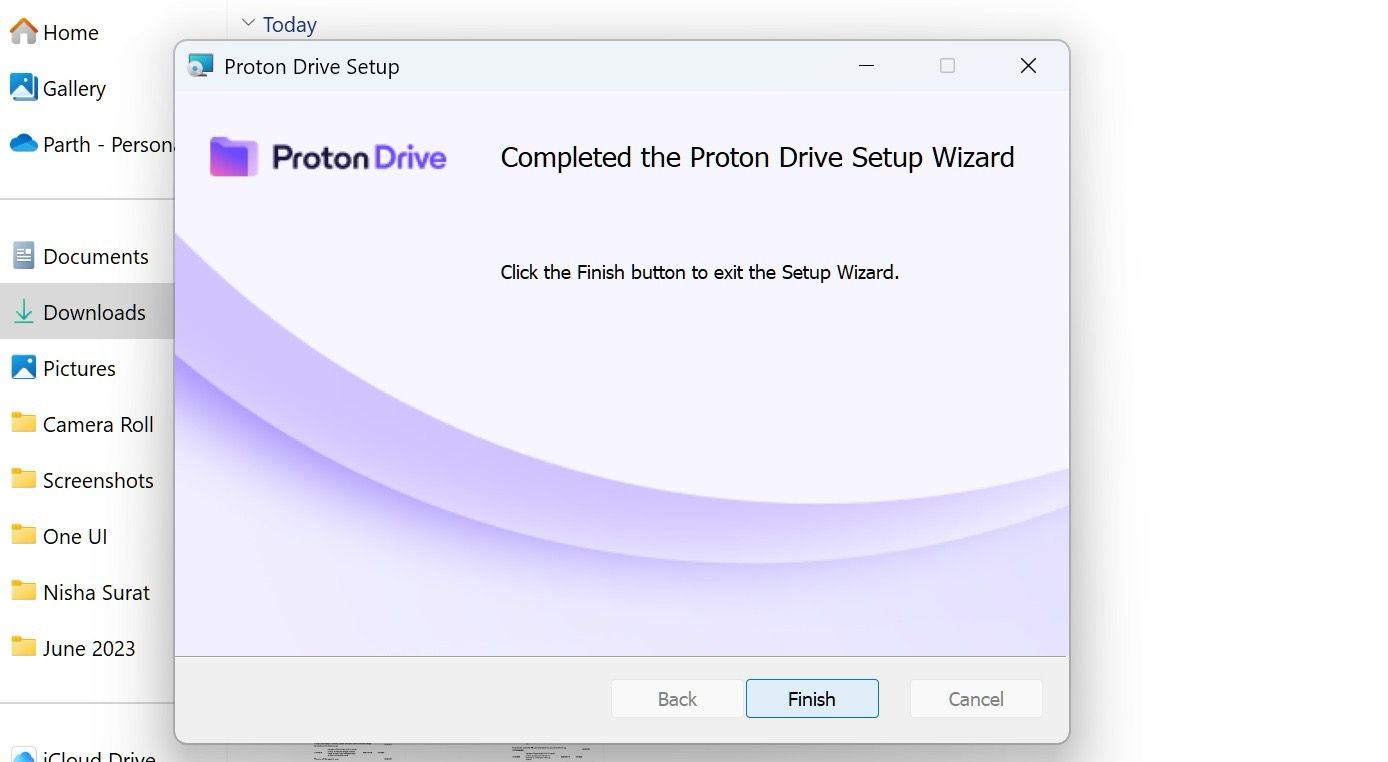
- Go through the installation process and click Finish.
That’s it. Proton Drive is now up and running on your Windows PC. Now, it’s time to explore features and customize the app to your preferences.
Sync local PC folders to Proton Drive
After you set up Proton Drive, sync your local folders to keep your data safe and encrypted. Here is what you’ll do:
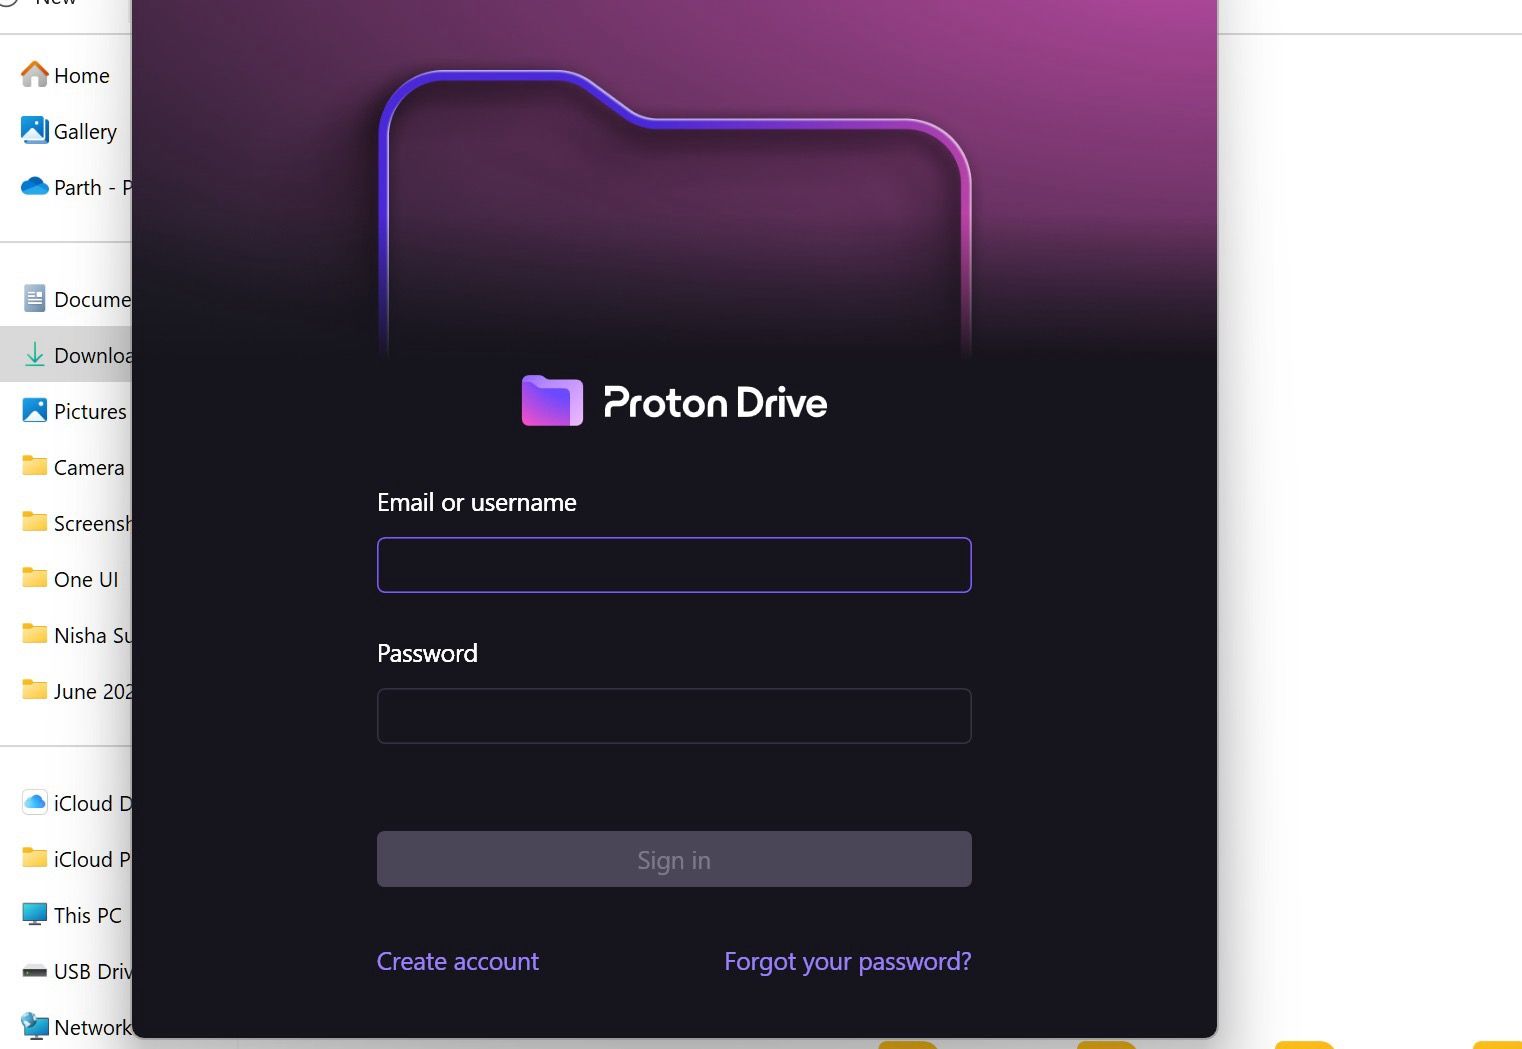
- Open Proton Drive and sign in with your account details.
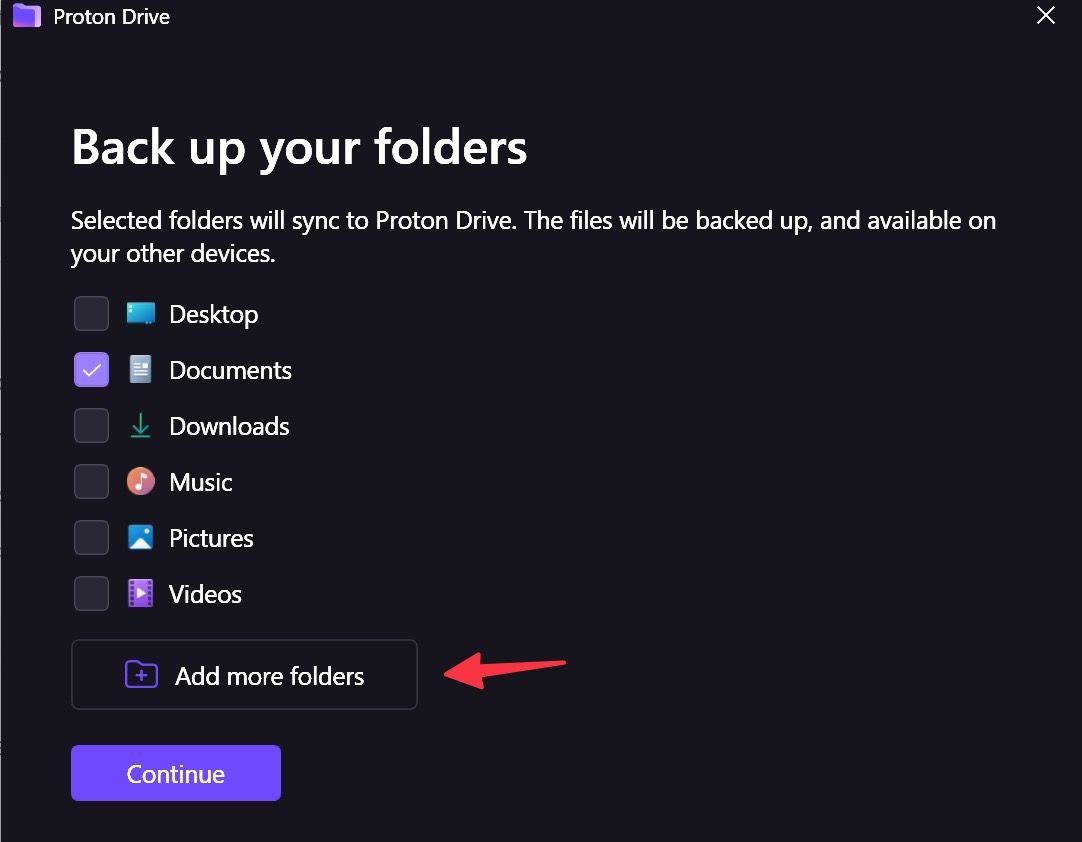
- It asks you to back up your folders. Click Add more folders to pick a local folder from your PC.
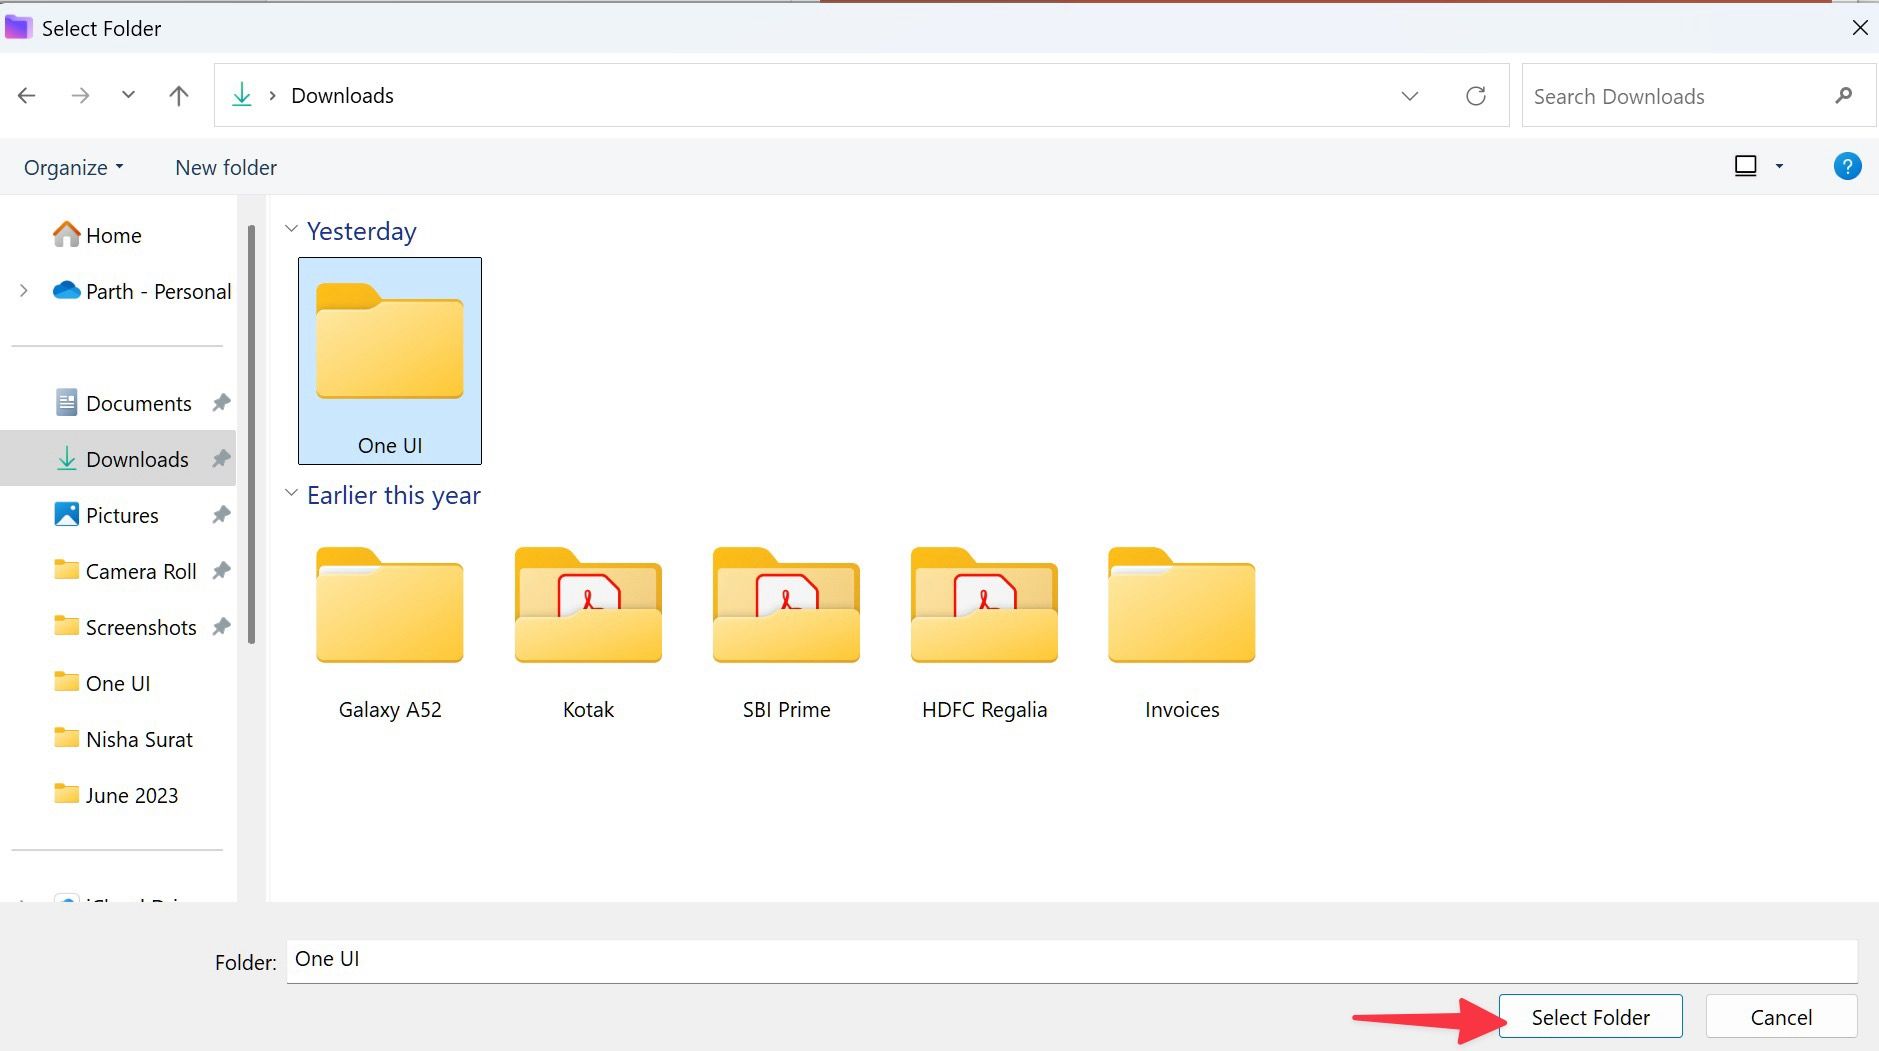
- Find and click a folder you want to sync and click Select Folder.
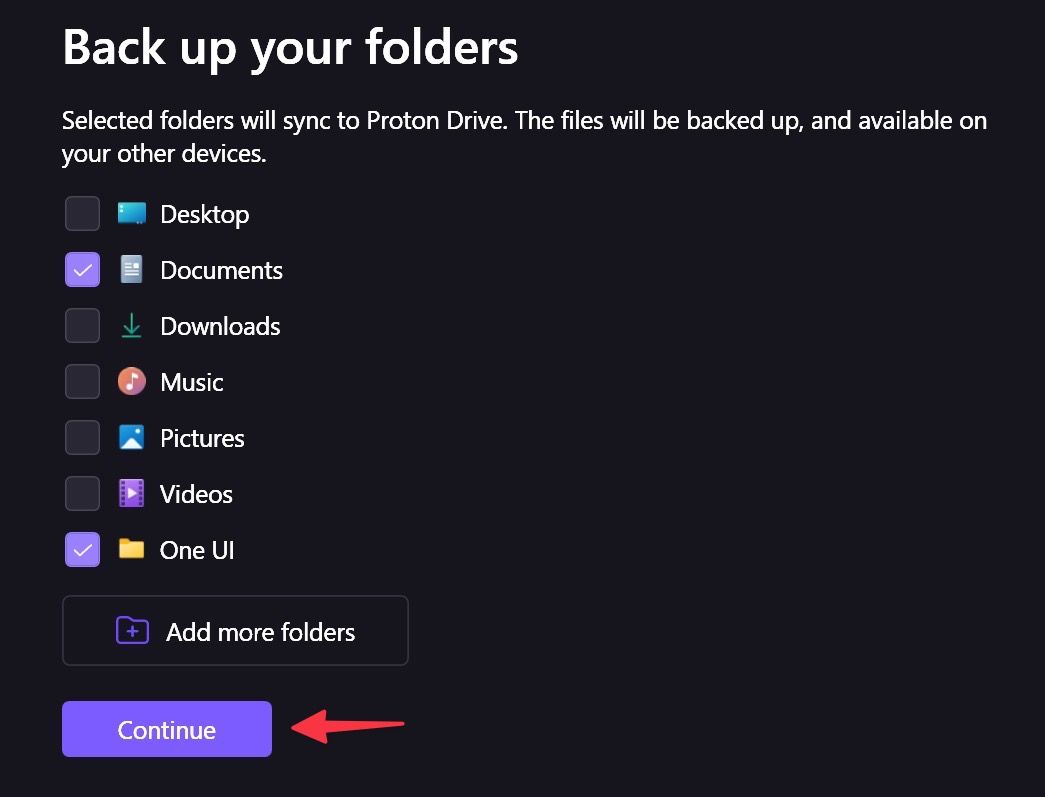
- Confirm your folders and select Continue.
- Click Finish and you are good to go.
From now on, when you add files to a specific folder, Proton Drive syncs the same to your account. You can go to Proton Drive on the web and find your Windows PC and synced folders under the Computers menu on the sidebar.
Explore files on-demand with Proton Drive
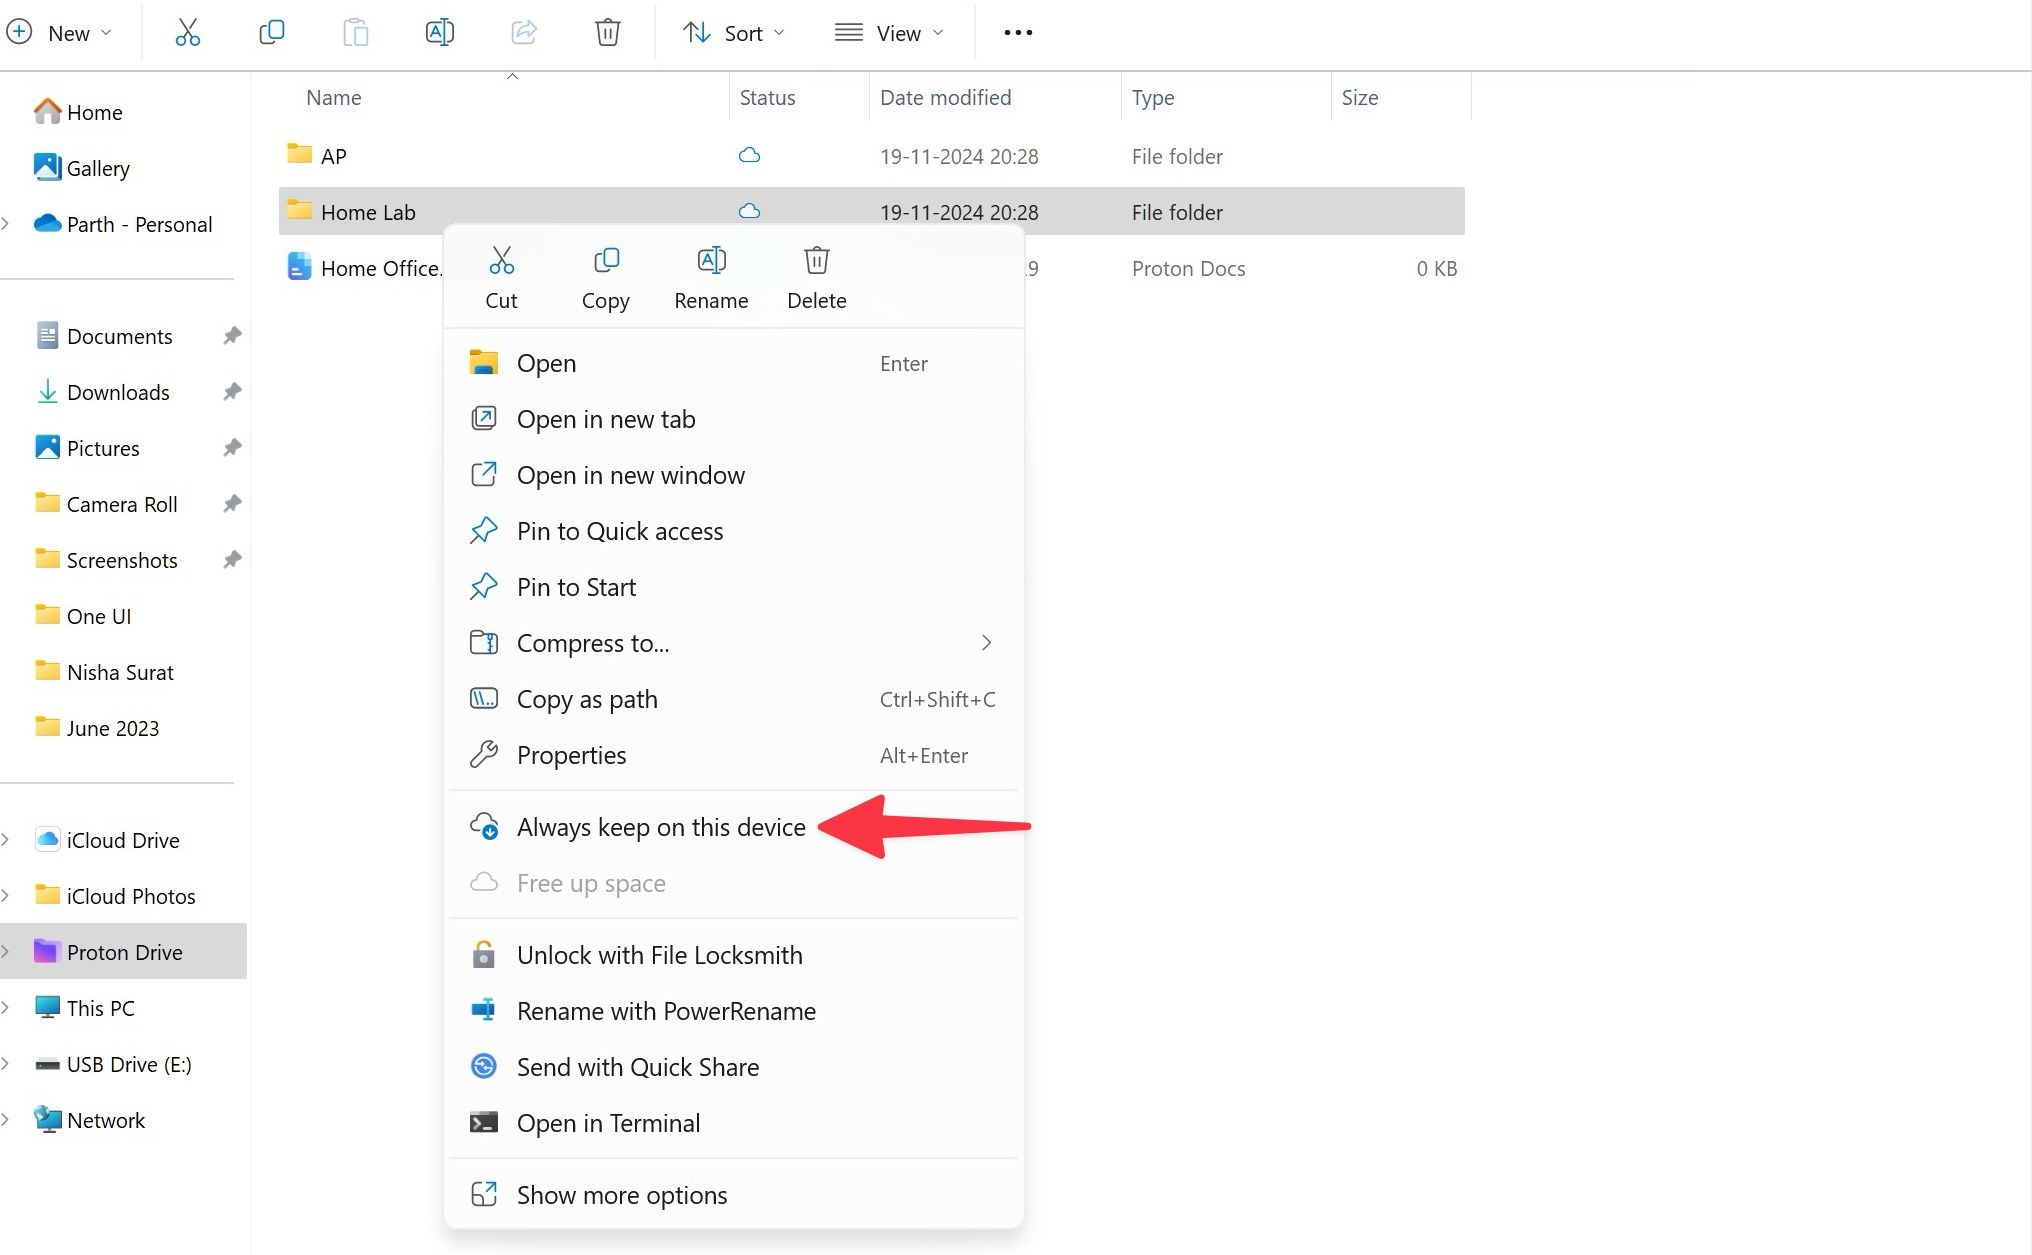
Like Google Drive, Dropbox, and OneDrive, Proton Drive neatly integrates with File Explorer and supports files on-demand. It mirrors your entire Proton Drive account, and you can download the files that are necessary for your workflow. When your work is complete, move them back to the cloud to free up space.
- Press the Windows + E keys to launch File Explorer.
- Select Proton Drive from the sidebar.
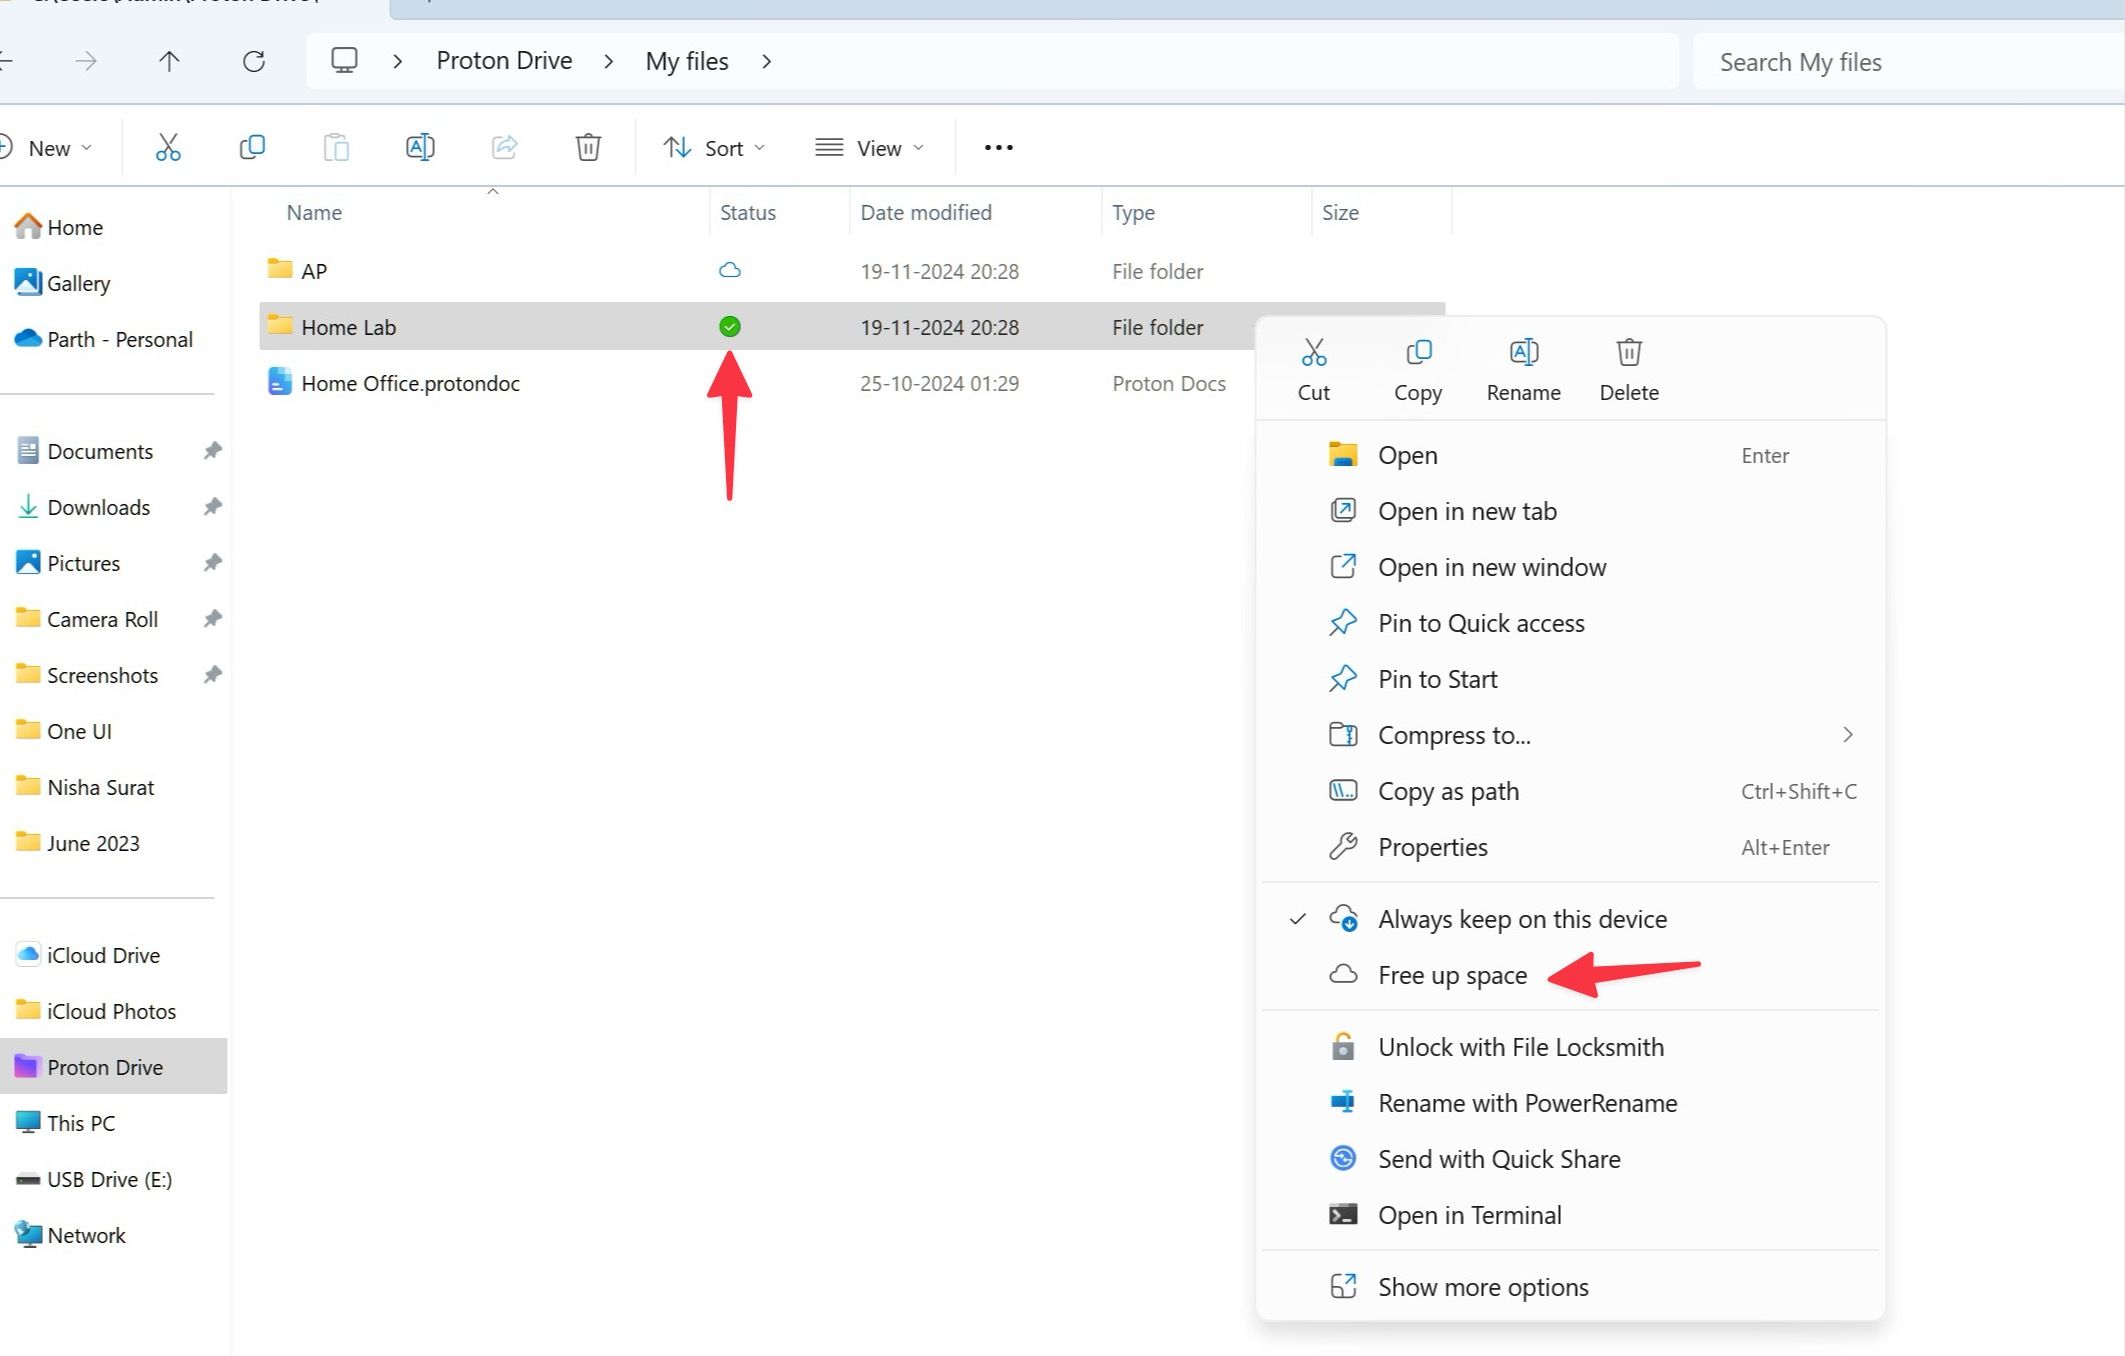
- Open your account and look for a small cloud icon beside files or folders. They indicate online files. Right-click them and select Download Now to use them offline on your device.
- You’ll notice a green checkmark beside such downloaded files. Right-click the checkmark and select Free up space to remove them from the device.
Launch Proton Drive on startup
If Proton Drive is an essential part of your workflow, launch it at startup to keep files synced.
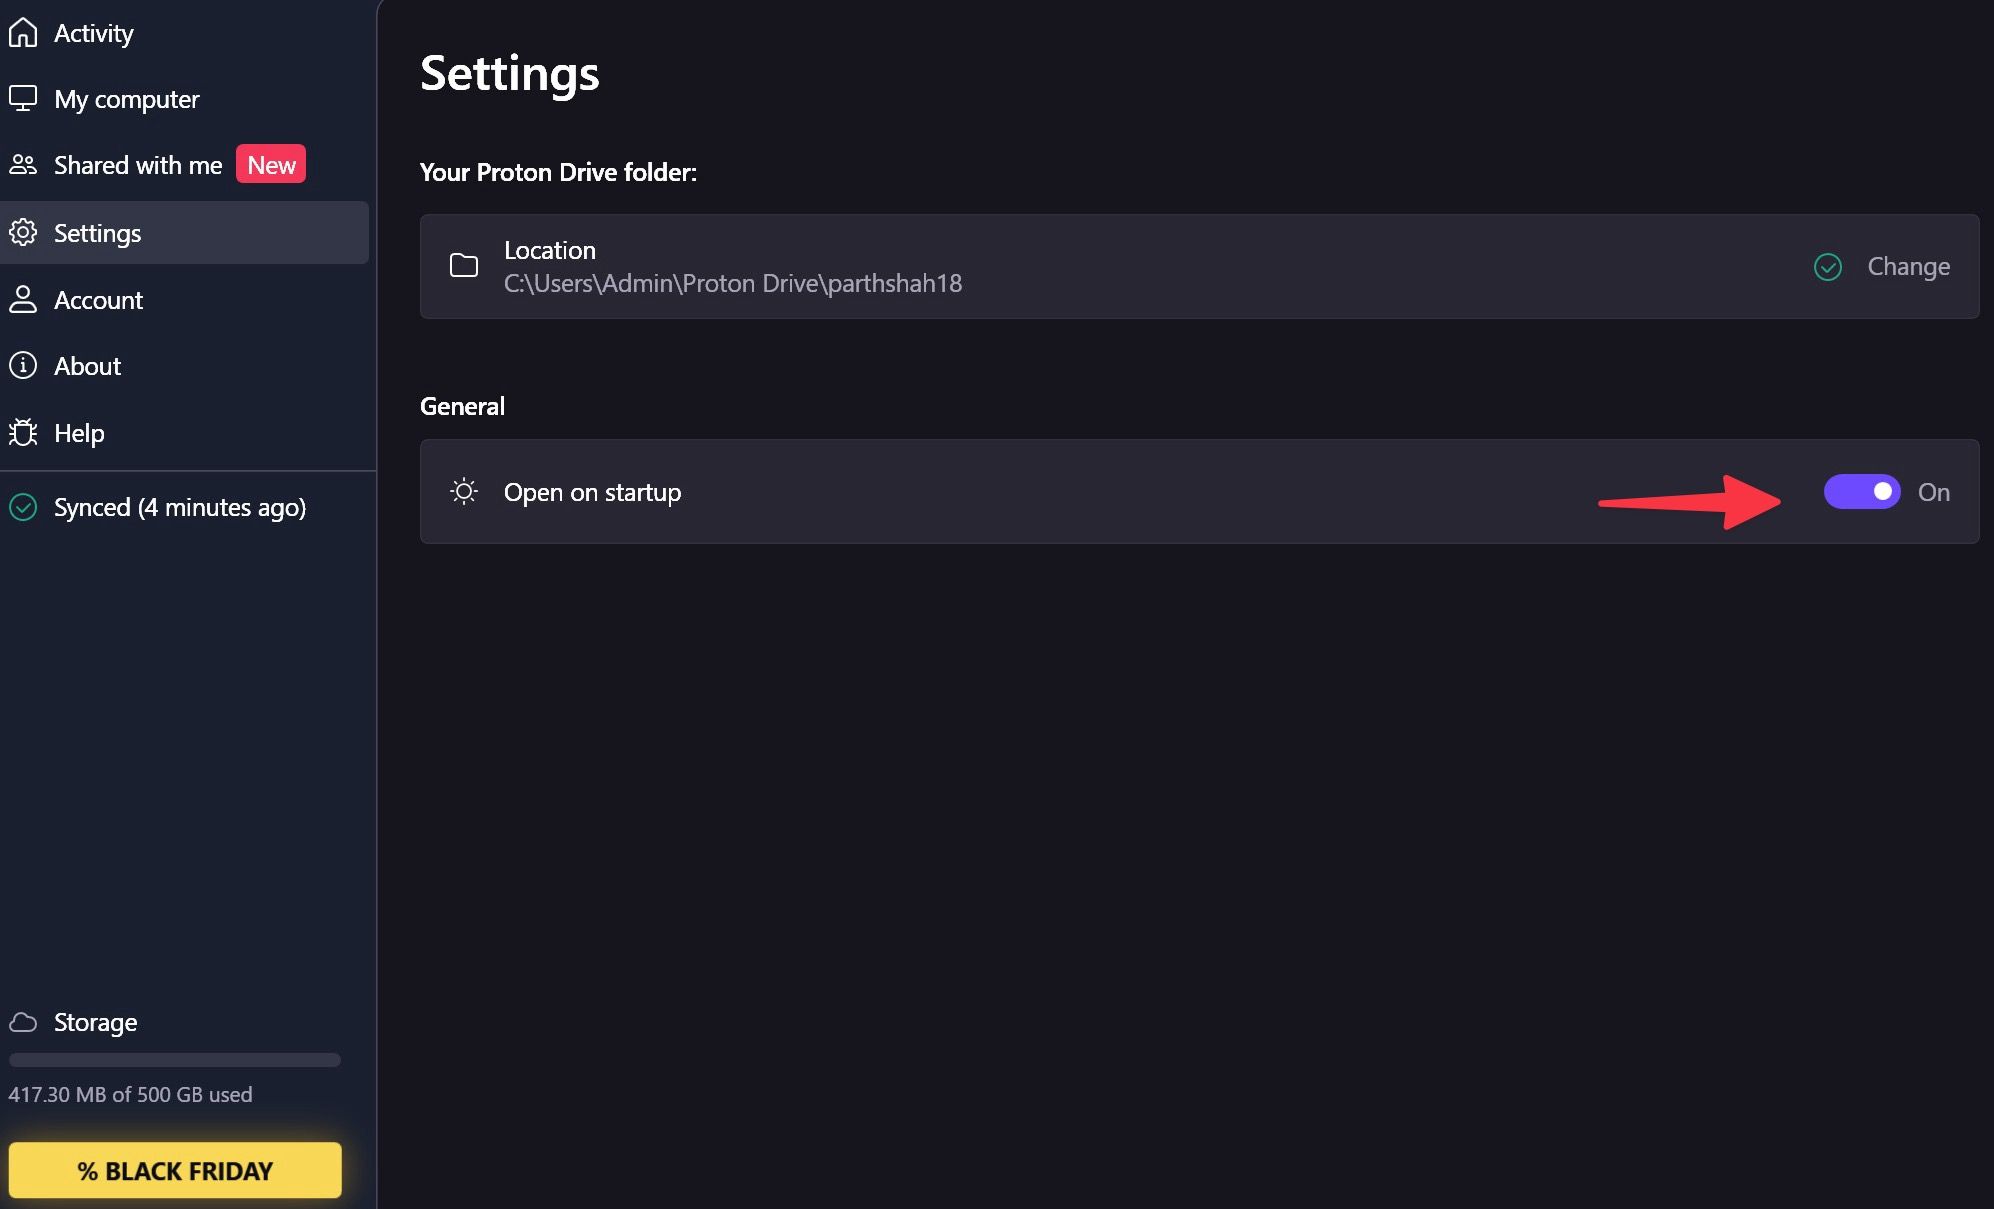
- Open Proton Drive on Windows.
- Move to Settings
- Turn on the Open on startup toggle.
Related
7 common Proton Drive problems and how to solve them
Essential steps to a smoother and a glitch-free Proton Drive setup
Download and set up Proton Drive on Mac
The Proton Drive desktop app is available on Mac as well. Like Windows, you need to download the file from the web as it’s unavailable from the Mac App Store. After you download Proton Drive’s installation files from the web, open it from the Finder menu and go through the installation process.
Access Proton Drive in Finder
You need to open Proton Drive and sign in with your account details. After that, it appears on the Mac menu bar as well as the Finder app.
- Launch Finder on Mac.
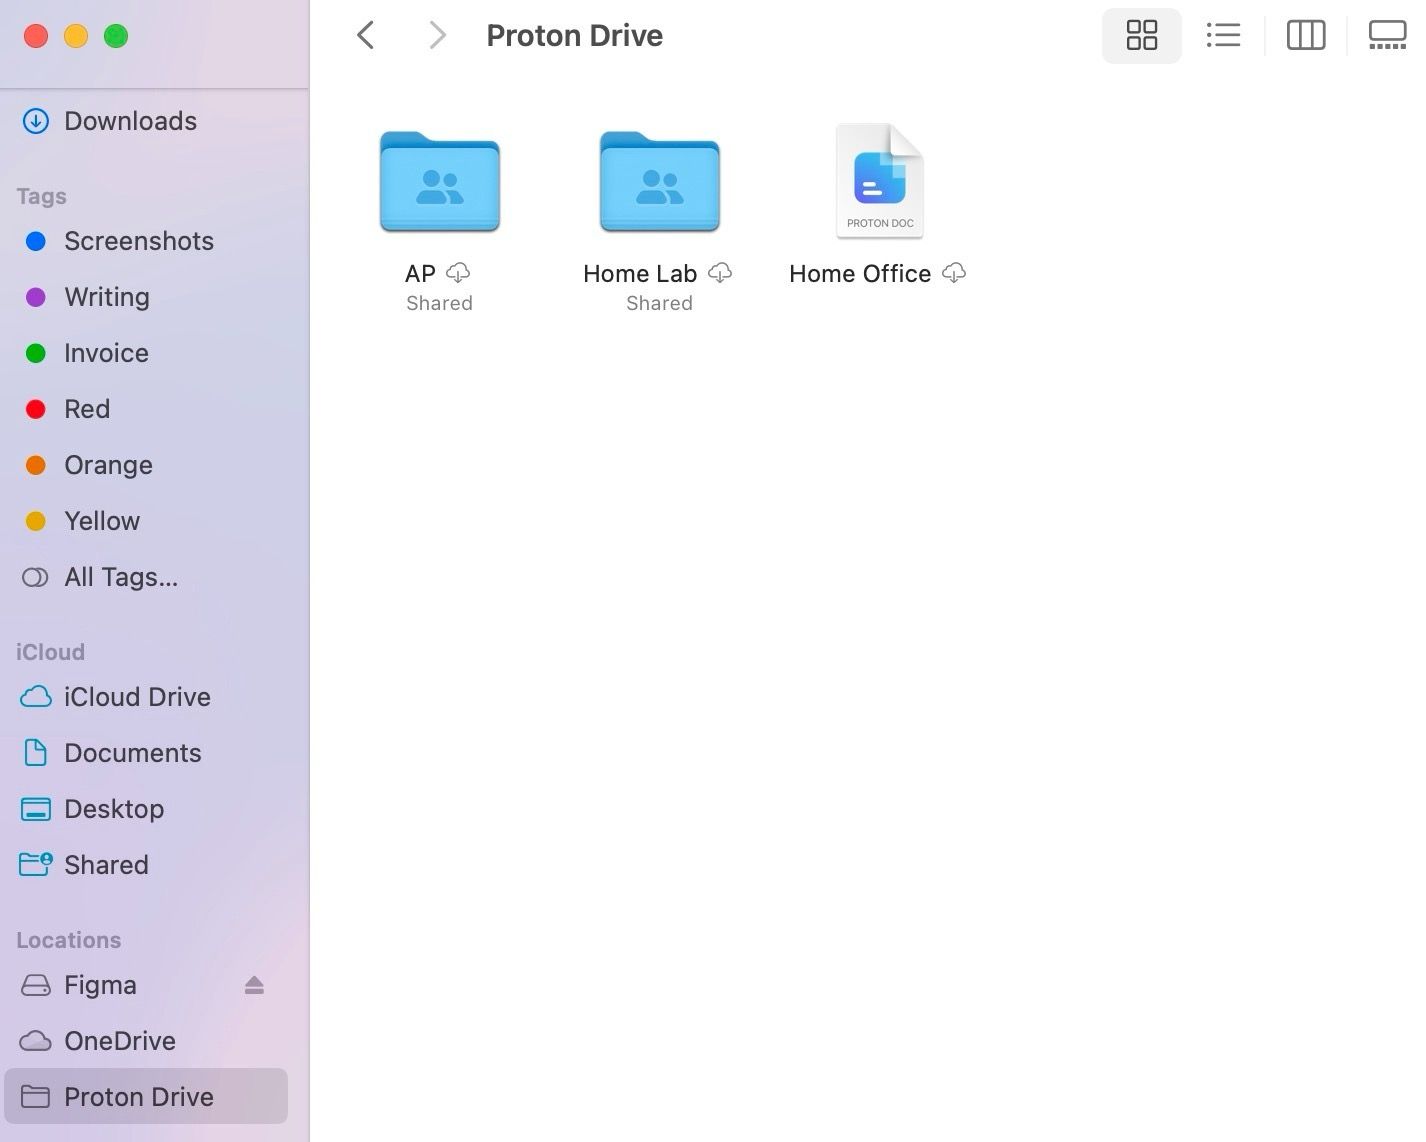
- Find Proton Drive under the Locations.
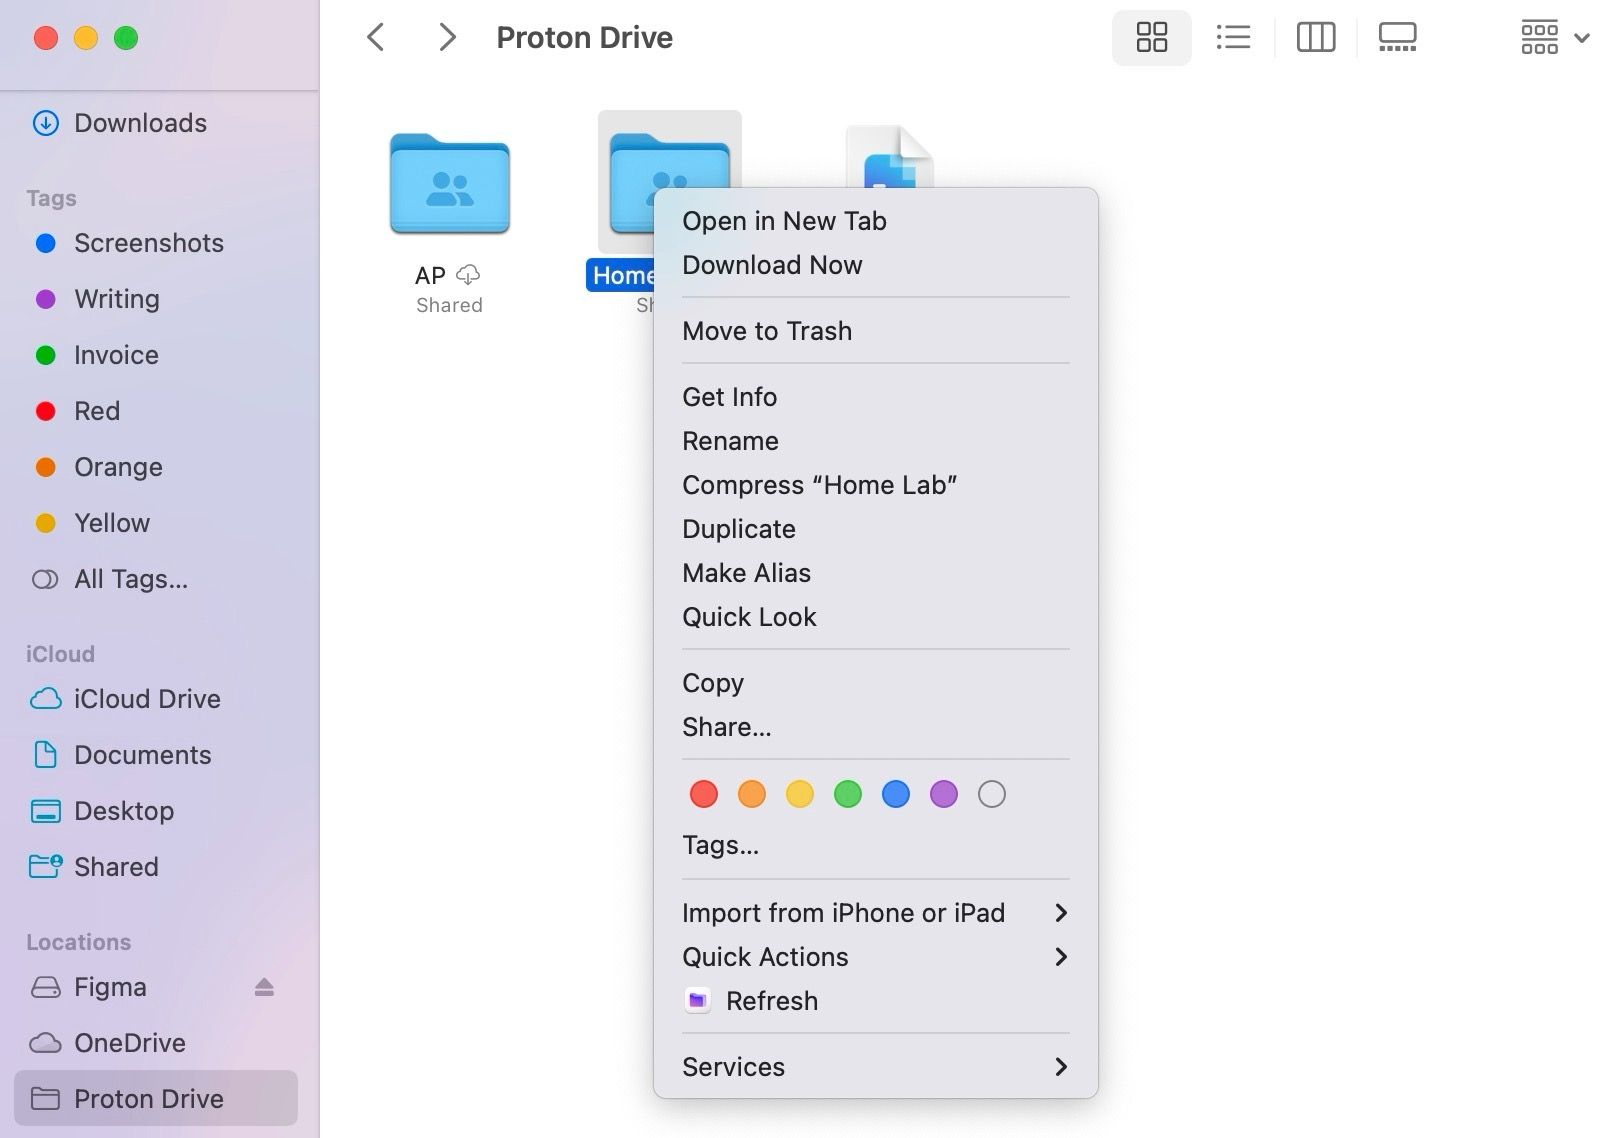
- Glance over your Proton Drive folders and files. You will find the same options for online-only and offline Proton Drive files, as discussed above. Right-click any file or folder to download or remove them from the device.
You can now drag and drop files to Proton Drive folders to sync them to your account.
Launch Proton Drive at startup
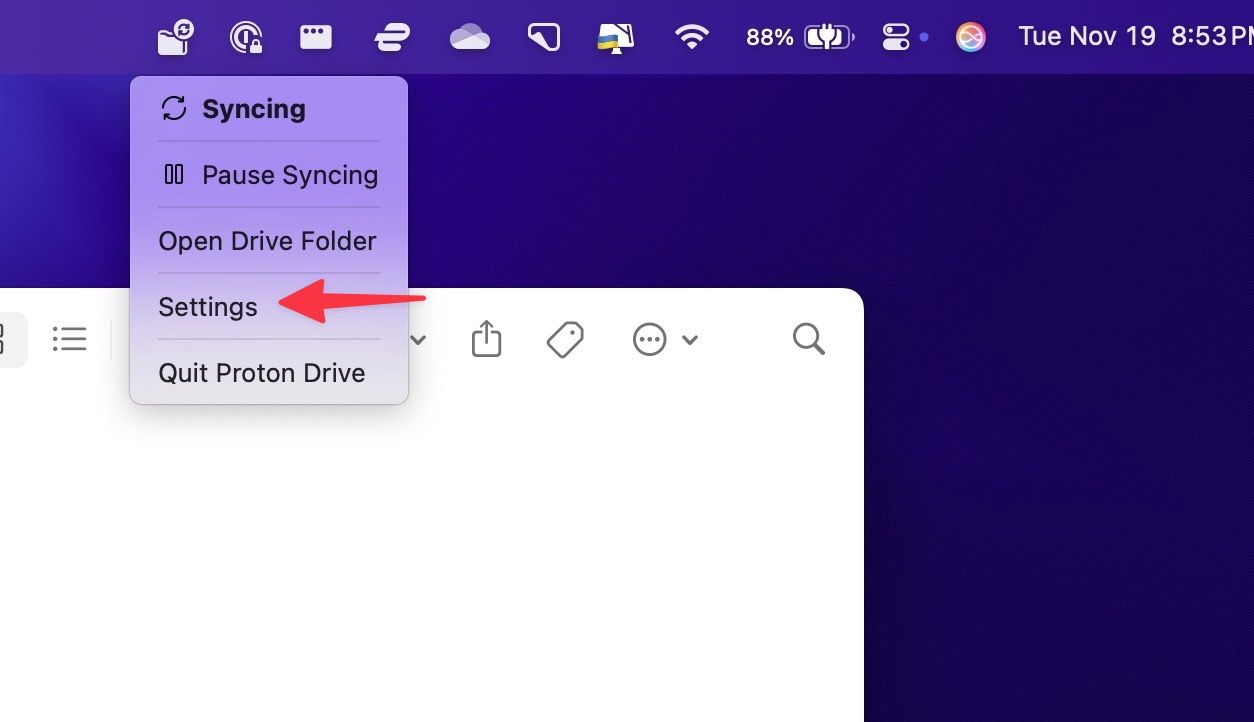
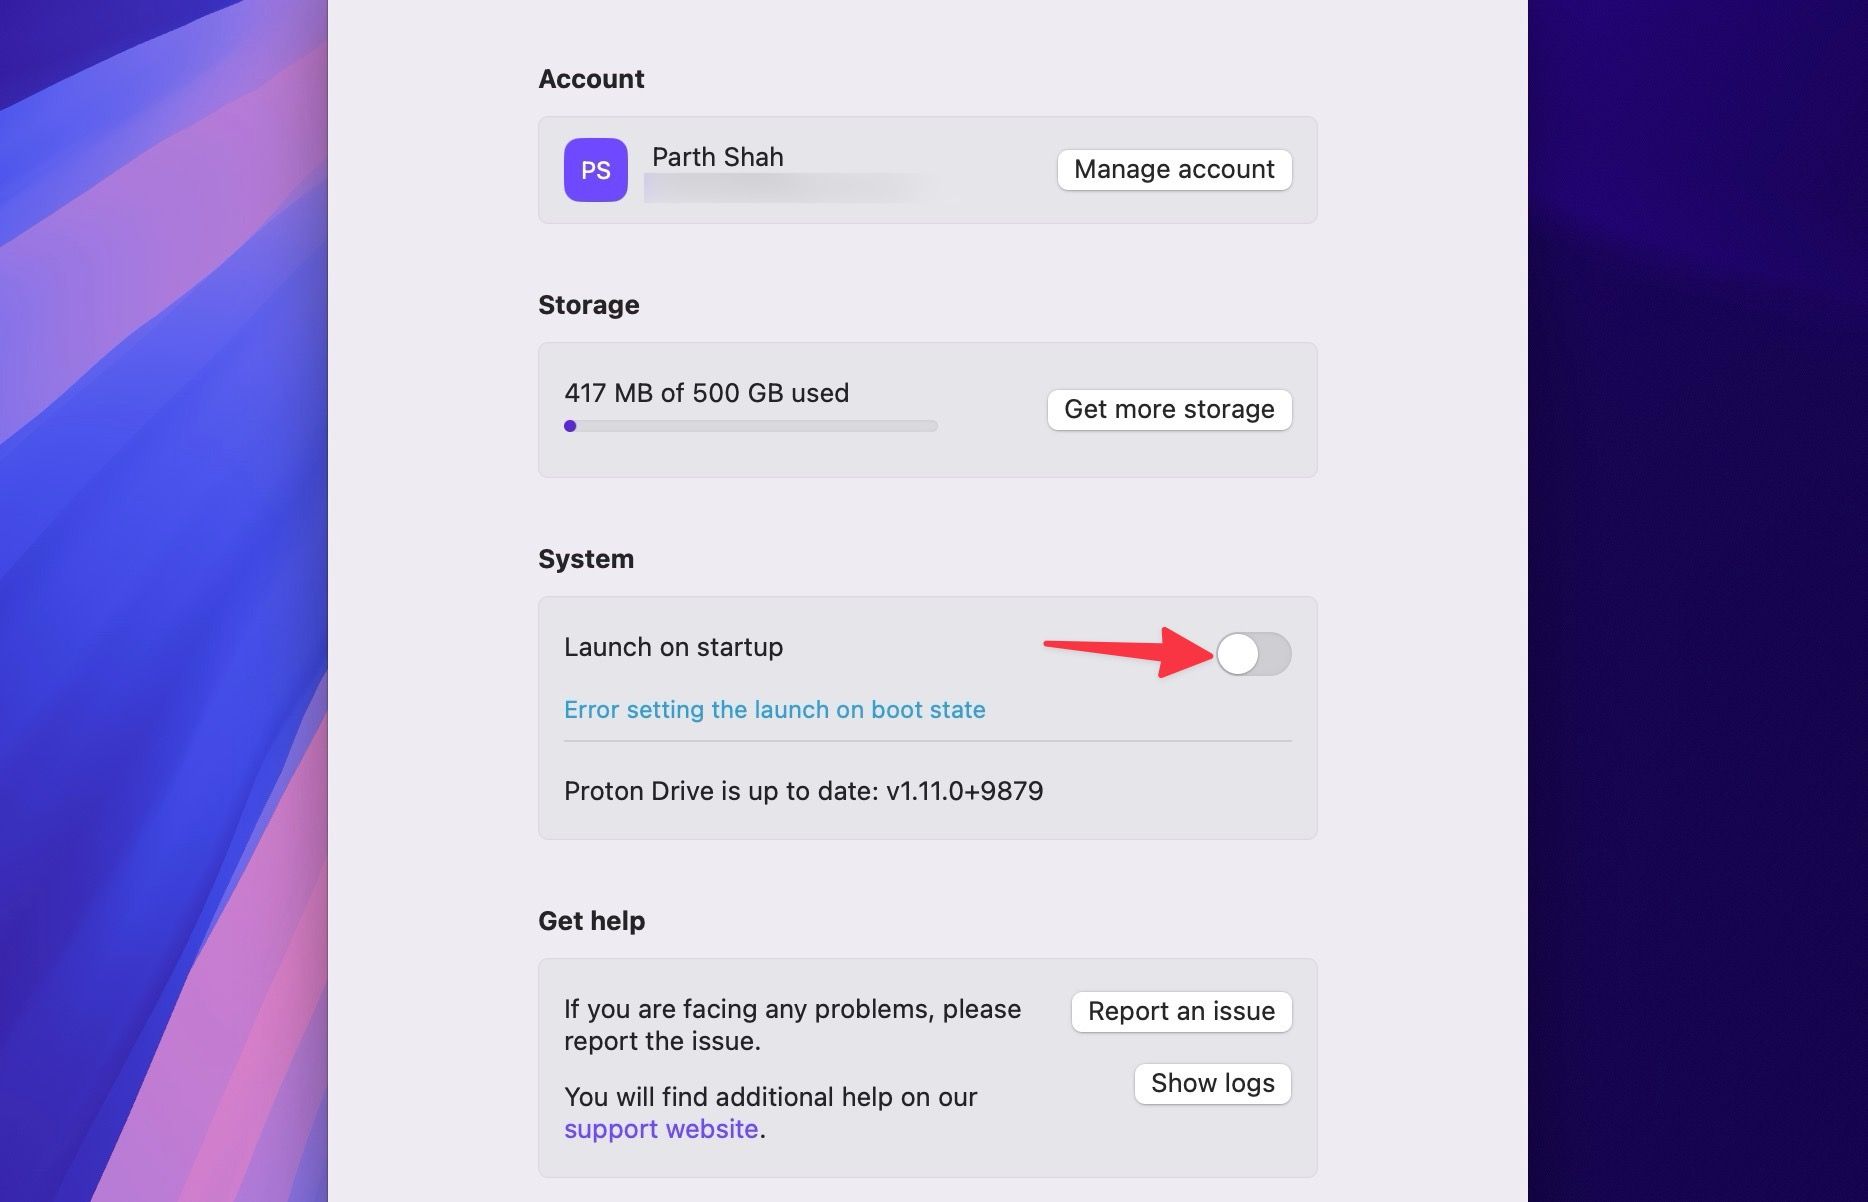
When Proton Drive is running in the background, check the sync status from the menu bar. It also offers a handy Settings menu to launch the service during system startup, glance over account storage, and other options.
- Select Proton Drive at the top and open Settings.
- Turn on the Launch on startup toggle.
Tame your digital chaos
Setting up Proton Drive on Windows or Mac doesn’t require rocket science. The cloud storage platform integrates with File Explorer and Finder app seamlessly and supports all the essential features. So go ahead and upload those precious photos, important documents, and creative projects. If you are an existing Google Drive user, refer to our separate guide to move your files to Proton Drive.


