We will be looking at how to secure SSH with two factor authentication using Google Authenticator on CentOS / RHEL 8/7. Two-factor authentication is a process which compose of two stages to verify the identity of an entity accessing services in a network. It adds a second layer of security to the standard username and password authentication.
SSH is a widely used protocol for accessing remote Linux/Unix servers and pushing files between servers. If there is no proper security policy governing access over ssh, a successful brute-force attack can cause losses to the company. This guide will discuss how Two factor (2FA) Authentication for SSH on CentOS / RHEL 8/7 can be configured.
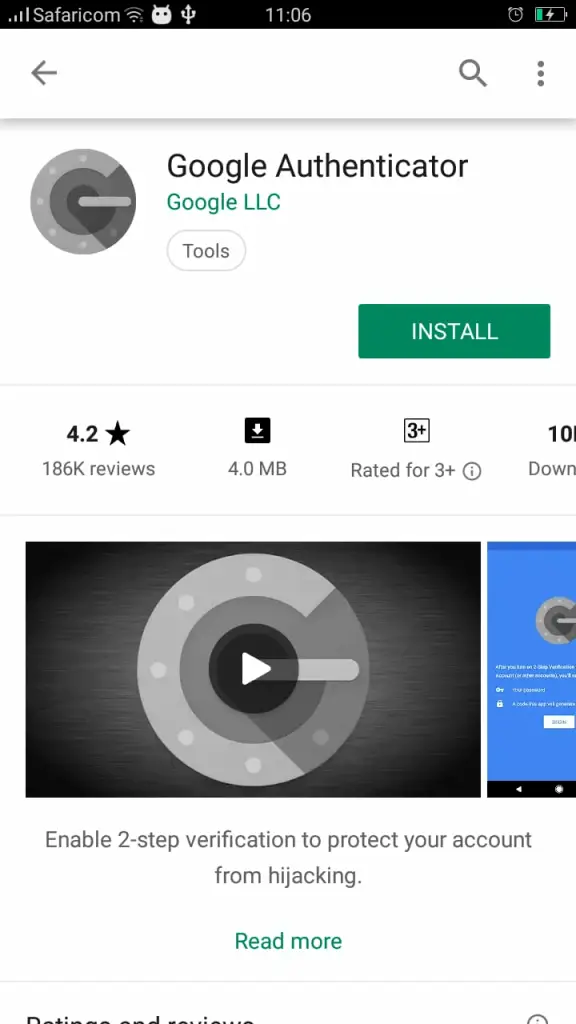
The second layer of security we’ll use for this exercise is Google Authenticator. We will use the Google Authenticator app available for Android (in the Play Store) and iOS (in iTunes) to generate authentication codes.
What is required?
- Server running RHEL / CentOS 8/7
- A phone running Android or iOS
- Google Authenticator application
- A configured SSH connection
- Your availability to setup two factor authentication
Step 1: Install EPEL Repository
You need to have EPEL repository installed and working so that dependencies can be installed. Use our guide below to add EPEL repository to your RHEL / CentOS 8 system.
Step 2: Install and configure required packages
We need to install the Google Authenticator PAM module from EPEL repository. First of all, confirm if the package is available.
sudo yum search google-authenticatorOnce confirmed, proceed to install it with qrencode using dnf or yum package manager.
sudo dnf -y install google-authenticator qrencodeThe Google Authenticator package contains a plug-able authentication module (PAM) which allows login using one-time pass-codes conforming to the open standards developed by the Initiative for Open Authentication (OATH) (which is unrelated to OAuth).
More details about installed package can be checked with:
$ rpm -qi google-authenticator
Name        : google-authenticator
Version     : 1.07
Release     : 1.el8
Architecture: x86_64
Install Date: Wed 23 Aug 2023 12:15:55 PM UTC
Group       : Unspecified
Size        : 138690
License     : ASL 2.0
Signature   : RSA/SHA256, Sat 07 Dec 2019 01:12:54 PM UTC, Key ID 21ea45ab2f86d6a1
Source RPM  : google-authenticator-1.07-1.el8.src.rpm
Build Date  : Wed 04 Dec 2019 10:12:33 AM UTC
Build Host  : buildhw-11.phx2.fedoraproject.org
Relocations : (not relocatable)
Packager    : Fedora Project
Vendor      : Fedora Project
URL         : https://github.com/google/google-authenticator-libpam/
Bug URL     : https://bugz.fedoraproject.org/google-authenticator
Summary     : One-time pass-code support using open standards
 ......
Step 3: Configuring SSH Server
After installation, you need to make SSH use the Google Authenticator PAM module. To do this, open the file /etc/pam.d/sshd and add the following line at the end.
$ sudo vi /etc/pam.d/sshd
# Add to end
auth required pam_google_authenticator.so
Then modify /etc/ssh/sshd_config
$ sudo vi /etc/ssh/sshd_config
ChallengeResponseAuthentication yes
Change ChallengeResponseAuthentication from no to yes to enable challenge-response passwords.
Step 4: Configuring authentication
With Google Authenticator, configuring two-factor authentication is a walk in the park. This needs to be done for each user account to be able to login.
In a terminal, run the google-authenticator command.
$ google-authenticatorThis will ask you a series of questions, here is a recommended configuration:
- Use “time-based” time-based tokens: yes
- Update the
.google_authenticatorfile: yes - Disallow multiple uses of the same authentication token: yes
- Increase the original generation time limit: no
- Enable rate-limiting: yes
You’ll be given secret key, verification code and emergency scratch codes to be used if you don’t have access to your phone. Write them down on paper or notepad and keep them safe.
Your new secret key is: DKM6MJWQVGZHLTWJ4G45XXXXXX
Your verification code is 869XXX
Your emergency scratch codes are:

 2746XXXX
 2665XXXX
 3671XXXX
 2271XXXX
 8000XXXX
Install and configure Google Authenticator
Google Authenticator app is available for Android (in the Play Store) and iOS (in iTunes) to generate authentication codes. Download and install it.


Follow prompts to finish the setup then choose to Scan barcode or enter Private Key.

Scan the barcode printed in your screen during setup or add your secret key to add SSH account.

You should see account added to Google Authenticator and

Step 5: Test SSH two factor Authentication
Restart sshd service on the server
sudo systemctl restart sshdTry to initiate a new SSH to the server.
$ ssh rhel8
Password: <Enter SSH Password>
Verification code: <Enter Verificarion code on Google Authenticator>
Activate the web console with: systemctl enable --now cockpit.socket

Last failed login: Sat Dec 29 11:51:46 EAT 2023 from 192.168.122.1 on ssh:notty
Last login: Sat Dec 29 11:48:31 2023
[jmutai@rhel8 ~]$
Your SSH two factor authentication has been successfully configured on RHEL / CentOS 8.
Other articles of interest:
- Easy way to Create SSH tunnels on Linux CLI
- How to change or update SSH key Passphrase on Linux / Unix
- Installing sshfs and using sshfs on Ubuntu / Fedora / Arch / CentOS
- ssh cheatsheet for Linux SysAdmins
- Adding ssh key pair to Openstack using cli
- i3 ssh configuration to unlock without passphrase


