
Three updates, and three jailbreaks using the same exploit; that’s got to be some sort of record.
For those of you interested in preserving your baseband with this latest jailbreak, you’re obviously going to want to stay away from RedSn0w.
PwnageTool is the jailbreak tool to use when you’re interested in creating custom firmware, and most importantly, when you need to preserve an unlockable baseband. Even if your baseband isn’t unlockable, you may want to preserve your baseband in case a future unlock is found.
The good news is, the choice is yours. Without further explaining, here is the tutorial that will show you how to jailbreak your iPhone running iOS 4.3.3 and preserve your baseband with PwnageTool…
Step 1: Snag the latest version of PwnageTool (4.3.3) from our downloads section. Also, don’t forget to download iOS 4.3.3 if you haven’t already. You can also get that from the downloads section.
Step 2: Load up PwnageTool 4.3.3, accept the little warning message.
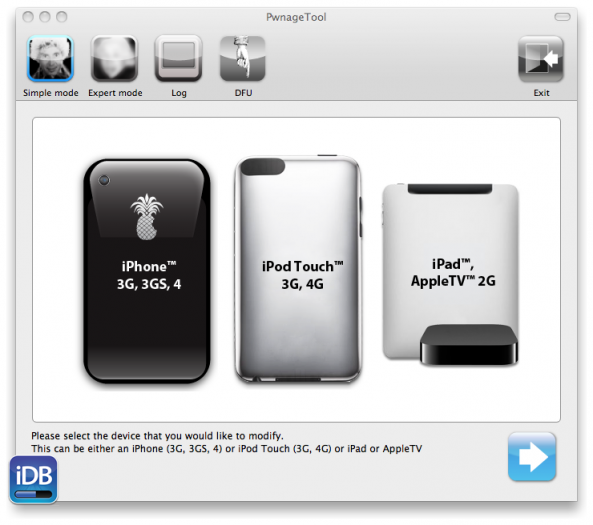
Step 3: Select your device and click the blue next arrow at the bottom right-hand corner.
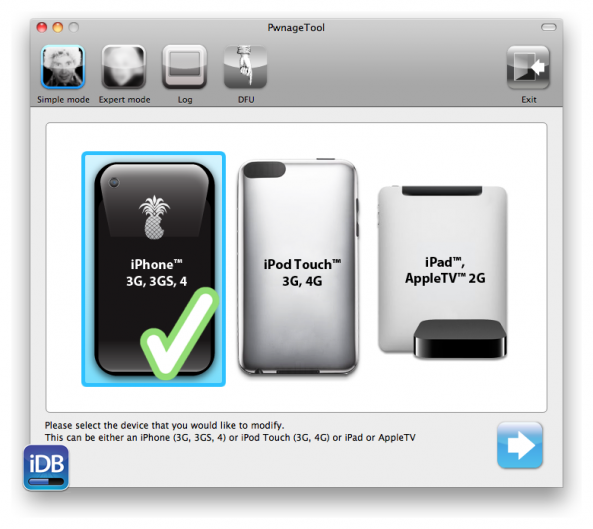
Step 4: PwnageTool defaults to “simple mode” where it will try to locate your firmware automatically (it’s a smart little bugger), so give it a few seconds. If it can’t find it, it will prompt you for the proper location. Regardless of whether it’s successful or not, we want “expert mode”.
Step 5: Click “expert mode” at the top of the screen. If PwnageTool auto found your firmware, great, select your firmware by clicking it. If not, you can select “Browse for IPSW” and then select your firmware. Once you have done so, your firmware should have a green check next to it. Click the blue arrow at the bottom right-hand corner to continue.

Step 6: Select General, and click the blue arrow at the bottom right-hand corner to continue.

Step 7: At this screen you can select whether or not you want PwnageTool to activate your phone. If you have official service with an iPhone provider and you pay a bill each month (i.e. AT&T), uncheck this. If you are unlocked and use an unofficial carrier (i.e. T-Mobile) you’re going to want to check this. All other settings can remain as is unless you know what you’re doing. It’s blue arrow time, go forth!

Step 8: At the Cydia settings screen just click next, unless you want to pre-install any tweaks or apps from a specific repository. For simplicity’s sake, we won’t go there in this tutorial, but this can be great for those who want an all in one firmware that does everything automatically. Click the blue arrow to proceed.

Step 9: At the Custom Package Settings screen there should be one selection already checked — Cydia Installer. You will obviously need this if you plan on doing much after installing this firmware. Make sure this is checked and click your friendly blue arrow to continue.

Step 10: We’re in the home stretch now! Click Build to select it, and then click the blue arrow to continue.

Step 11: After clicking next, PwnageTool will pop up a dialogue asking you where you want to save your custom firmware. Just keep it at default “desktop” for ease of use and click Save.
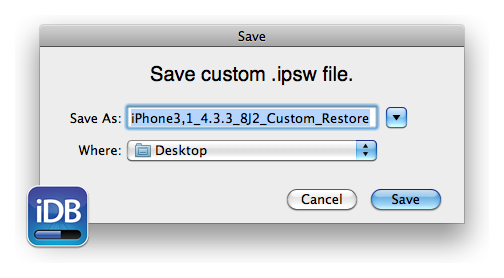
Step 12: Now we’re getting to the good part, PwnageTool is creating our custom firmware. This process takes a while, so grab a snack, and pat yourself on the back, you’re more than half way there. Just a note: during the process you may be prompted for your administrator password to proceed.

Step 13: Once PwnageTool is finished creating your firmware, it will prompt you to hook up your iPhone to your Mac and place it into DFU mode (You know the drill: Hold the Power and Home button together for 10 seconds. Release the Power button while still holding the Home button for 10 seconds. Yadda Yadda.) Once you do that, you will get a success message. Click okay, and then you can exit PwnageTool using the button in the upper right-hand corner.

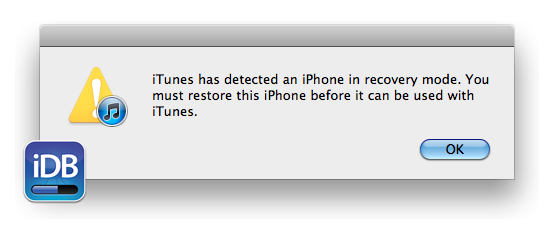
Step 14: By this time iTunes is probably bouncing. Open iTunes, and it will detect your iPhone in recovery mode. Click OK.
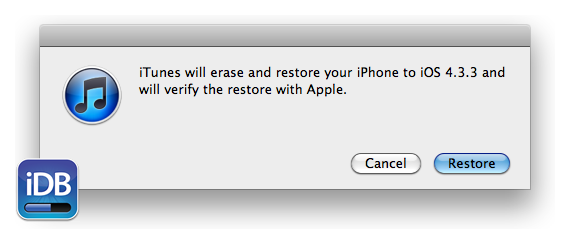
Step 15: Click the Restore button in iTunes while holding the Option/Alt button, (Don’t just click restore or you will upgrade with stock firmware and update your baseband!!) and it should prompt you to browse for your firmware. Make sure you select the custom firmware on the desktop that you just created with PwnageTool. You should get a warning message saying that iTunes will erase and restore with iOS 4.3.3. Click Restore.
Step 16: You’re finished. iTunes will extract the custom firmware and perform a restore just like any other normal restore, but iTunes has no clue that this is a custom firmware. The restore will take a few minutes to finish. Enjoy your new baseband preserved jailbroken iPhone on iOS 4.3.3.
Let us know about your experiences with PwnageTool for iOS 4.3.3. Share your tales in the comments below!


