Prerequisite: Wireshark – Packet Capturing and Analyzing
After capturing some packets or after opening a previously saved captured file, we have to analyze and view the captured packets in detail. To view the packets that are displayed in the packet list pane, simply click on a packet that you want to analyze in the packet list pane, it will bring up the selected packet in the tree view and byte view panes.
To view the detailed information about protocol in each packet, just expand any part of the tree by double-click the item in the package list or select the desired package in the package list and select View → Show Package in New Window. This makes it easy to compare two or more packages across multiple files.

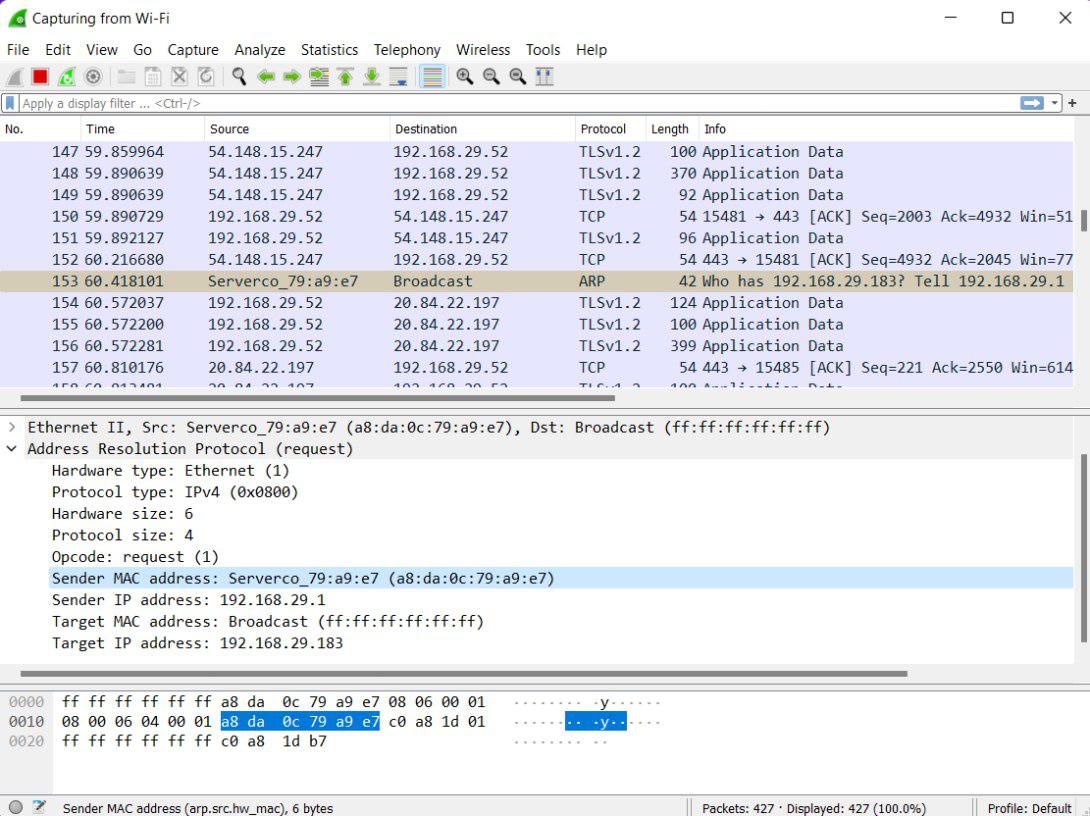
ARP packet selected for Viewing
As you can see from the above screenshot, an ARP packet is selected for viewing. It has the sender’s IP and target’s IP, which also shows up in the byte view as the selected bytes. We can also select and view the packets while Wireshark is capturing them.
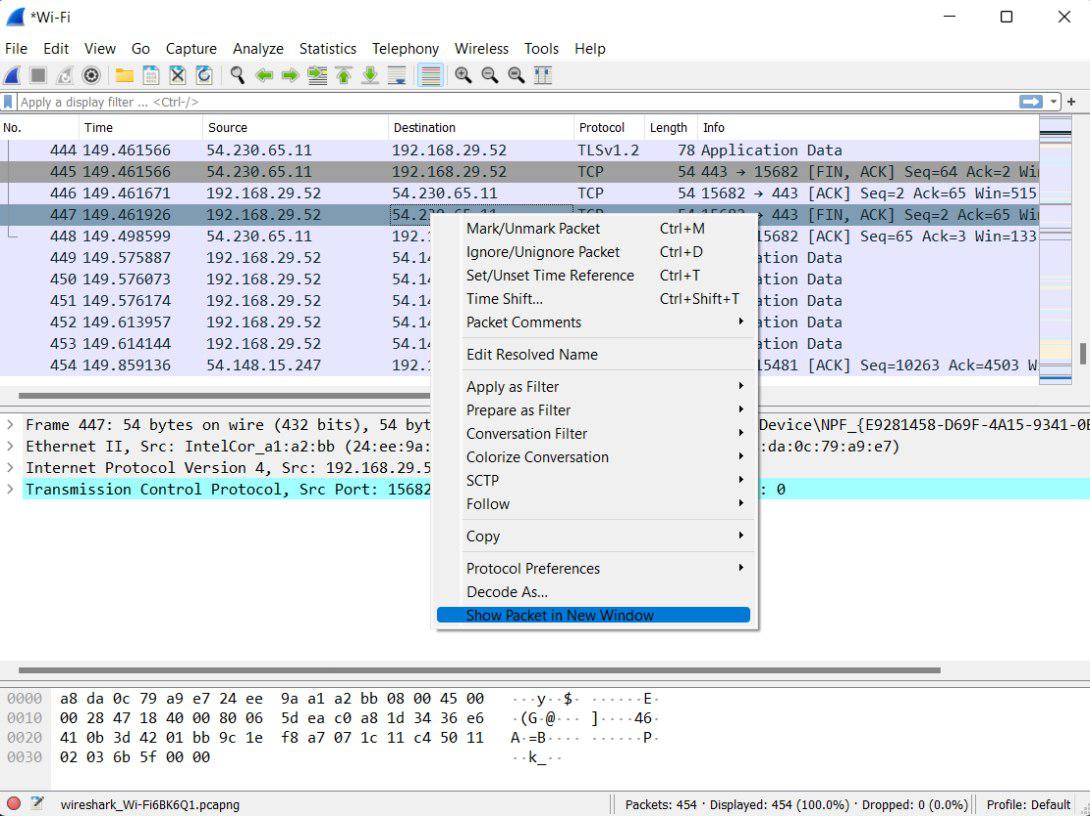
Viewing a Packet in a Separate Window :
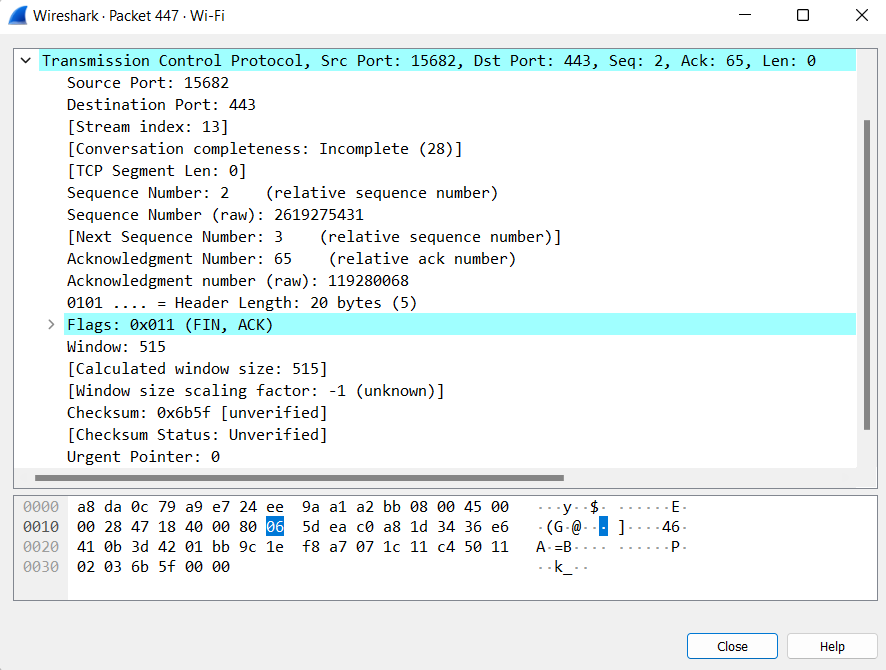
In addition, we can also view packets in a separate window. For “Viewing a packet in a separate window” either double-click on an item in the packet list or select the packet in the packet list pane and then right-click to open a dialogue box and select Show Packet in New Window option. This allows you to easily compare two or more packets, even across multiple files.


Packet in a separate window
Besides double-clicking the package list and using the main menu, there are several ways to open a new package window.


