You must strike the right balance between media files and text to create an engaging presentation. When you insert several photos in a slide, wrap the text around them to enhance its visual appeal. It also adds a professional touch and conveys the message better.
When you add text and images to a slide, you may need to change the text position so that it doesn’t overlap with the inserted media. Whether you use Google Slides on a desktop or rely on the company’s apps on your iPhone, budget Android phone, or tablet to make last-minute tweaks, check the tips below to wrap text around images in no time.
What is text wrap in Google Slides?
Text wrapping is a common feature in popular Google Workspace and Microsoft 365 apps, like Docs, Sheets, Word, Excel, and Google Slides. It wraps text around other slide content like photos and videos. You can resize text content and place it in a relevant position on a slide.
How to add transparency to an image in Google Slides
Tweak image transparency on a browser or on mobile
Wrap text in Google Slides on the web
Since most Google Slides users prefer a web version, let’s start with it. Follow the steps below to insert an image and add text around it.
- Launch Google Slides on the web and sign in with your account details.
- Create a new presentation or open an existing one.
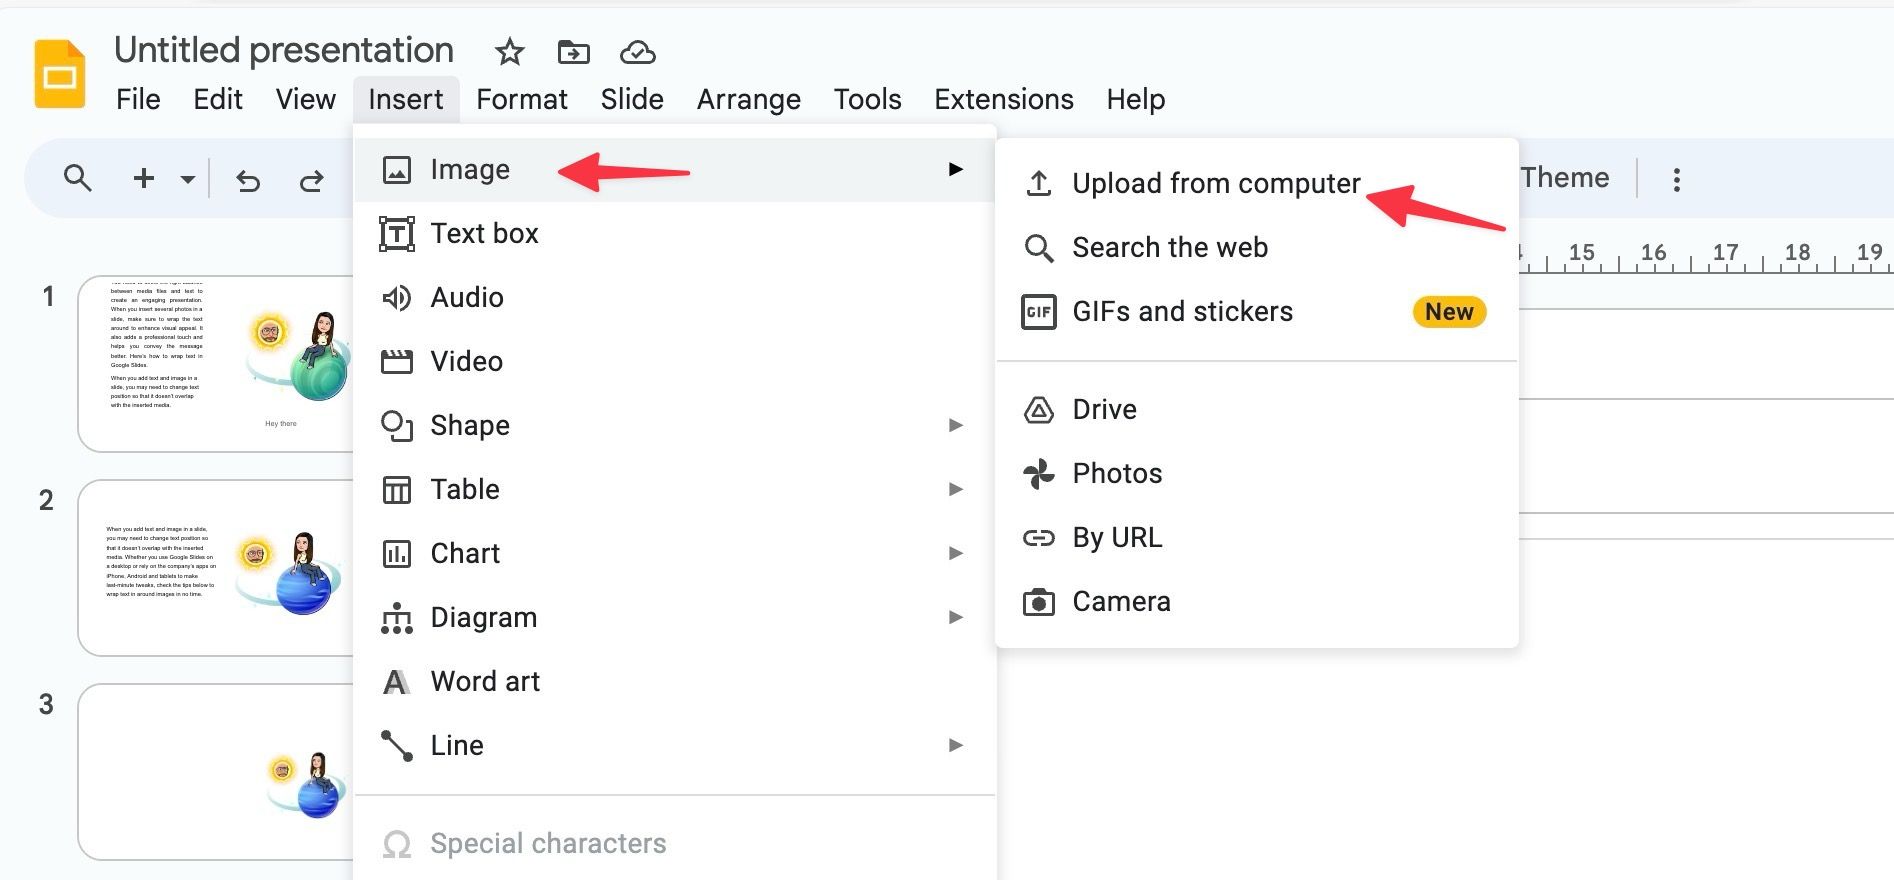
- Click Insert at the top, expand Image, and select Upload from computer.
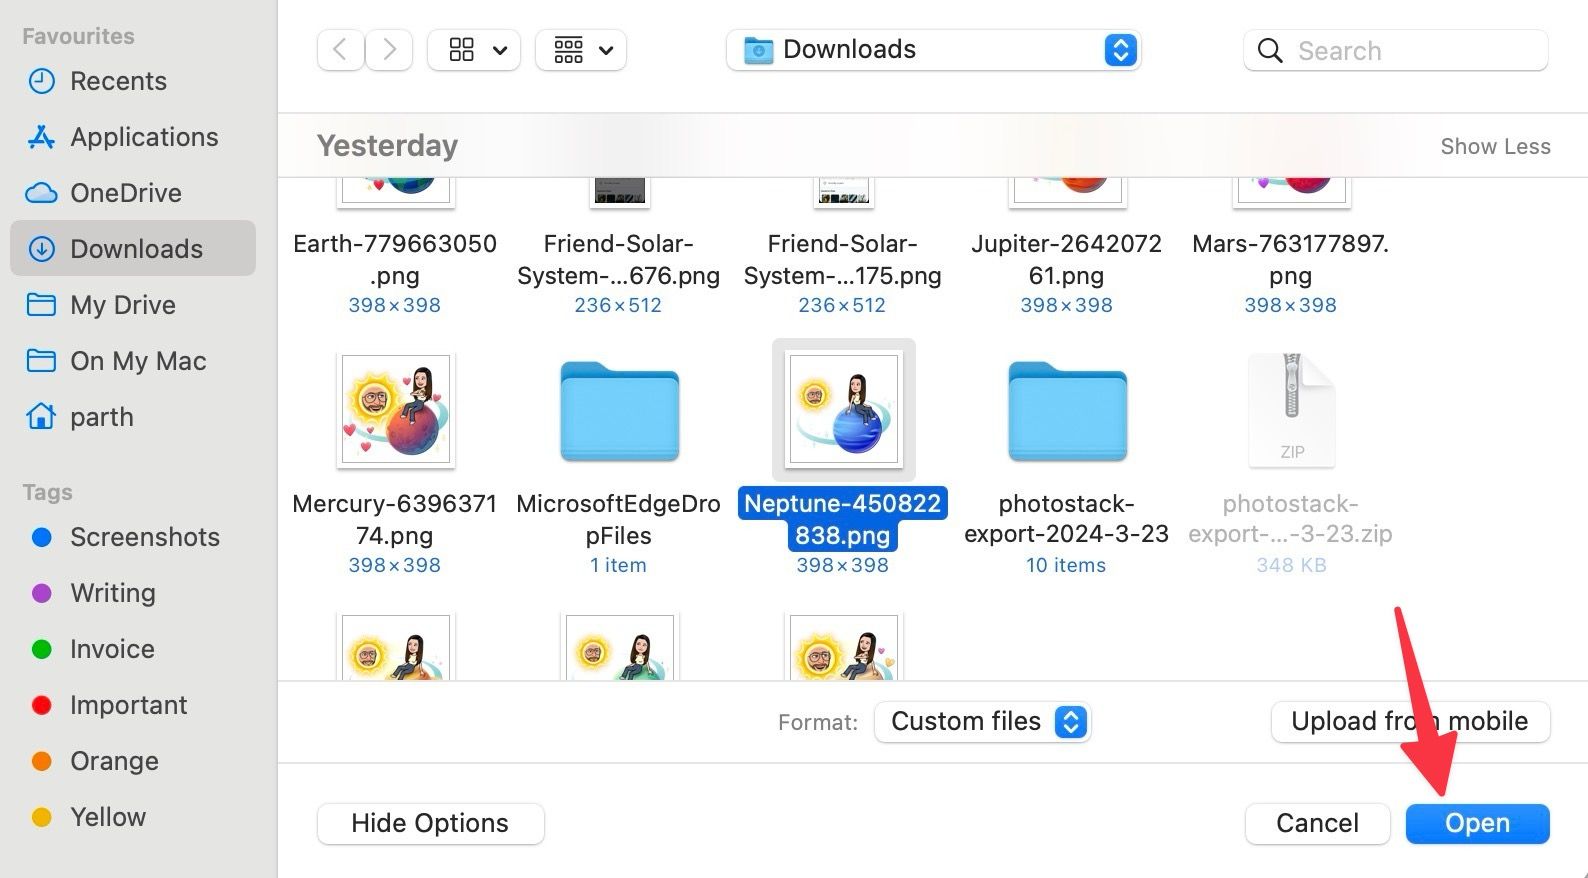
- Pick one of the images and select Open to insert it into your slide.
Now, it’s time to wrap the text around your image. Unlike Google Docs, there isn’t a one-click solution to adjust your text automatically. You’ll rely on a workaround.
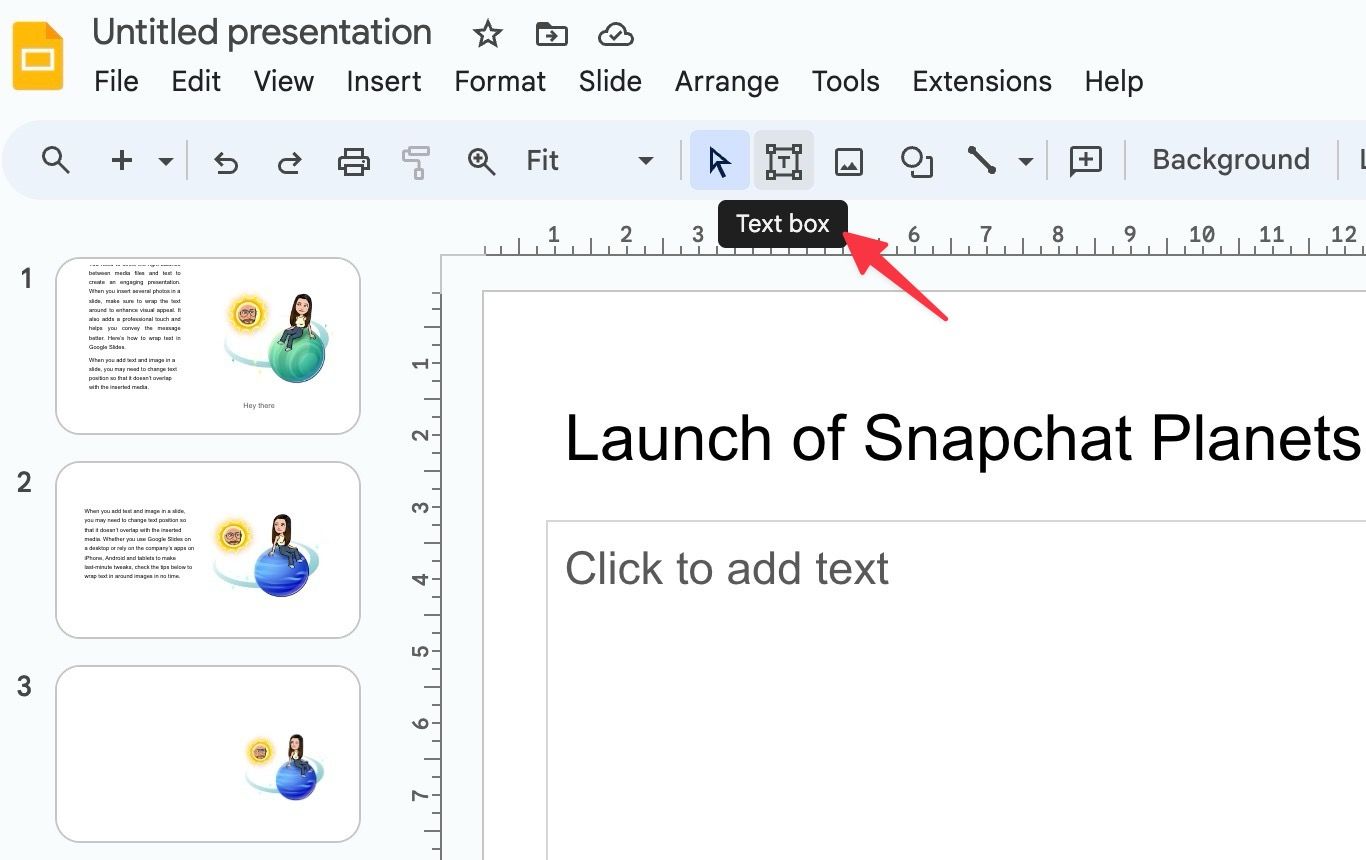
- From your presentation slide, click the Text Box menu at the top. You can also find it under the Insert menu.
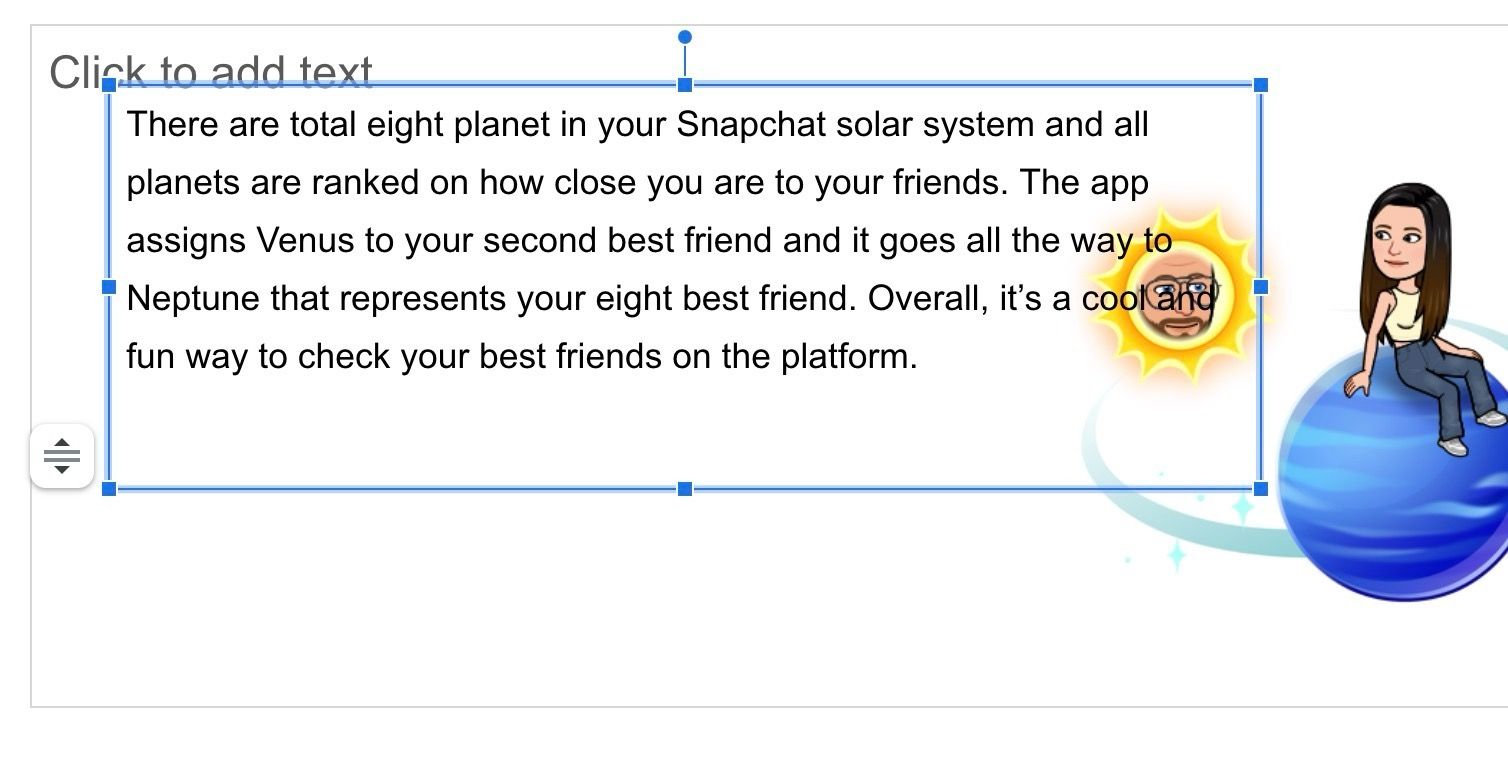
- Enter or copy text when the box appears on a slide.
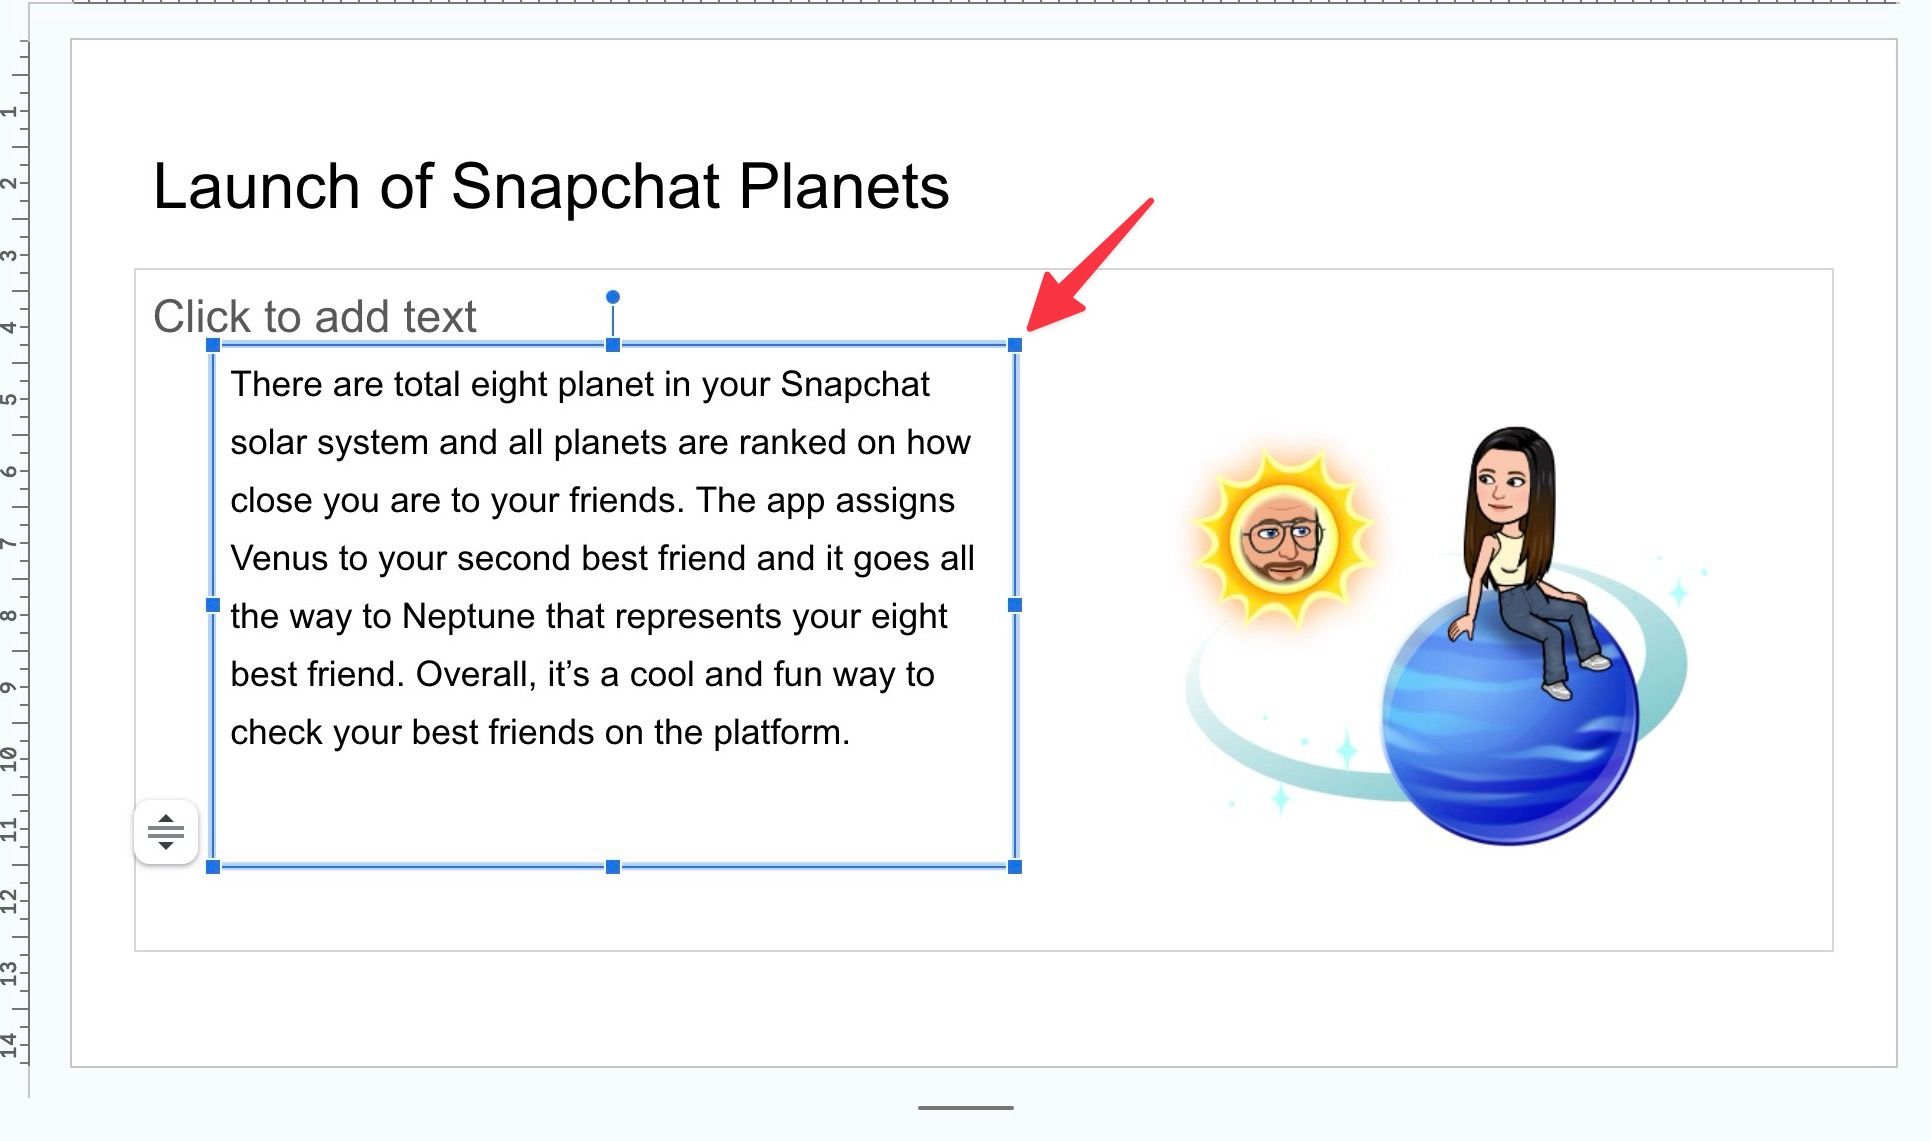
- Move your cursor to a text box and select it when a blue line appears. You can resize a text box using one of the blue dots on the text box. Resize it and place it in a relevant position. Based on your text content, you can place text below, above, or on the side of an image.
- Move to a new slide when you are satisfied with the outcome.
Tweak wrap text effect in Google Slides
You can also play with text formatting options in Google Slides. This is a neat way to improve the text wrap effect.
- Open a slide in your presentation and select a text box.
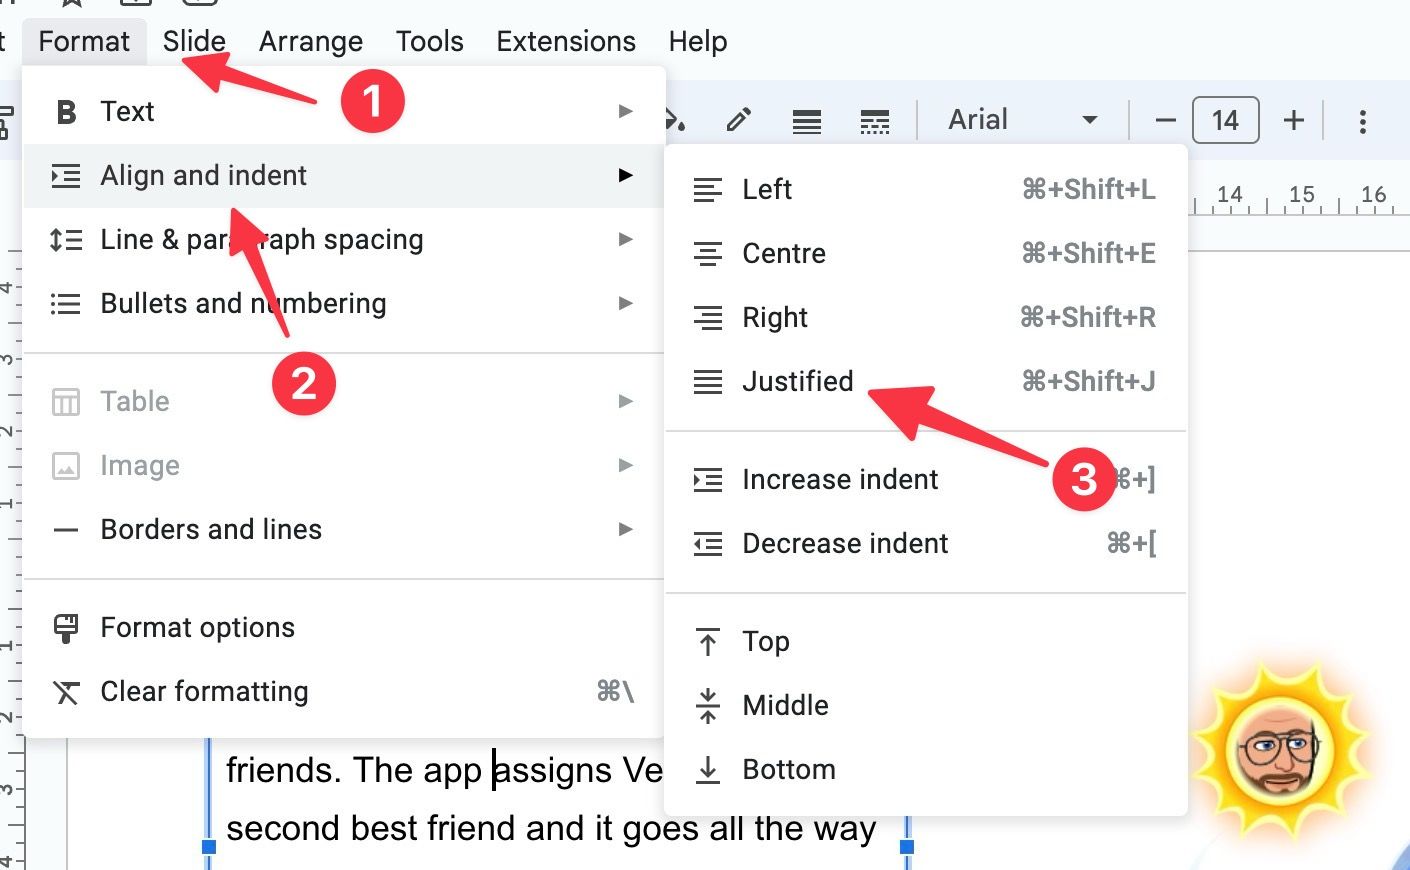
- Click Format at the top and expand Align and indent.
- Select Justified.
The option produces a clean edge on the left and right. It takes care of uneven gaps and rivers in the text.
Wrap text in Google Slides apps
The ability to wrap text in Google Slides is available on mobile and tablet. We use Google Slides for iPad in the screenshots below.
- Launch Google Slides on your tablet and open a presentation.
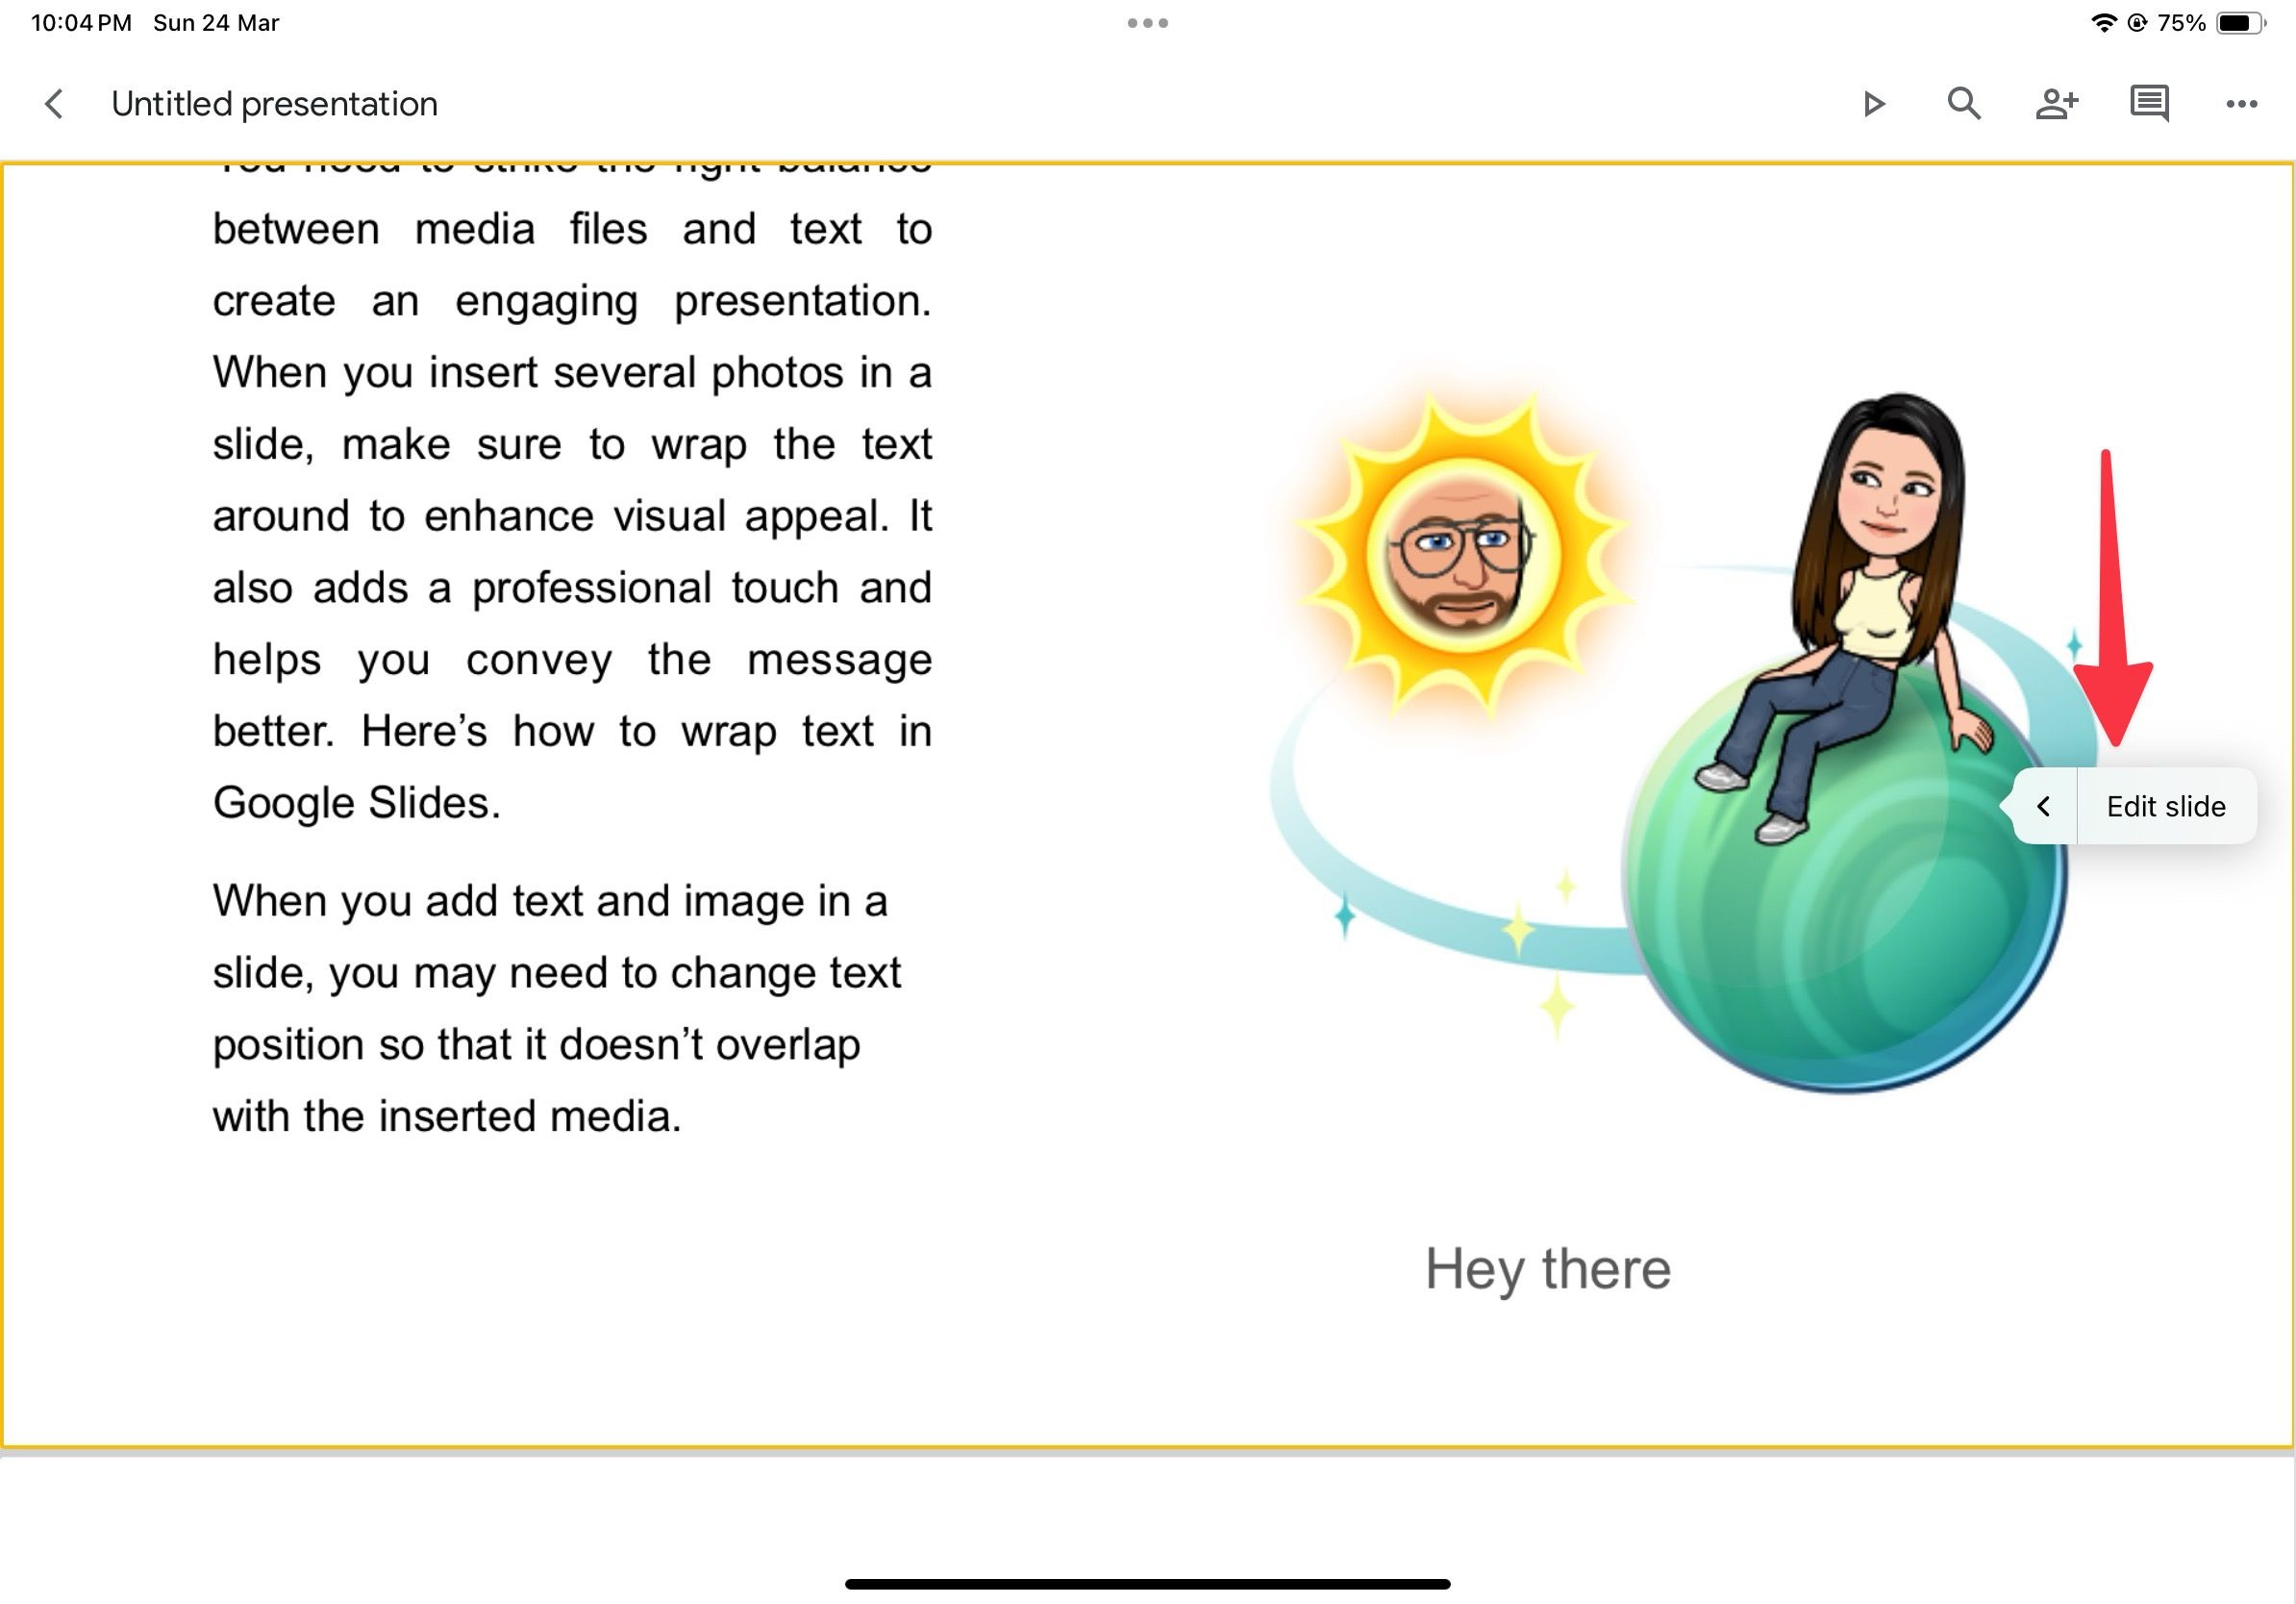
- Tap a slide and select Edit slide.
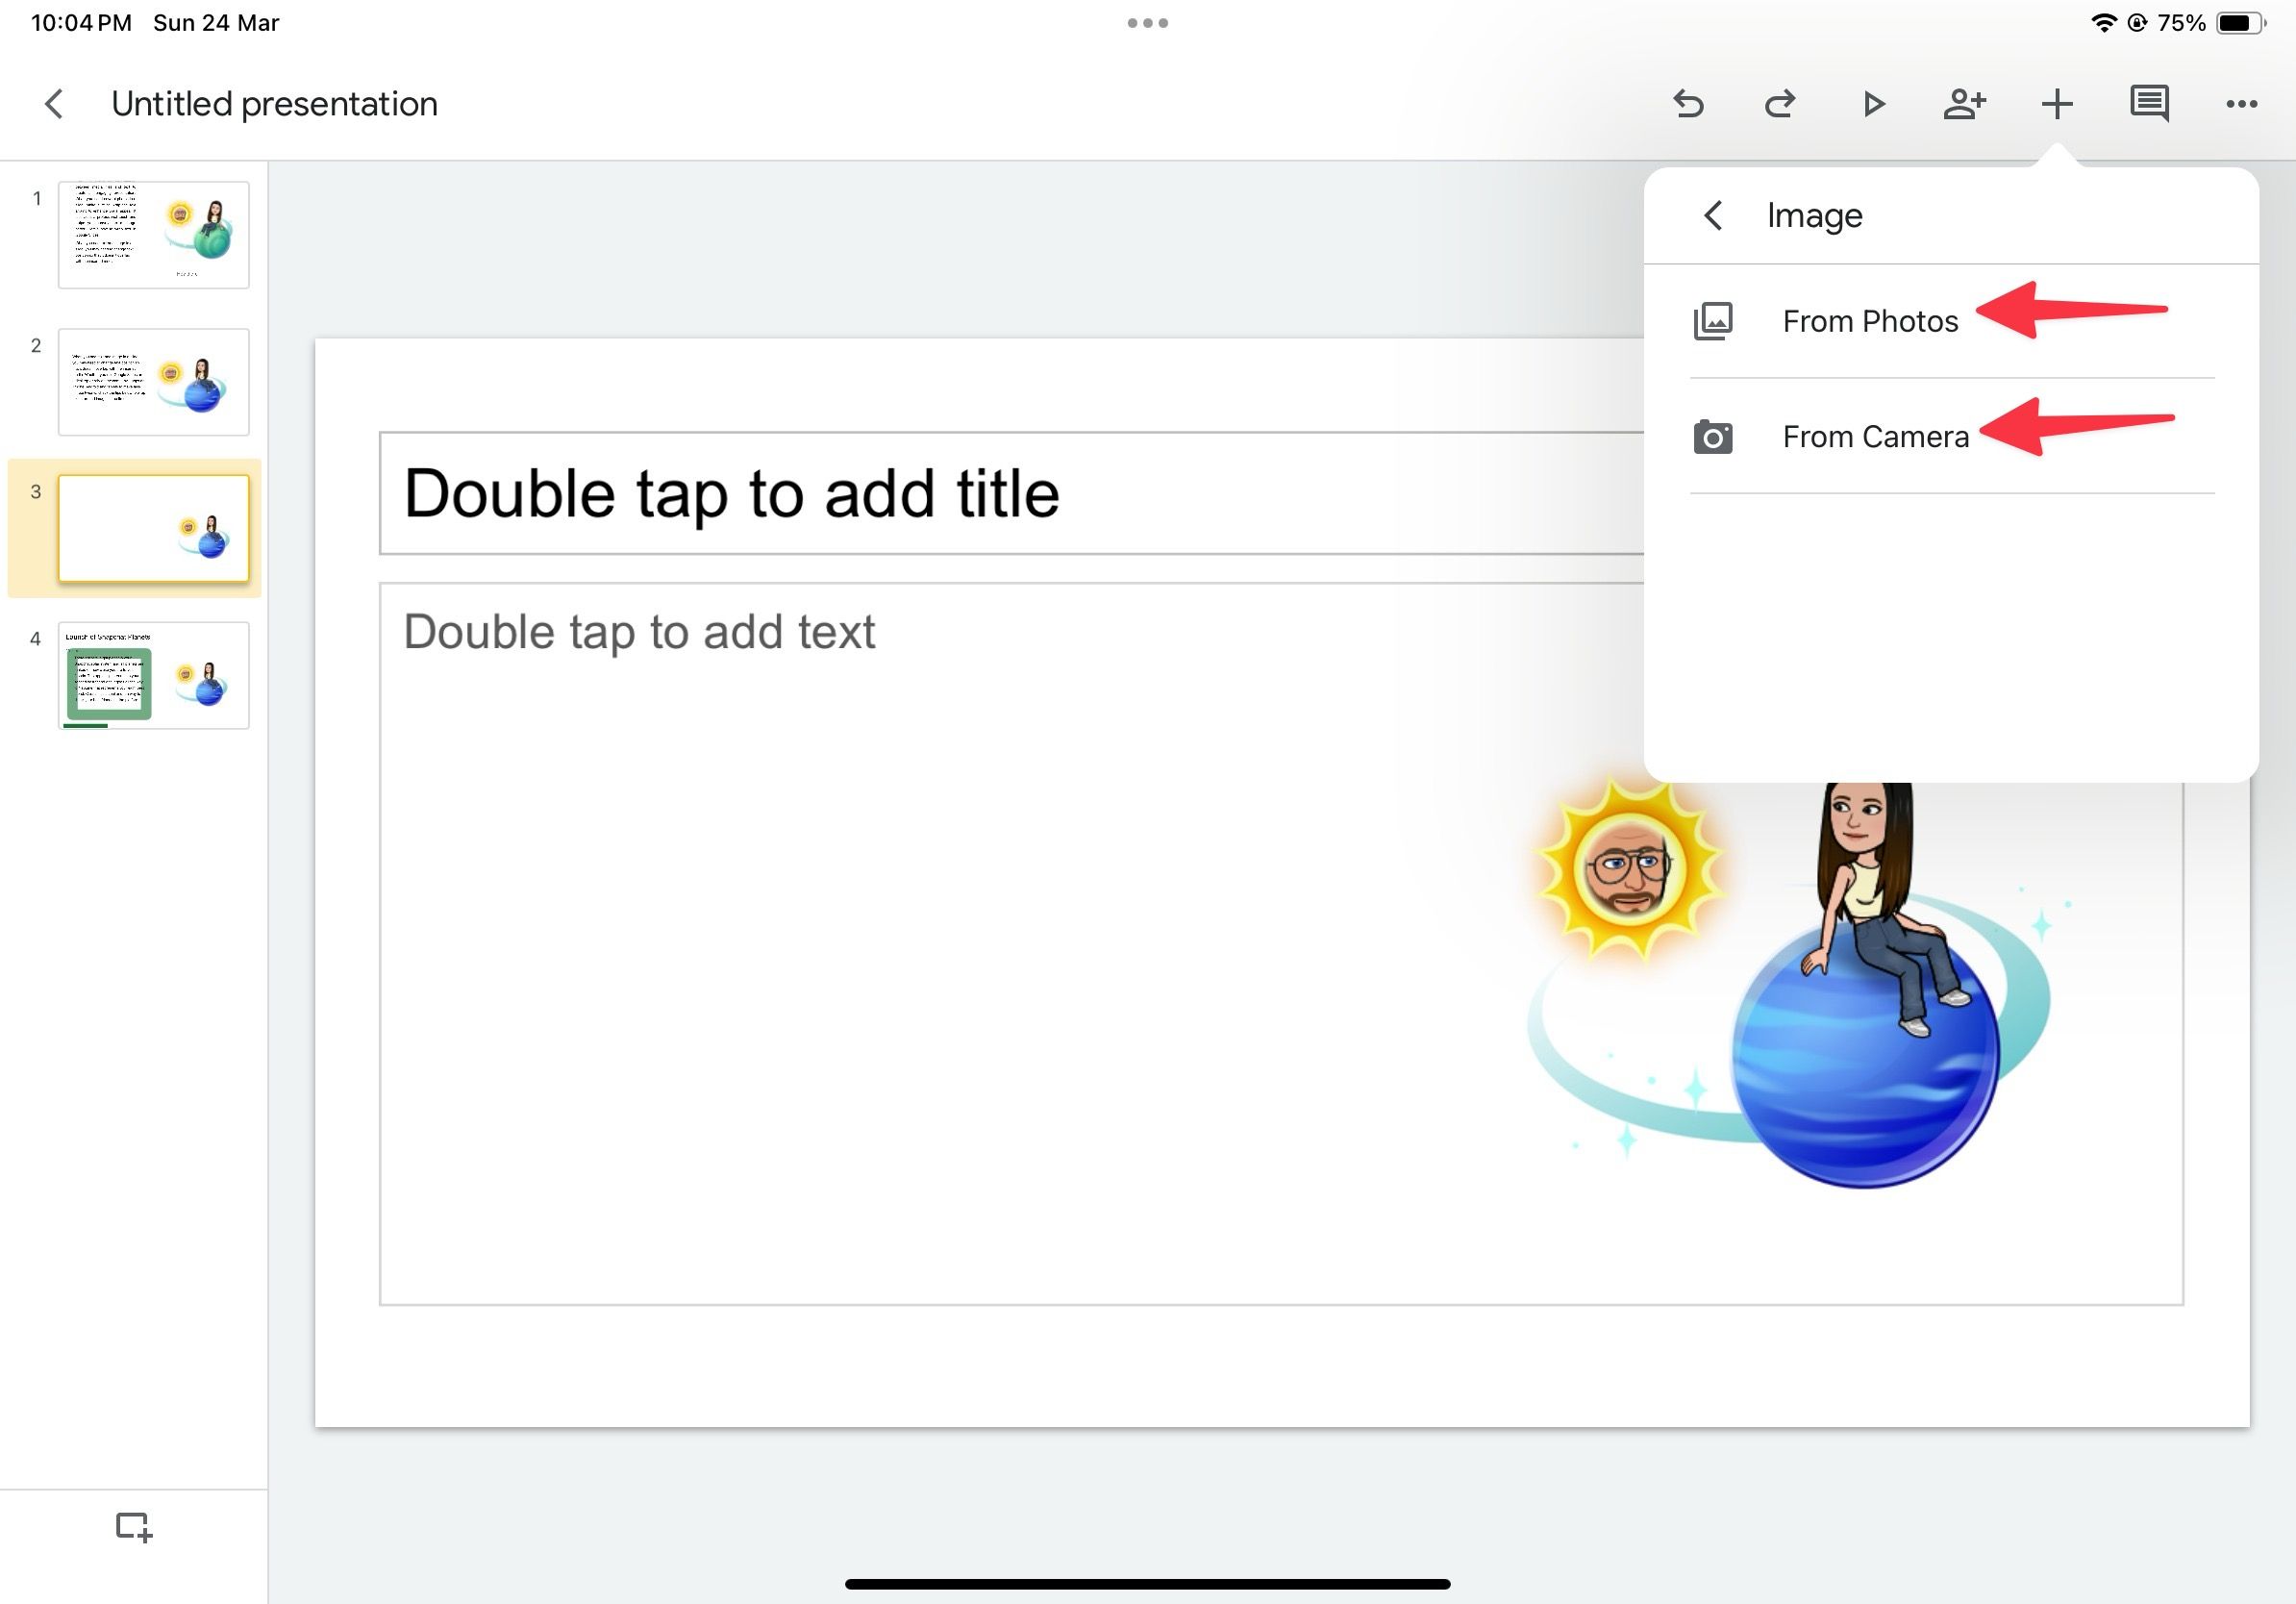
- Tap + at the top and expand Image. You can upload images from the Photos or the Camera app.
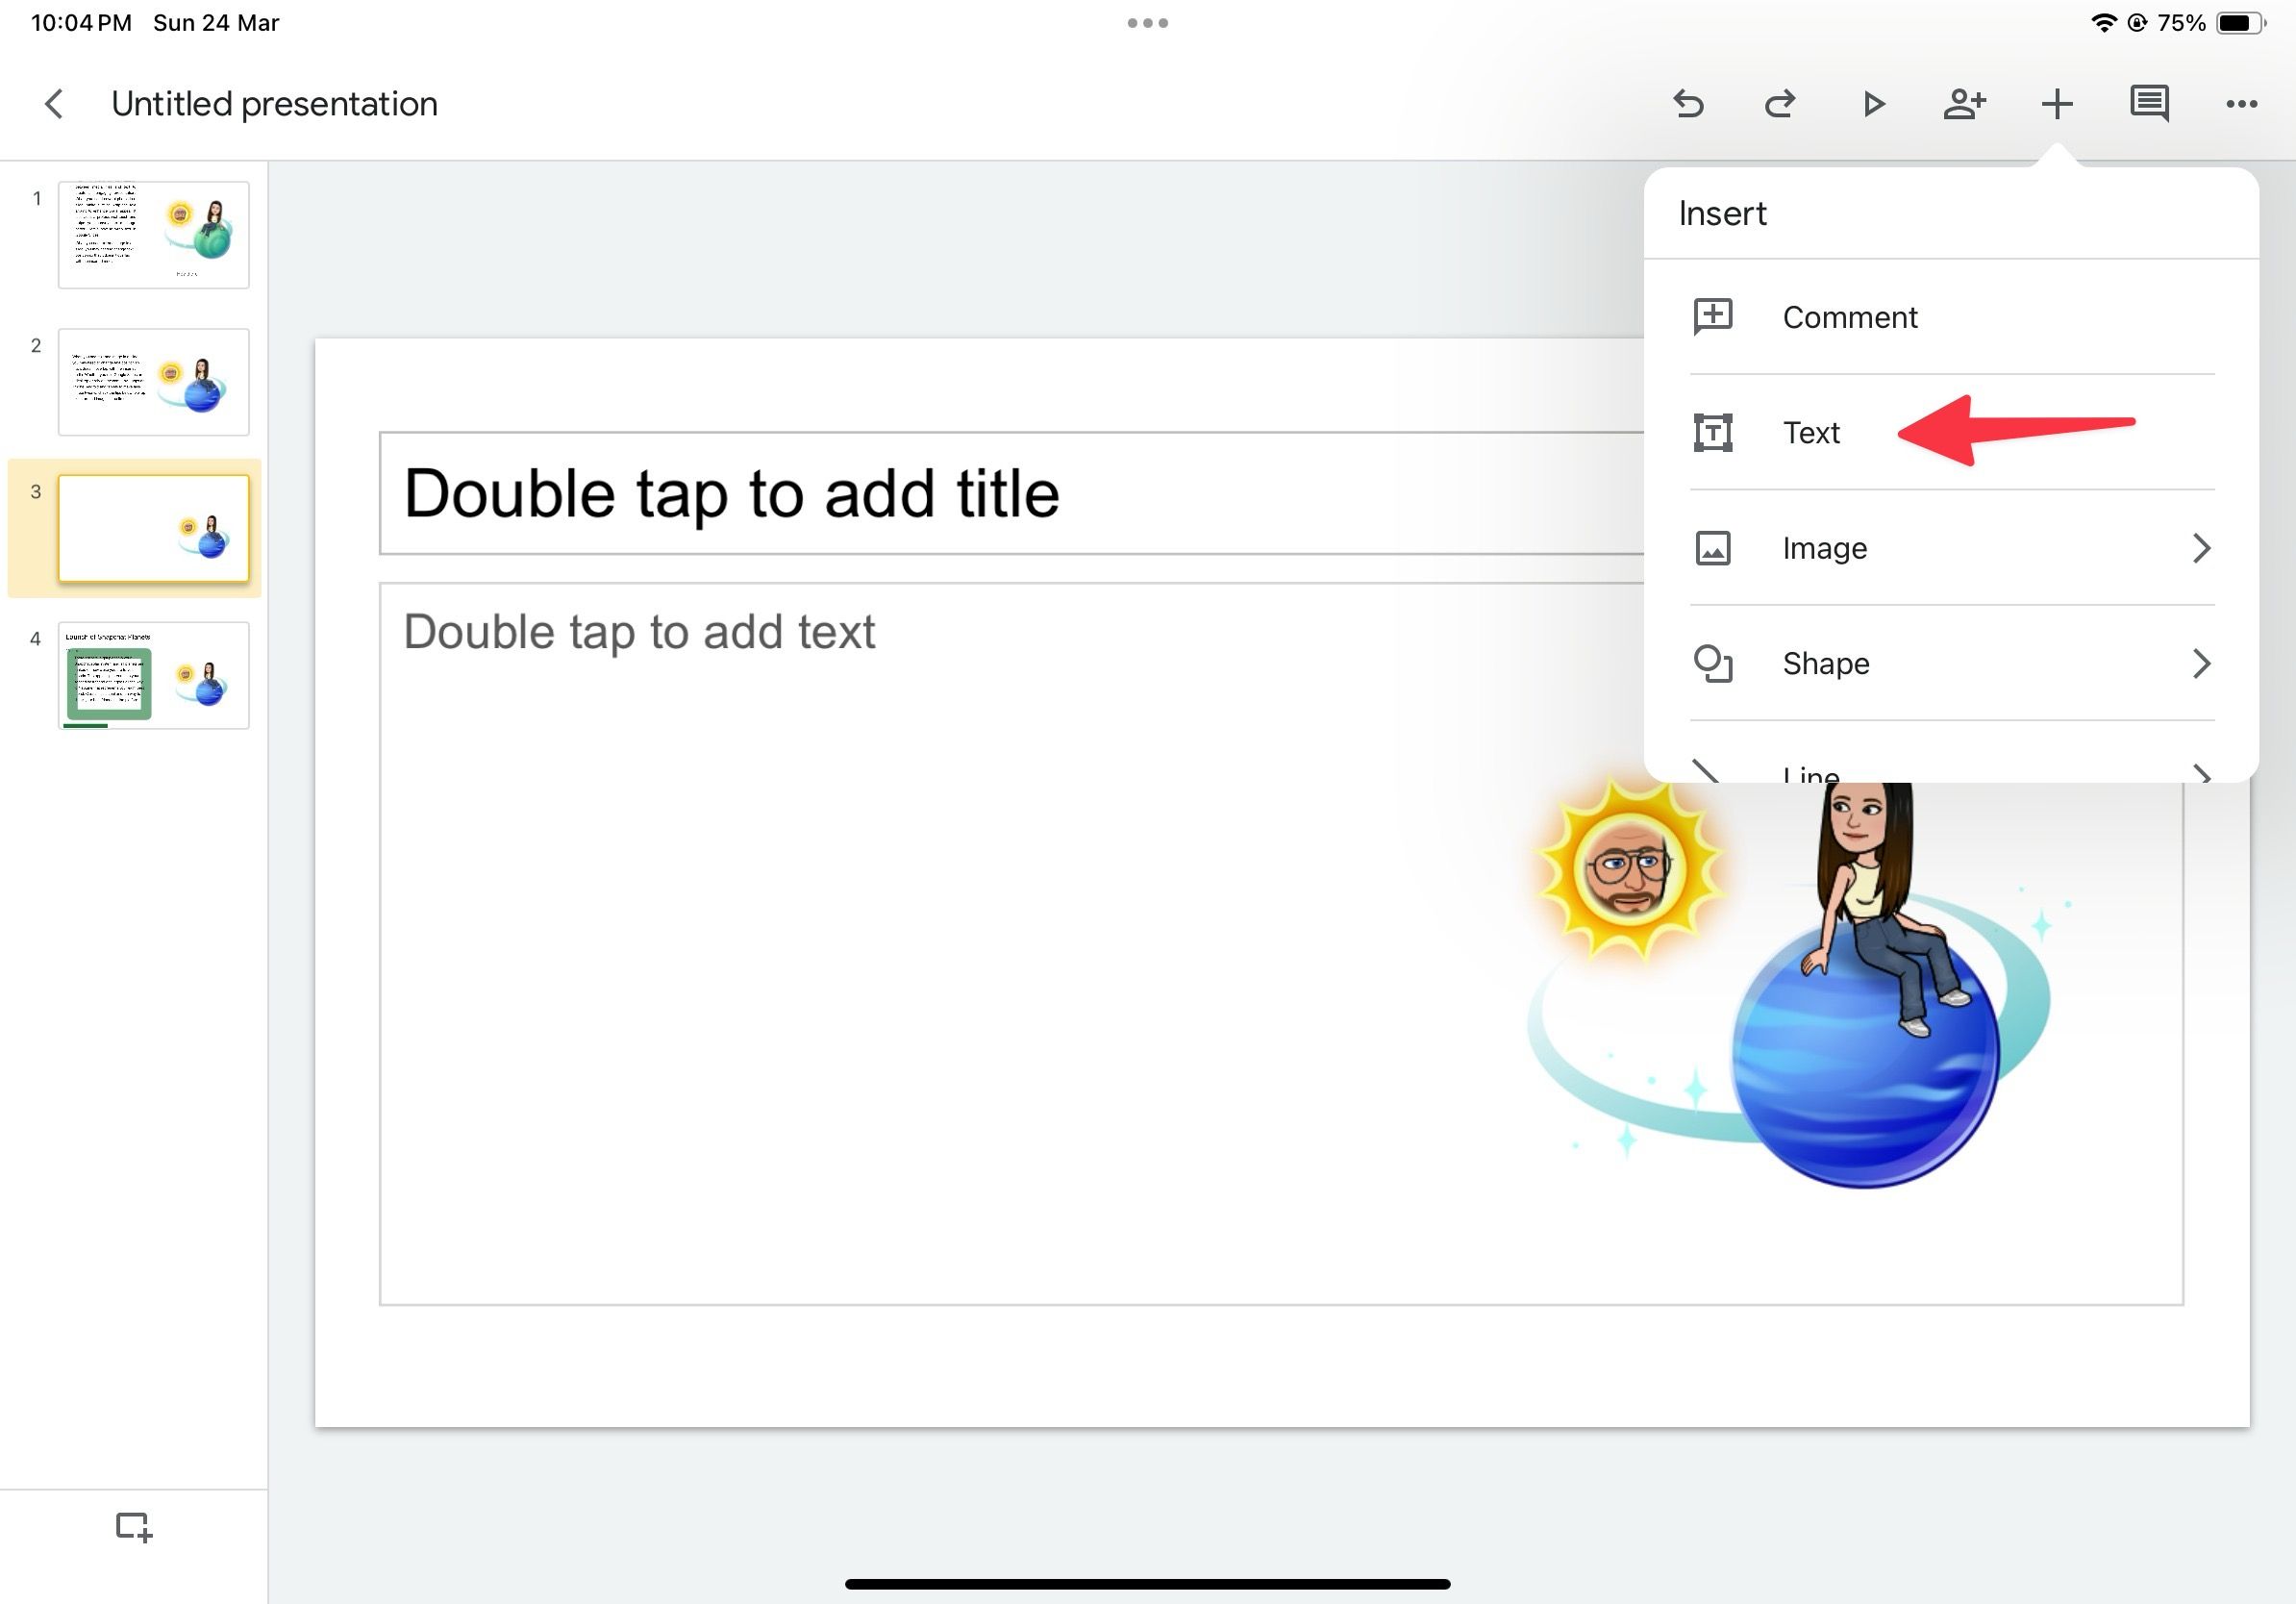
- After uploading an image, tap + at the top and select Text.
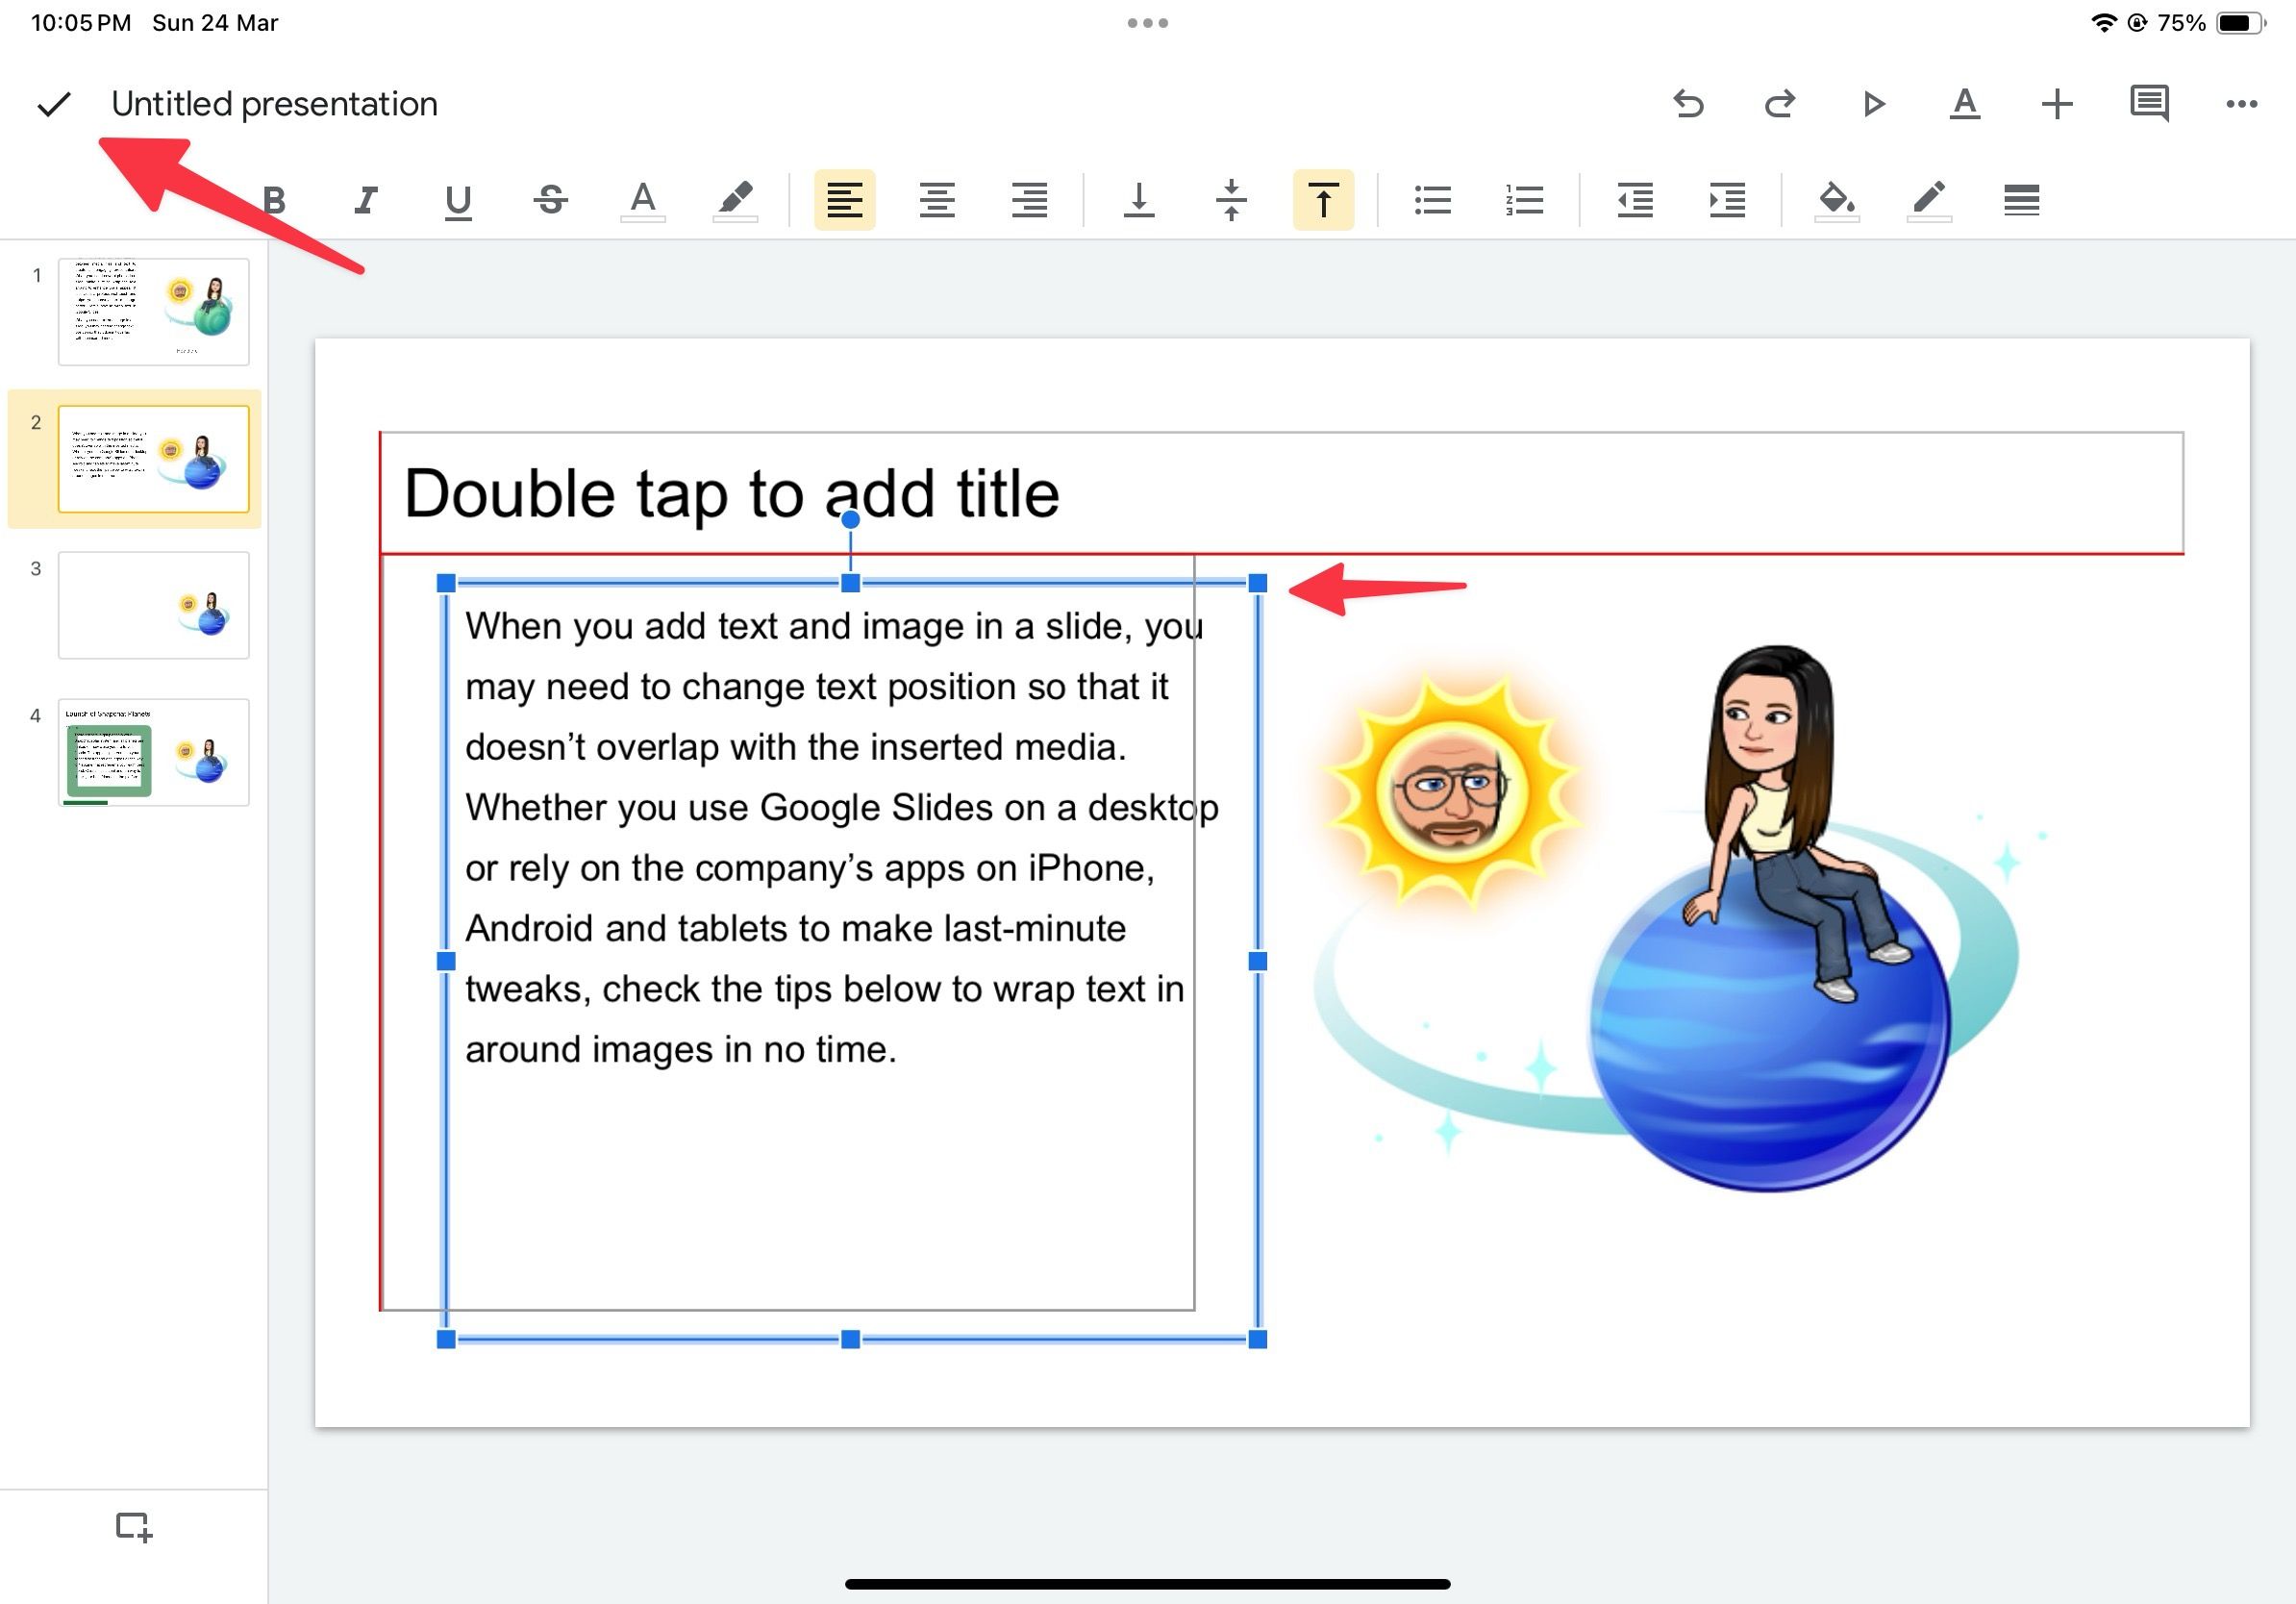
- Enter your text and use the text box borders to resize it.
- Use the blue border to place your text box anywhere on a slide.

How to add a timer to Google Slides
Pace your presentation better by placing a timer in Google Slides
Benefits of wrapping text in Google Slides
Unlike Microsoft PowerPoint, Google Slides isn’t smart enough to show design ideas based on your added text, images, and other graphical elements. When you add images and text, you must manually adjust them for a cohesive look. Here are some of the advantages of wrapping text in Google Slides.
- Creates a solid presentation with lots of images and relevant text content.
- Conveys your pitch in a meaningful manner.
- Simplifies your busy slide.
- Cuts down the number of slides in a presentation.
Improvise your pitch
Your presentation may look busy, cluttered, and unprofessional without text wrapping. It only requires a few clicks and small adjustments to make your text look organized with other slide elements. You can also tweak text from the Google Slides mobile apps.
If you don’t want to deal with text wrapping and other formatting options, start with a top Google Slides template and make the required changes quickly to complete a presentation.


